PinIt!

Showing posts with label apple. Show all posts

Wednesday, December 28, 2016

Cranberry Apple Sangria

Now, I know what you're thinking: "Serena is pregnant, I hope that Sangria isn't for her!" No harm came to little baby Lee in the making of this... I made it non-alcoholic so the boys & I could enjoy it too! ;) 

 This one would be nice to try with alcohol at some point, too, but I haven't done that yet so I can't attest to how it is. It's very sweet, and warms you up, all the way down to your toes! I love the combo of the grape juice, apple cider, and cranberry juice! I make another warm punch during Christmastime, and I can't say which is my favorite! I love this type of drink, especially when we are all gathered at my mom's house for a holiday.

I made it for Thanksgiving, and we were sipping on it all day. Adrian didn't seem fond of it, but he's not really used to warm drinks yet. Gabriel loved it! 

One tip: the cinnamon sticks really should be removed after a couple of hours. We didn't, and those last few cups were VERY cinnamon. Remove a little bit earlier, or put them in later, if you have people who aren't big cinnamon fans. You could always skip them completely.... but I love cinnamon, so I can't really recommend it. :) 

Remember, comments are loved! What's your favorite warm drink during the holidays?

Cranberry Apple Sangria

Ingredients
  • 1 bottle white wine/sparkling white grape juice
  • 1 bottle red wine/sparkling red grape juice
  • 3 cups apple cider
  • 3 cups cranberry juice
  • 1 cup brandy (exclude if making non-alcoholic)
  • 4 cinnamon sticks
  • Sliced apples and fresh cranberries, to garnish.

Directions
  1. In a large crockpot, combine all ingredients except garnish. 
  2. Cook on low for 2-3 hours. Remove cinnamon sticks before serving. 
  3. (May also cool, then serve over ice.)

Yield/Time
3 hours
8 servings

Source (for original): Sweet C’s Designs

Friday, October 28, 2016

Apple Betty

With all the apples we got from the orchard a couple weekends ago, I've had a lot of apple recipes tossing around in my mind. Trying to decide what to bake is always hard.... so many ideas, so many options! (Hint: don't search apple recipes on pinterest. It is slightly overwhelming!)

However, this is something that always make it onto the list. Apple Betty is similar to most fruit or berry crunch recipes. Fruit/berry on the bottom, flour & sugar mix on top. I've considered adding oats, to make it seem more healthy... but I've never actually tried it. Maybe next time! Either way, this is AMAZING. I could eat the whole pan. I'd feel horribly sick, but I think it would be worth it....

I have no idea where she originally got it, but I got this recipe from my mother in law. We were downstate visiting them one weekend, and she made this for us. I immediately told her I needed the recipe. Everyone else ate it with ice cream... forget that, I just want two servings. ;)


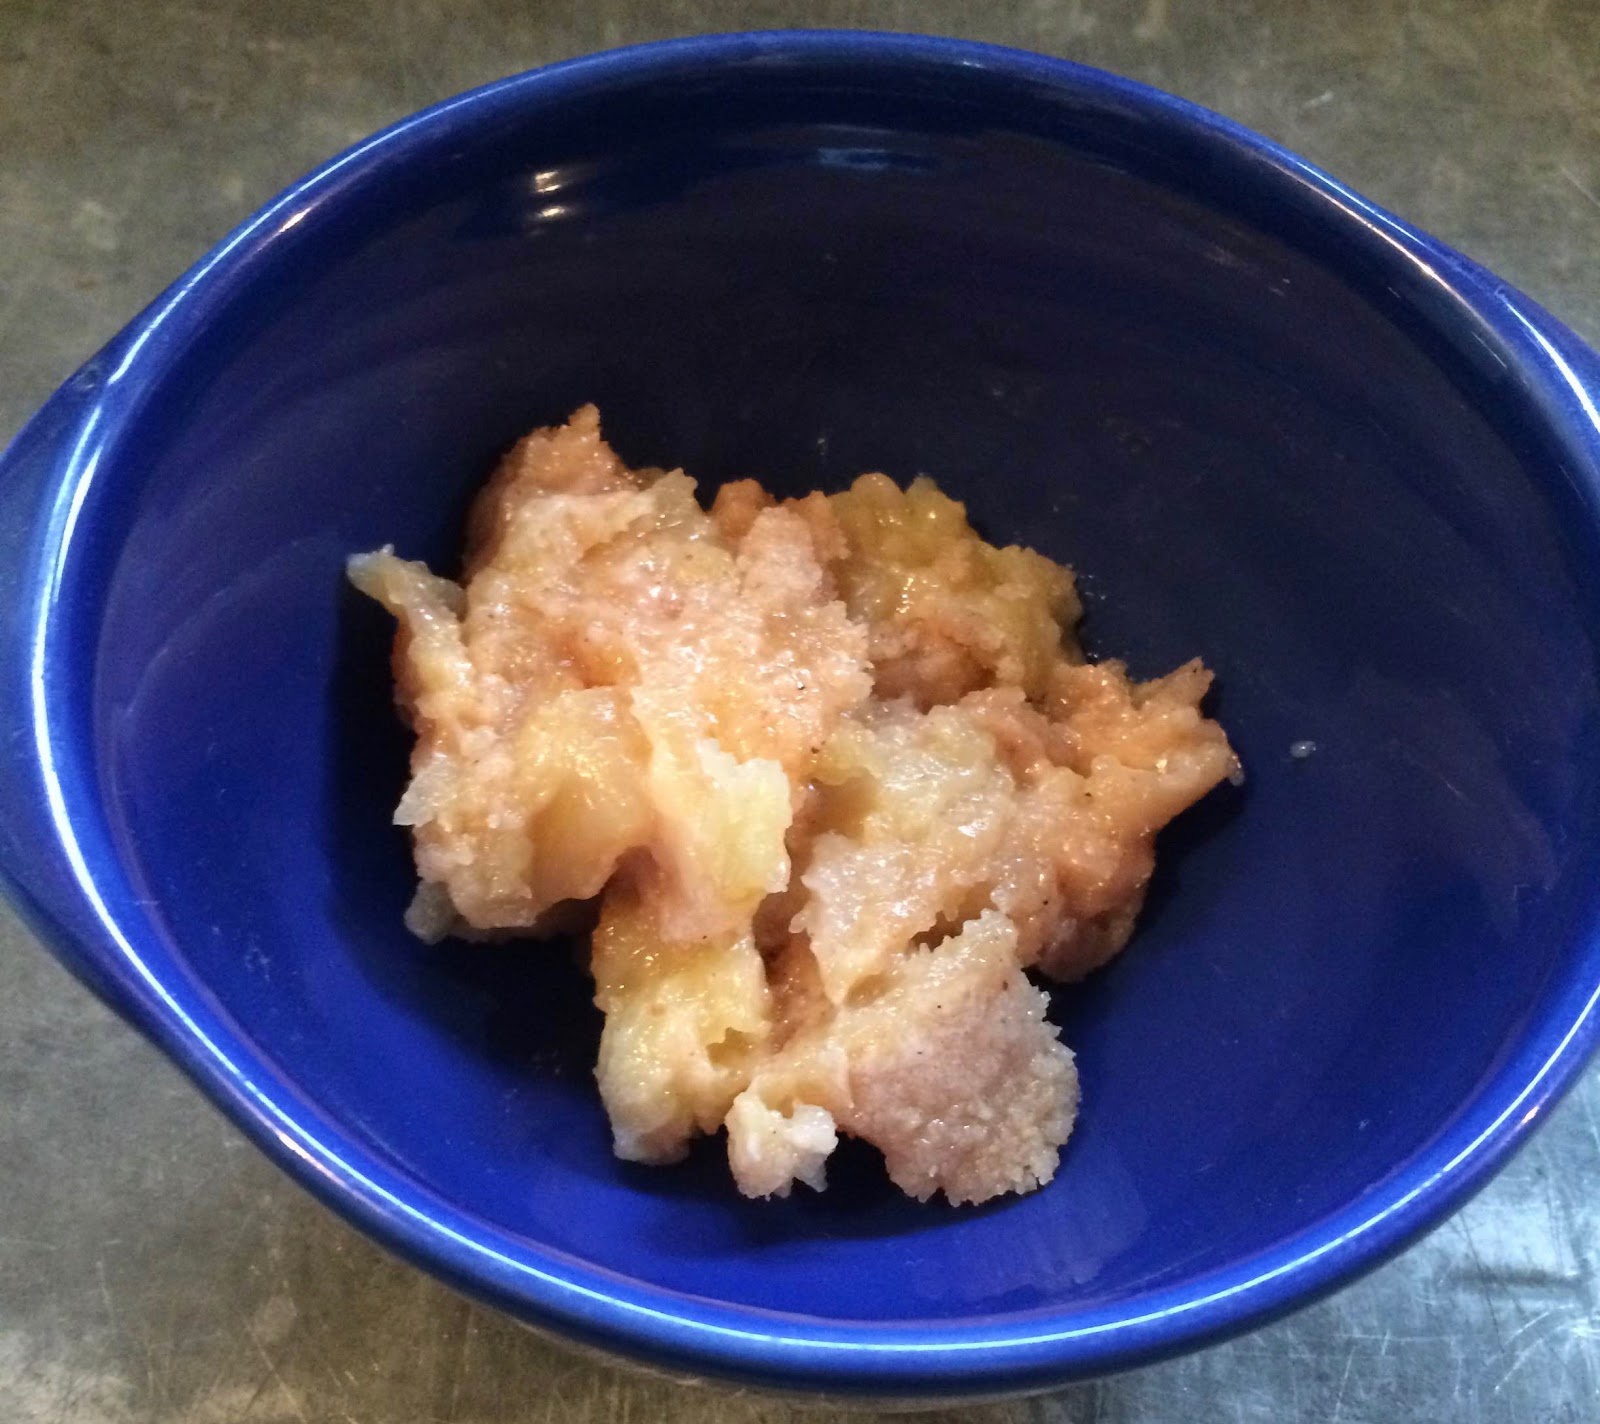
(Excuse the poor picture, I forgot to take one of the whole pan... it was mostly gone, and I had some in a bowl before I remembered!)
Apple Betty

Ingredients
  • 4 cups sliced pared tart apples
  • ¼ cup orange juice (optional, I never use this-if I remember right, neither does my MIL.)
  • 1 cup sugar
  • ¾ cup sifted all-purpose flour
  • ½ teaspoon cinnamon
  • ¼ teaspoon nutmeg
  • dash salt
  • ½ cup butter
Directions
  1. Preheat oven to 375°.
  2. Mound apples in a greased 9” pie plate (or 9”x9” baking pan). Sprinkle with orange juice, if desired.
  3. In a medium bowl, combine sugar, flour, cinnamon, nutmeg, and salt. Cut in butter until mixture is crumbly; sprinkle over apples. 
  4. Bake for 35-45 minutes or until apples are tender and topping is crisp. *Watch time! Usually done early.
  5. Serve warm with ice cream, if desired.
Yield/Time
9 servings
1 hour
Nutrition Facts *I calculate nutrition facts for reference only, this is not done scientifically

245/serving

Source (for original): my mother in law
Remember, comments are loved! What's your favorite crisp or crunch recipe?

Thursday, November 7, 2013

Apple Pie: Some For Now, Some For Later....


This may be surprising, but my love of sweets doesn't really extend to pie. Don't get me wrong, I don't dislike pie, it's just not my first choice for a yummy sweet after a meal. However, we had a lot of apples this year. In addition to the 1/2 bushel we got at the orchard, we got another bushel or so from my in-laws. 

Since I was up to my ears in apples, I had to find things to do with them. I made 3 batches of applesauce, 2 batches of apple jelly, 2 batches of apple crisp, 2 batches of peanut butter apple muffins, 2 loaves of apple bread, 1 dehydrator full of dried apples, and still had enough apples that I decided to make some pies to put in the freezer.  (This is, of course, in addition to the apples that we've just eaten plain.)

So far, I have made 5: 1 to make sure I can make a decent apple pie, and 4 to freeze once we determined that I do make a good pie. (Between Mama, Nate, and two of my coworkers, I got plenty of compliments; apparently it's more than decent. Again, I'm not really a pie fan, so it's honestly hard for me to tell.

Since I am making so many, I had quite a bit of fun with the top crusts, too. Out of the five, I only did one 'normal' crust. (Which I don't have a picture of, because honestly, who cares about that one?)


 I've made 2 lattice-one we ate (pictured), and one for the freezer.
I got creative and had fun with cookie cutters, too! One star....
And one tree! At some point around Christmas I know we'll wind up getting a pie out of the freezer, and this one will be perfect!

Now, neither of the cookie-cutter pies pictured above is cooked. To freeze them, I prepared as directed below & froze prior to baking. Per my awesome big brother who has done this before, you just have to bake for an additional 10-15 minutes when you take it out of the freezer. 

Don't they look yummy? Everyone seems quite excited that we are going to have fresh apple pie into the winter/spring/summer (if they last that long). I'm just glad I have most of the apples used up.... only another dozen or so left. That should be enough for another apple pie, and maybe some apple bread too....

Before I get too overwhelmed with the amount of apple-something-making I need to do still, here's the apple pie recipe I used!
 Remember, comments are love! Do you make apple pie regularly? How do you decorate the crust?

 
Apple Pie

Ingredients
  • 2 ¼ cups all-purpose flour   
  • ¾ teaspoon salt   
  • ⅔ cup butter-flavored shortening   
  • ¼ - 1 cup cold water  
  • 6 cups thinly sliced, peeled apples
  • ¼ to ¾ cup sugar
  • 2 tablespoons all-purpose flour
  • ¼ teaspoon ground nutmeg
  • ½ teaspoon ground cinnamon
  • ⅛ teaspoon ground ginger (optional)
Instructions
  1. In a medium bowl stir together 2 ¼ cups flour and salt. Using a pastry blender, cut in shortening until pieces are pea size. Sprinkle small amounts of the water over part of the flour mixture; gently toss with a fork. Repeat moistening flour mixture, using small amounts of the water at a time, until all the flour mixture is moistened. (I always use more than they recommend, which is 1/4 cup. My crusts turn out great, so I just go into the mixture is moistened enough; never really measure.)  Form pastry into 2 balls.
  2. On a lightly floured surface, slightly flatten each pastry. Roll from center to edges into a circle about 12” in diameter. Wrap pastry circle around the rolling pin. Unroll into a 9” pie plate, without stretching it. Trim pastry to ½” beyond edge of pie plate.
  3. In a large bowl, stir together sugar, 2 tablespoons flour, cinnamon, nutmeg, and ginger (if desired). Add apple slices; toss to coat.
  4. Transfer apple mixture to pie plate. Cut slits in remaining pastry shell and cover apples; crimp as desired. 
  5. (Alternatively, can also prepare lattice shell or cookie-cutter designs. For lattice: cut the dough into even strips, approximately ½” wide. Place strips across the apples, with about ½” space between each. Fold back alternating strips, halfway across the pie. Place a strip perpendicular to the parallel strips. Unfold the folded strips over the perpendicular strip. Repeat with original strips that were not folded back originally. Keep repeating steps until half the pie is covered, then repeat with the other half. Crimp edges. (For a picture tutorial, go here. This is the site I used when I was trying to figure out an easy way.) For cutouts, use desired cookie cutter shapes to cut out enough pastry to cover the pie. Form extra dough into a ball and roll out again as needed to obtain enough shapes. Place around edge of pie, moving in circles to cover the pie in slightly overlapping layers. Leave some small sections of pie uncovered to let out steam. See pictures above.) I apologize for the cruddy directions... there's a reason I'm not a teacher.
  6. Cover edges of pie with foil to prevent overbrowning.
  7. Bake at 375° for 40 minutes. Remove foil, bake for an additional 20 minutes or until apples are tender and filling is bubbly.
Yield/Time
8 servings
1 ½ hours

Nutrition Facts
395 calories, 18 g fat, 4 g saturated fat, 0 mg cholesterol, 219 mg sodium, 57 g carb


Comments
For sweeter apples, use smaller amount of sugar. For the apples I used, I only used ¼ cup.
To freeze, prepare as directed then freeze prior to baking. When you want one, remove from freezer then bake as directed, adding an additional 10-15 minutes of baking time.

Source (for original): Better Homes & Gardens
Sunday, October 6, 2013

Apple Peel Jelly

Yes, you read that right.

This jelly is made from apple peels and cores. I don't remember where I found this recipe, but I remember thinking "Wow, I can really use the peels and cores to make apple jelly? I don't have to just throw them all away?" I couldn't resist trying it, even though I am not much of a jelly fan. (I much prefer jam.... thick!)

I was pleasantly surprised by how much everyone liked it! It's a favorite of Mama & Jonah's especially, but basically everyone likes it. It is a jelly, so it's not a favorite of mine, but I still like to make it when I have a lot of apples I am peeling. (For example, for applesauce.) It's not any harder than any other jam or jelly, and it uses something you would probably be throwing away anyways. 

And, it makes an awesome Christmas gift. (Don't worry, I haven't blown the surprise. The people who are getting this for Christmas already know they are getting it.... and hopefully looking forward to it too!)

(Again....no camera. Crappy phone picture. Sorry.)
 
Apple Peel Jelly


Ingredients
  • peels/cores from 10 pounds of mixed apples    
  • 2 Tablespoons lemon juice
  • 7 Cups sugar    
  • 1 Package sure-gel
  • 2 cinnamon sticks    
  • Water
Instructions
  1. Pour 2 quarts of water plus lemon juice into a dutch oven. Put the cores and peels into the dutch oven, making sure the liquid covers the solids.
  2. Bring the pot to a boil, stirring occasionally, and boil for at least 20 minutes. Continue boiling until it is reduced to ⅔. Turn off the heat and remove the pot from the burner. Stir in cinnamon. Put the lid on and let it sit undisturbed until cool, or overnight.
  3. After the mix has rested until cooled, pour through a strainer to separate the solids from the liquid. Patience is key. If you force it through, the jelly will be cloudy (but it won't affect the taste). Measure the remaining liquid. If there is more than 5 cups, discard the excess. If there is less than 5 cups, return everything to the pot, add more water and bring back to a boil for at least 15 minutes. Let it cool and strain again.
  4. Once you have 5 cups of strained liquid, return it to the pot and stir in the pectin. Bring it to a rolling boil on high heat and keep it boiling. Pour in 7 cups of sugar, stirring continuously to dissolve it. Once dissolved, return to a rolling boil and keep it boiling for 2 minutes.
  5. While this is boiling, heat water to boiling. Place 12 half-pint jelly jars in a 9”x11” glass pan; pour water to top of pan.
  6. Turn off the heat and remove the pot from the burner. Pour the jelly into the half-pint jelly jars, leaving ½” headspace. Wipe the rims, seat the lids and put the rings on finger-tight. Leave in hot water for at least 10 minutes, then remove to cool. Tighten lids as needed.
  7. The jelly may take up to 2 weeks to set. If they are not sealed properly store them in the refrigerator and use within 2 months.
Yield/Time
12 half-pint jars
Total time: 30 minutes + standing


Everyone who has this tells me how amazing it is. Personally, I will stick with my blackberry/strawberry jam, but I suppose if I give this away I'll have more jam for me. ;)

Friday, October 4, 2013

Applesauce from our orchard trip!


About an hour away from where we live, there is an orchard that has a free petting zoo. I'd been hoping to take Gabriel sometime this fall, but had assumed it would just be him & I going. Our weekends have been crazy busy lately, and we needed an unplanned weekend. I have at least one weekday off a week, so we could go when Nate was at work. However, on Saturday morning when I was discussing this with Nate, he thought it sounded like an awesome idea, so down the the orchard we went! 
(Checking out the lemurs!) 
We had an amazing time at the petting zoo! Gabriel loved petting the various animals, and checking out the ones you can't actually pet. (Like the zebras...that bite.) His favorites seemed to be the prairie dogs... but he loved petting the donkey & goats!
(Petting the goats)

They had a lot of events going on the day we were there, but they all ended shortly after we got there. We decided we would just hang around the petting zoo, but there were a few things for Gabriel to play on in that area too! 
On a wooden tractor.... vroom vroom!

While we were there, we got 1/2 bushel of apples. (In addition to the peck or so I had from my MIL.)  So I am currently trying to dream up some ideas for these apples... especially when she (my MIL) mentioned that she has more to give away if I want some!!

One of my favorite things to do with apples is make applesauce, and then apple jelly from the peels. (Next post!) It's a good snack, and easy to make!
 
(The half-pint looks darker, but that's just because of my crappy phone camera. Real camera is still MIA, but at least we had it for the trip!

Applesauce


Ingredients
  • 24 cups cooking apples (cored, peeled, and quartered)
  • 2 cups water
  • 1 tablespoon cinnamon (optional; adjust to taste)
  • ¾ to 1 ¼ cup sugar

Instructions
  • Wash 12 half-pint (or 6 pint) jars, bands, and lids in hot, soapy water. Dry completely. When prepared to make applesauce, place jars in a 9”x11” glass pan. Heat water to boiling.
  • In a 8-10 quart heavy kettle, combine apples, water, and cinnamon. Bring to boiling; reduce heat. Simmer, covered, for 25 to 35 minutes until very tender, stirring often.
  • Press apples through a food mill or sieve, then return pulp to kettle. (Alternatively, for a chunkier applesauce, simply mash with a potato masher.) Stir in sugar to taste. If necessary, add ½ to 1 cup water for desired consistency. Bring back to boiling.
  • While mixture is cooking, pour boiling water to the top of the glass pan.
  • Ladle quickly into prepared jars, filling to within ⅛” of top. Wipe jar rims & threads. Cover with lids and screw bands on tightly. Leave in hot water for at least 10 minutes, then remove to cool. Tighten lids as needed, and check seals. Store any unsealed jars in the fridge.
     
Yield/Time
5 ½ pints
Nutrition Facts
311 calories per cup


Source (for original): Better Homes & Garden

If you have a canner, use according to your canner's directions. I don't have one, so I just use a hot water bath.


Soo...... any ideas on what to do with the apples I have left?? :)

Saturday, September 14, 2013

The Best Apple Bread

I love fall! And while it was 90+ on Tuesday, we are having some beautiful fall weather now. (What? I live in Michigan. Drastic weather changes are normal.) My birthday is in the fall, it's back to school time (not that it's applicable to us right now, but I like school...), it's hunting season (hello, fresh venison), the leaves change, and.... FALL BAKING. Apples, pumpkins, peaches... I instantly get hungry in the fall because I think of all the things I could bake. 

I haven't done much with fall baking yet (remember the 90+ degrees?); partially because I know as soon as I buy pumpkin I am going to go crazy. I am slightly more reserved about making apple/peach things... but when I make pumpkin streusel muffins, I would be happy to eat nothing but that all day. Not so great when you need to lose weight; I don't think those things are all that good for you...

I did finally do some fall baking though; I made some apple bread! Michigan apples are starting to be available, and I had bought some at the store a couple days before my mother-in-law gave me a couple dozen. So, with a few dozen apples sitting on my counter, I made a couple loaves of apple bread to put in the freezer! 


The Best Apple Bread

Ingredients
  • 3 Cups finely chopped apples
  • 2 Cups sugar
  • 1 Cup vegetable oil
  • 3 eggs, lightly beaten
  • 2 Teaspoons Vanilla
  • 3 Cups all purpose flour
  • 2 Teaspoons ground cinnamon
  • 1 Teaspoon baking soda
  • ½ Teaspoon salt
Instructions
  1. Peel and finely chop enough apples to equal 3 cups. Set aside. (To give you an idea of how many apples: the apples I had for this batch were small, and I used maybe 5-6.)
  2. Stir together sugar, vegetable oil, eggs, and vanilla in a large bowl.
  3. Stir together flour, cinnamon, baking soda, and salt; add to sugar mixture, stirring just until blended. (Batter will be stiff.) Fold in finely chopped apples.
  4. Divide batter evenly between 2 greased and floured 9”x5” loaf pans. Bake at 350° for 50 minutes to 1 hour or until a wooden pick inserted in center comes out clean. Remove from pans, and cool on wire racks.

Yield/Time
Yields: 10 slices/loaf, 2 loaves
Prep/total: 1 hour 30 minutes

Nutrition Facts
Calories: 207/slice

Source (for original): unknown

I have frozen a few loaves for the last year or two, and they do come out of the freezer well. I love having apple bread (and zucchini bread, and banana bread...) throughout the year, so it works out well. 

Sorry for the lack of nice pictures.... 1) I have a not-so-great camera, and 2) putting bread in the freezer means I don't actually cut into the bread, so no pictures of the inside. 

Just trust me, and make this bread-it's amazing. There's a reason I call it The Best Apple Bread!

Happy Baking!  If you try the recipe, please comment & let me know; I would love to hear what you think!