PinIt!

Showing posts with label cornstarch. Show all posts

Monday, March 13, 2017

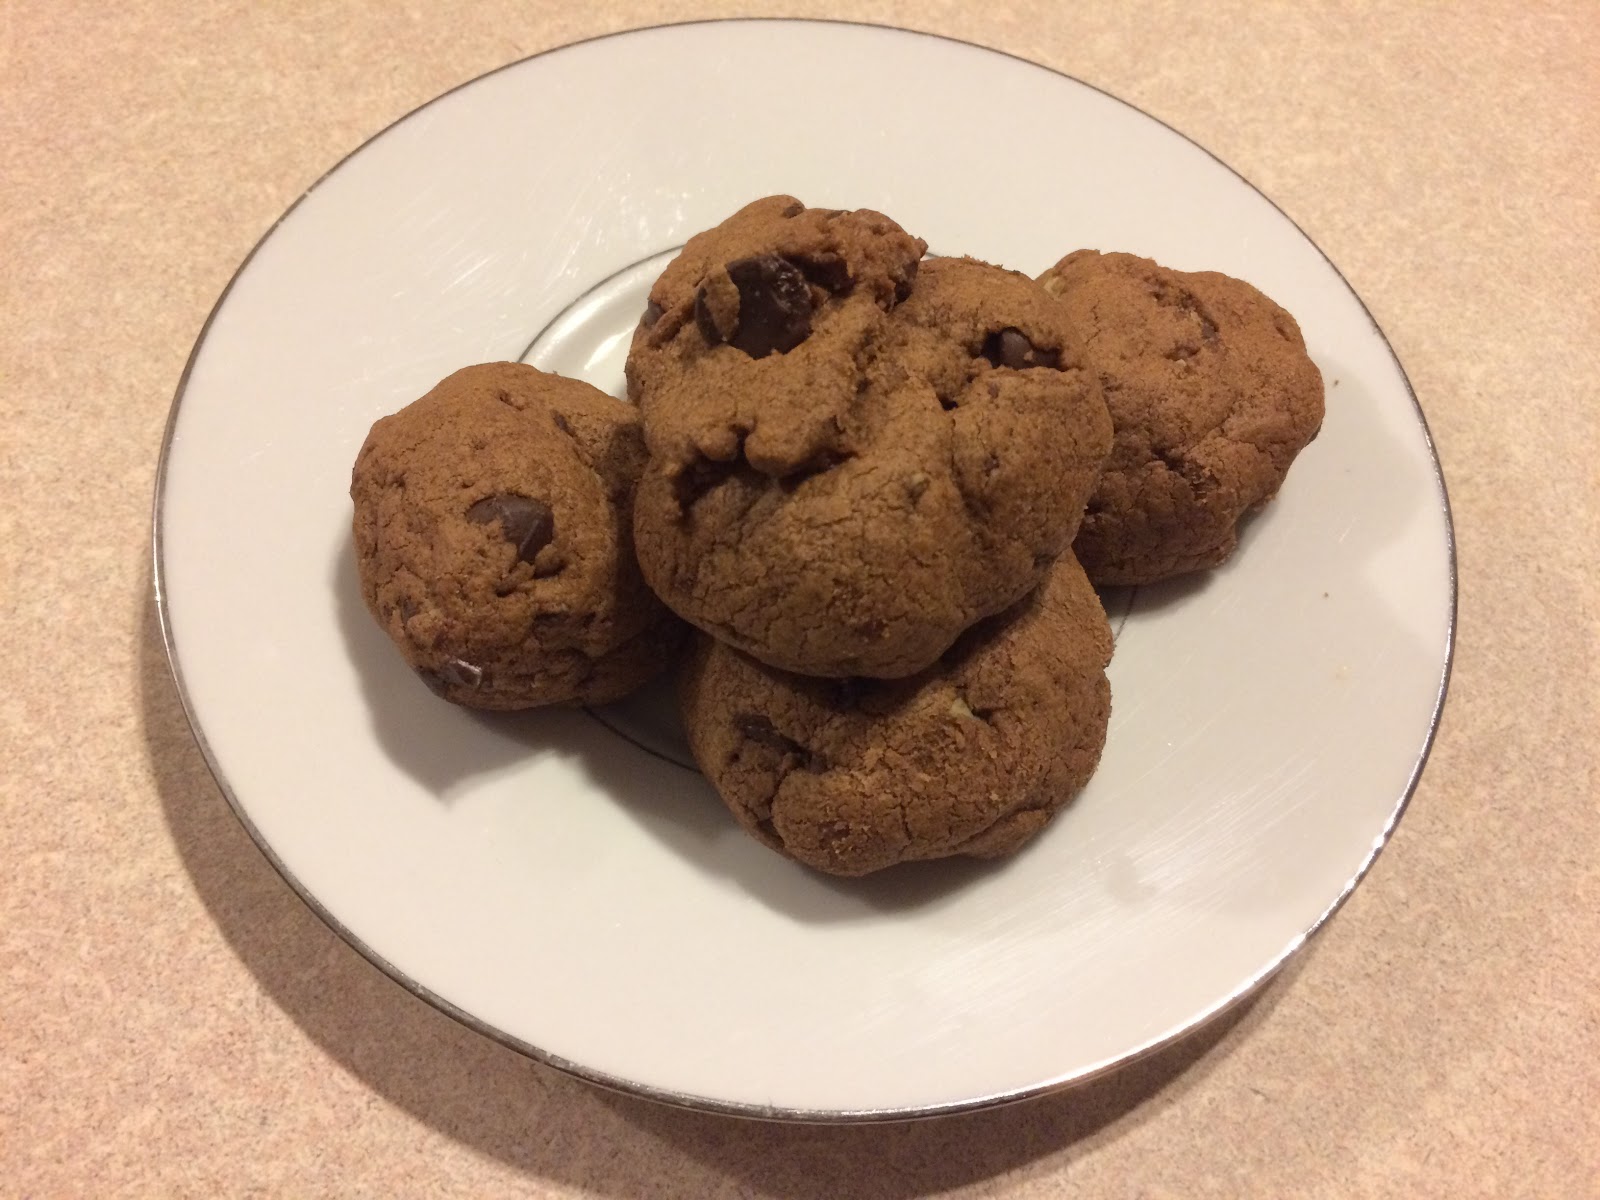
Reese's Pieces Chocolate Cookies

Originally posted 11/16/13, updated 3/13/17

I would say that it's fairly obvious that I love sweet things, whether you actually know me in person or even if you just read the title of my blog. I am a big fan of peanut butter/chocolate combos in particular. (Surprisingly, I don't like regular Reese's much. Not a fan of their peanut butter. Reese's Pieces, however, are an entirely different story.)

So when I saw a recipe for Reese's Pieces Double Chocolate Chunk Cookies on one of my favorite blogs, I had to try it! 

I made a few changes (as you can see by the title alone), but we love this recipe! You could easily sub different things for the peanut butter chips/Reese's Pieces.... but I am really not sure why you would want to. ;) I also had to play with the baking time/ingredients, as the cookies were great on day one but get hard & dry quickly. Once I made some changes, that solved the problem! (I don't know what they are like past day 3 now.... they never make it that long!)

One tip I would like to stress: Be careful not to overbake these! They will get harder faster if you do. Ovens vary, but I would check them at 10-11 minutes. Since I made the change to the ingredients, I would recommend trying for 11 1/2 - 12 minutes; but again, ovens vary. 

Enjoy!

These are my favorite cookies to bake--this is definitely my current go-to recipe!

Remember, comments are loved!

Printable Recipe

Reese’s Pieces Chocolate Cookies

Ingredients
  • ½ cup butter-flavored Crisco
  • ½ cup granulated sugar
  • ½ cup packed light brown sugar
  • 2 large eggs
  • ½ teaspoon pure vanilla extract
  • 1 ¼ cups all purpose Flour
  • ½ cup unsweetened cocoa powder
  • ½ teaspoon baking soda
  • 1 teaspoon cornstarch
  • ½ teaspoon salt
  • ½ cup peanut butter chips
  • ½ cup mini Reese’s Pieces *make sure you get Mini!!!*

Instructions
  1. Preheat oven to 350°.
  2. Place Crisco and sugars into a stand mixer, cream until well combined. Add eggs and vanilla, beating until well combined. 
  3. Slowly add flour, cocoa powder, salt, cornstarch & baking soda. Hand mix in peanut butter chips and Reese’s Pieces.
  4. Scoop dough (or form into balls) and place onto greased baking sheet. Bake for 11-13 minutes or until baked through. 
  5. Let cookies cool for 5-8 minutes before transferring to cooling rack. Serve and enjoy.

Yield/Time
2 dozen
Prep/total time: ½ hour

Nutrition Facts *I calculate nutrition facts for reference only, this is not done scientifically
146 calories each

Source (for original): Picky Palate

Monday, March 6, 2017

Double Chocolate Chip Cookies

So, first off, I have to apologize for the lack of posts lately... We found out we are having a girl (yay!), so I've been spending a lot of time in the evenings sorting boy clothes, getting it ready to sell, and then sorting the mountain of girl clothes I've bought. Between that, and being utterly exhausted... I haven't really been doing many new recipes. New ideas and taking photos requires energy that I just don't have! :) 

I did get some baking done this weekend, though...  I made this Sunday morning, before Nate & I had a fun date! Partly to 'pay' my mom for watching the boys... partly because I wanted chocolate. ;) 

I have a lot of variations on these cookies, and while these aren't always my go-to recipe, they are always a hit!

Remember, comments are loved! What's your favorite double-chocolate recipe?

Printable Recipe
Double Chocolate Chip Cookies

Ingredients
  • 1 cup cold, unsalted butter, cubed *note: these were made with Crisco, but I've made them both ways. While I am a Crisco girl generally... this time, I decided that they are better with butter.
  • 1 ¼ cups sugar
  • 2 large eggs
  • ½ cup cocoa powder
  • 2 ¼ cups all-purpose flour
  • ¼ teaspoon salt
  • 1 teaspoon baking powder
  • 1 teaspoon cornstarch
  • 2 ½ cups semi-sweet chocolate chips *This time, I only used 1 1/2 cups chocolate chips, the other half was Andes chips! They were great!

Directions
  1. Preheat the oven to 350°. Line baking sheets with parchment paper or silicone baking mats.  In the bowl of an electric mixer, combine the butter and sugar.  Beat together on medium-high speed until light and fluffy, 2-3 minutes.  Blend in the eggs one at a time, scraping down the bowl as needed.  Mix in the cocoa powder until well blended.
  2. Add the flour, salt, baking powder, and cornstarch to the bowl and mix on low speed just until incorporated.  Fold in the chocolate chips with a spatula. (The dough is very thick.)
  3. Roll into small balls, and place on baking sheets a few inches apart. Flatten slightly. 
  4. Bake 12-16 minutes.  Let cool on the baking sheets 5-10 minutes, then transfer to a wire rack to cool completely.

Yield/Time
3 ½ dozen cookies
1 hour
Nutrition Facts
153

Source (for original): Love from the Oven

Monday, January 2, 2017

Berry (or Fruit!) Crumble Bars

I know, I know. I live in Michigan.

It's not berry season. Or fruit season. It's cold, and everything is covered in inches (or feet, for the unlucky) of snow.

But let's be real: after the holidays, we all need something that makes us feel good about eating it. Even if it's not really healthy, we can at least pretend.

Well, I'm pretending this morning. (And my little pregnant self thought it sounded good.) 

This is really similar to most other crumble recipes, but I think it's my favorite now. I used it a bit this summer, and it's definitely wonderful. I've only ever used it with berries, but I think it would be awesome with peaches. (Which is going to be my next attempt!)

This is something that, regardless of the weather, will make you feel like summer! 

Remember, comments are loved! What's your favorite reminiscent-of-summer recipe?

Printable Recipe
 
Berry (Or Fruit) Crumble Bars


Ingredients
Crust and Topping


  • ½ cup butter, melted
  • 1 cup all-purpose flour
  • ¾ cup old-fashioned oats
  • ½ cup light brown sugar, packed

Berry Layer


  • 2 cups berries
  • ⅓ cup granulated sugar
  • 2 tablespoons lemon juice
  • 2 teaspoons cornstarch
Directions
  1. Preheat oven to 350°. Spray an 8” square pan with cooking spray; set aside. 
  2. Combine all ingredients for crust; mix well. Set aside 1 heaping cup for topping. Press remainder evenly into prepared pan. Set aside.
  3. In a large bowl, toss together all ingredients for berry layer. Evenly distribute over the crust.
  4. Sprinkle the reserved crumble over berry layer. 
  5. Bake for about 45-60 minutes, or until edges are set and crumble is a golden brown. Remove from oven and allow to cool for 30 minutes before serving.

Yield/Time
16 pieces
1 ½ hours + cooling
Nutrition Facts
140 (using a mixture of blueberries & strawberries)


Source (for original): Averie Cooks

Monday, November 7, 2016

Nutella Lava Cookies

I've been trying to do posts 3x/week, but Friday fell through the cracks. Mainly because of this nasty cold that's hanging around my house-- the boys are finally feeling better (I hope), but I still am suffering. There's been very little cleaning or baking around my house this past week... and a lot of sitting on the couch wishing I could take naps. Oh well, life as a mama goes on no matter what. ;)

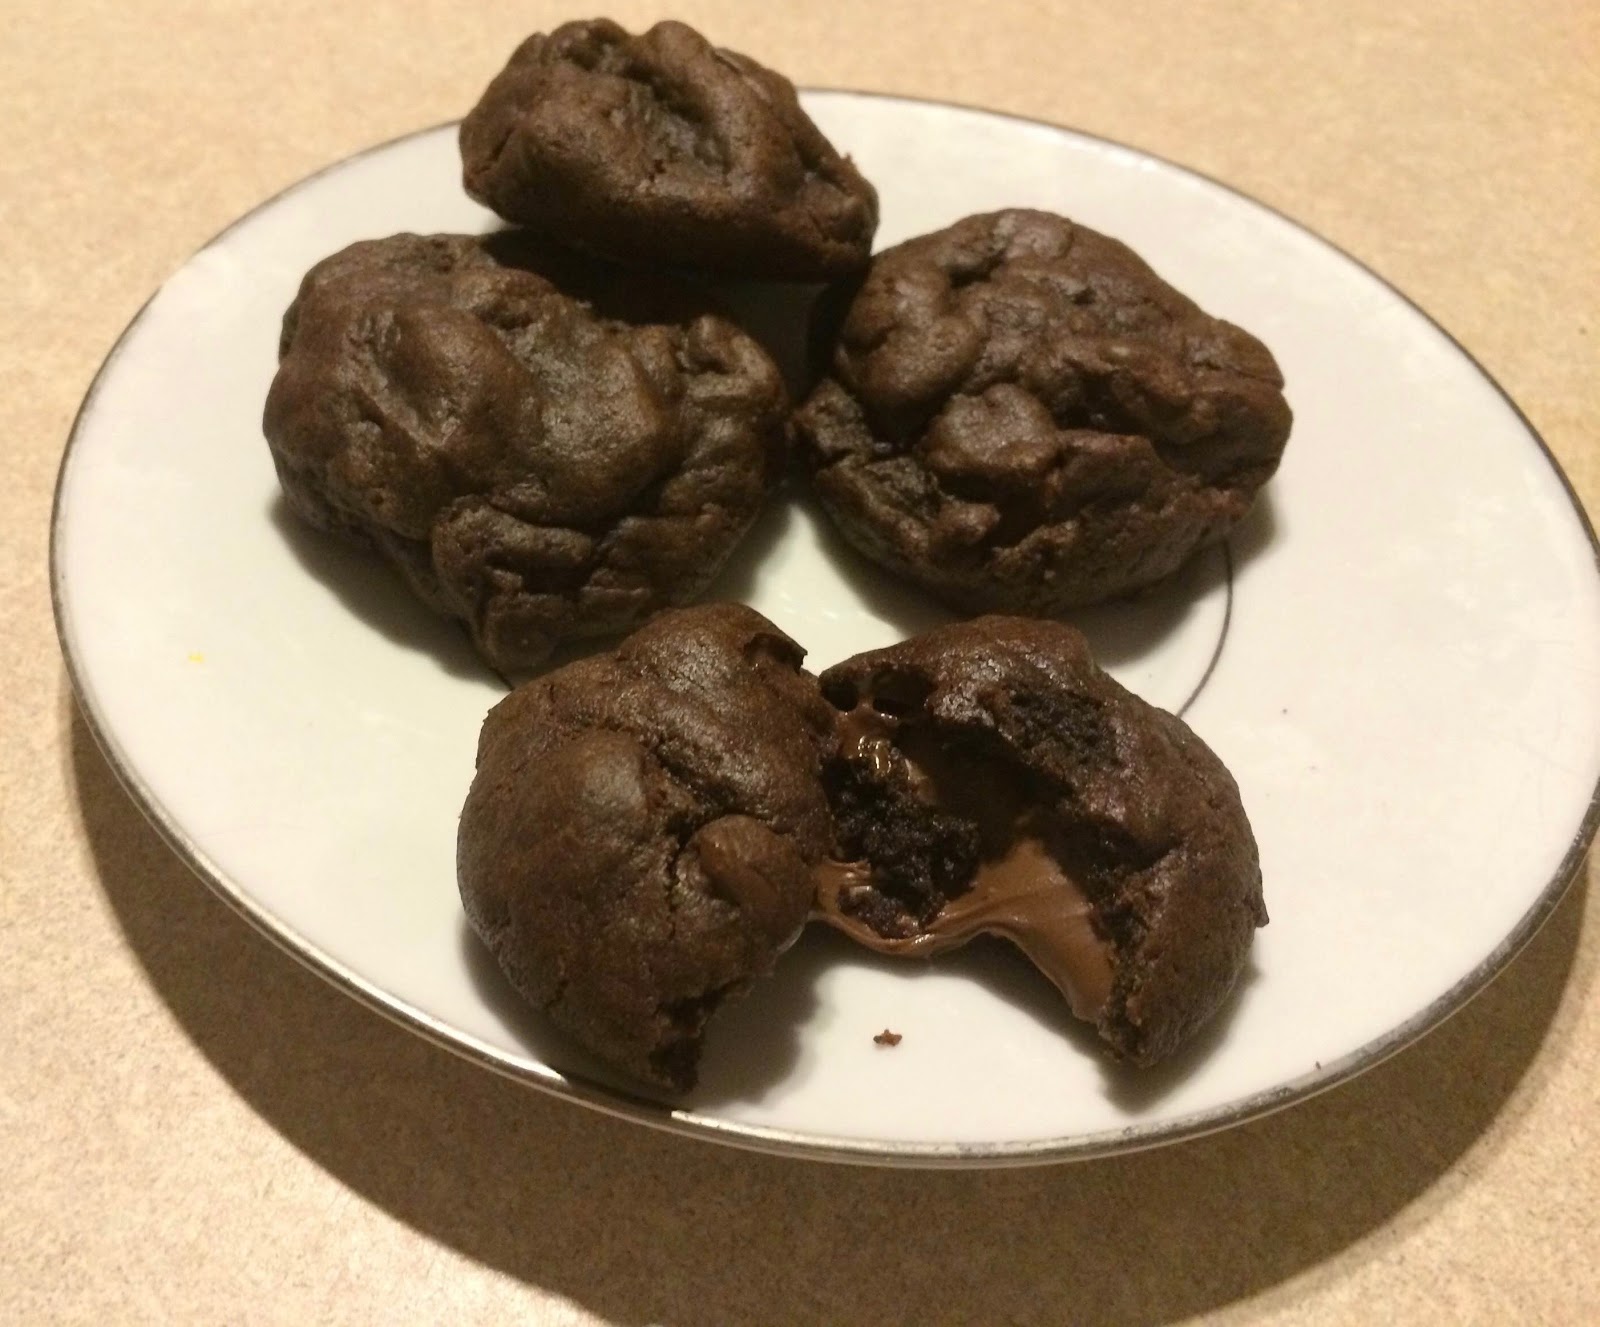
I did manage to get some baking done yesterday, mainly because Nate was kind enough to let me nap for awhile. In the evening, the boys helped me make these Nutella Lava Cookies (with lots and lots of handwashing). I've made them before, and they are always a hit, but never remembered to take pictures. This time I did!

These things are amazing. I'm going to try a variation with peanut butter soon, but I haven't decided exactly what I want to do. Gabriel & I were discussing it yesterday, so I think he's going to help! I love how willing he is to help in the kitchen, and how fascinated he is with the whole process1

These are, like most cookies, best fresh out of the oven. A great alternative is about 10 seconds in the microwave. (However, don't put them in, hit the 30 seconds button, then get distracted.... oops.) They are called lava cookies for a reason-- warm, the Nutella in the center just OOZES out. It's amazing. I could eat half a dozen in one sitting, if it weren't for the massive amount of calories.

The one deterrent with these cookies is that they are time consuming. Give yourself time to make these! The Nutella scoops have to freeze for an hour, then the formed cookies have to freeze also. You can cut the time down to half an hour each if needed, but they are a lot harder to work with--I really recommend going the full hour.

Nutella Lava Cookies

Ingredients
  • 12 tablespoons (24 ½-tablespoons) Nutella
  • ¼ cup granulated sugar
  • 1 cup all-purpose flour
  • 2 tablespoons brown sugar
  • 1 ½ teaspoonful cornstarch
  • 1 egg, room temperature
  • ½ teaspoonful baking soda
  • 1 teaspoonful vanilla
  • ½ teaspoonful salt
  • ⅓ cup unsweetened cocoa powder
  • ½ cup butter, at room temperature *if you know me, I always substitute Crisco vs butter. Here, I am not sure how well it would work. If you try it, let me know!
  • ½ cup semisweet chocolate chips, plus more for topping

Directions
  1. Scoop out 24 ½-tablespoons of Nutella onto a sheet of parchment paper or silicon mat, then freeze them for 1 hour or until solid.
  2. Whisk together flour, cornstarch, baking soda and salt in a medium bowl and set aside.
  3. In a large bowl, whip the butter until soft and fluffy, about 2 minutes. Add both sugars and mix together until well incorporated. Mix in the egg and vanilla, then gradually add cocoa powder.
  4. Add the flour mixture and chocolate chips to the bowl slowly. Mix until everything is combined.
  5. Divide dough into 24 equal portions. Flatten into circles, then place on baking sheet covered with parchment paper. Place frozen Nutella scoops in the center of the dough, and wrap dough around Nutella. Cover completely by rolling and forming balls. (This step must be done quickly. Remove only one or two Nutella scoops at a time from the freezer.) 
  6. Sprinkle the tops with few additional chocolate chips and sea salt, if desired.
  7. Freeze the balls for at least 1 hour.
  8. Preheat the oven to 350° and space the balls 2” apart on baking sheet.
  9. Bake for 8-12 minutes. Cookies will flatten out and get crispy on the edges but the center will still feel soft. Let the cookies rest for 15 minutes before removing to cooling rack or serving.

Yield/Time
24 (large) cookies
3 hours
Nutrition Facts
141/cookie

Source (for original): Gastro Senses
Remember, comments are loved! Have you ever tried a lava-style cookie before?

Thursday, August 25, 2016

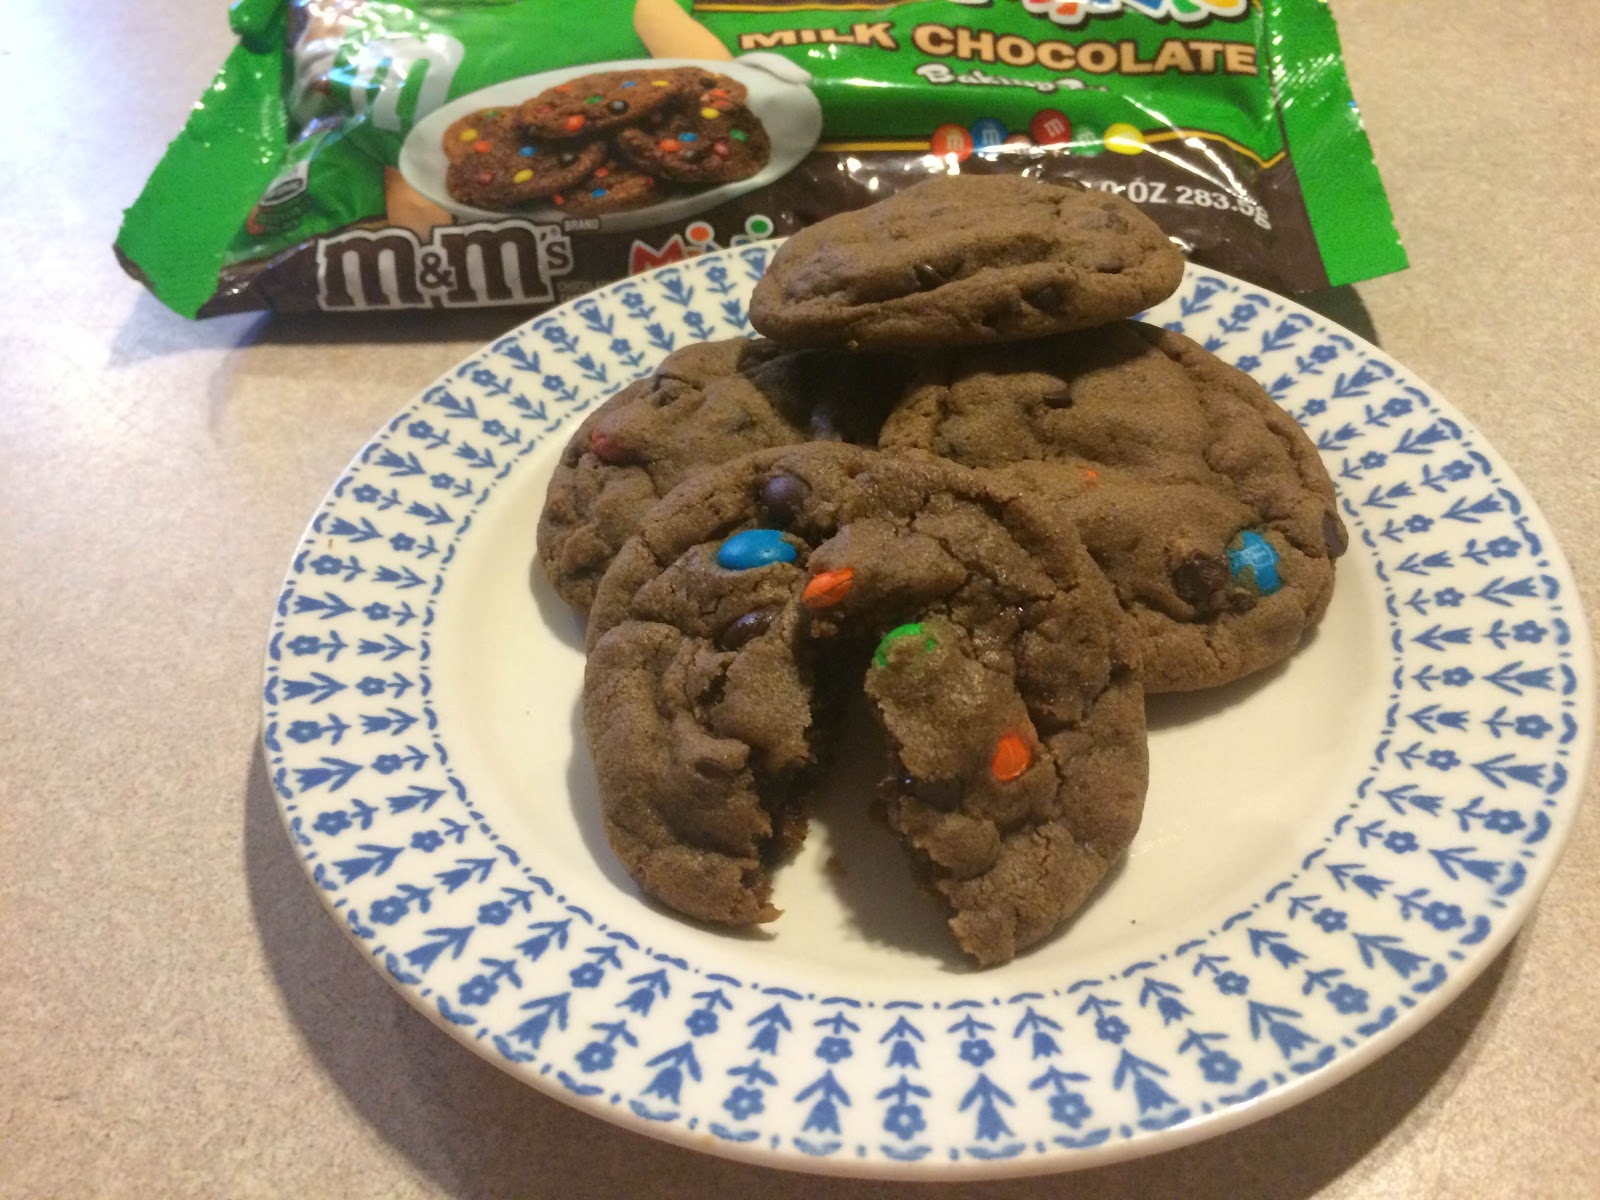
Chocolate Peanut Butter M&M Cookies

If you follow my page on Facebook, you probably saw my (teaser) post about perfecting my new cookie recipe. These things are AMAZING. I've discovered two things recently: 1, cornstarch seriously makes the cookie. 2, freezing dough for an hour before baking makes a huge difference in texture. 

I've wanted to do something slightly different with my base cookie recipe, and I needed to use up some of my chocolate peanut powder before it outdated, so I decided to experiment. Experiment #1, while everyone thought it was great, needed some changes. A few changes later... these cookies are fabulous! They are perfectly soft, full of lots of chocolate chips and M&M's, just barely a taste of peanut butter, and the perfect amount of chocolate!

Printable Recipe
Chocolate Peanut Butter M&M Cookies

Ingredients
1/2 cup butter-flavored Crisco
1/2 cup granulated sugar
1/2 cup packed light brown sugar
2 large eggs
1/2 teaspoon pure vanilla extract
1 1/4 cups all purpose Flour
1 tablespoon unsweetened cocoa powder
1/4 cup + 3 tablespoons chocolate peanut powder
1/2 teaspoon baking soda
1 1/2 teaspoons cornstarch
1/2 teaspoon salt
3/4 cup mini chocolate chips
3/4 cup mini M&M’s

Directions
  1. Place Crisco and sugars into a stand mixer, cream until well combined. Add egg and vanilla, beating until well combined. Slowly add flour, cocoa powder, chocolate peanut butter powder, baking soda, cornstarch, and salt. Hand mix in chips and M&M’s.
  2. Scoop dough (or form into balls) and place onto a parchment lined baking sheet. (Spacing does not matter, as long as they do not touch.) Freeze for 1 hour.
  3. Preheat oven to 350°.
  4. Remove cookie dough from freezer, and place 2” apart on parchment lined baking sheet. Bake for 10-13 minutes or until edges are set. Let cookies cool for 5 minutes before transferring to cooling rack. Serve and enjoy.

Yield/Time
2 dozen
Prep/total time: 2 hours
Nutrition Facts
130 calories each (30 ct) *I calculate nutrition facts for reference only, this is not done scientifically


Source (for original): Picky Palate
Remember, comments are loved! Have you tried any of the peanut powders? What's your favorite recipe with them?

Thursday, August 18, 2016

Cream Of Soup Mix

I've shared before of my dislike of processed foods, and convenience foods. Part of it's taste, part of it's the ingredient list, part of it's the whole "grow your own" revolution. (Hello, farm fresh eggs!) 

There are some things, though, that I was/am sure I can't give up. (We are not going to discuss my caffeine addiction. Really guys, it's gotten better!) My cans of cream of chicken/mushroom soups were definitely on that list. While I was moderately disgusted by them, I was sure that:
#1 I don't want to mess with a liquid in the fridge that will go bad, or something in the freezer I'm going to have to remember to thaw.
#2 It wasn't going to be nearly as convenient. 
#3 It was going to ruin all of my favorite recipes. (Like my Cheesy Chicken & Tortillas!) 

After some recipe searching and contemplating, I determined I could work past #1. I found a few recipes I was willing to try, that stayed in powder form. (Then you add liquid right before use.)

I was right in the aspect of #2, kinda. Making it in the moment is not convenient. But, most thinks like this aren't meant to be made in the moment. My taco seasoning I certainly don't--I make a big batch all at once. This makes a decent sized batch, so after the first time I made it I had a bit to use up, and play with. After making a few things with it and realizing that I was wrong about #3, I made a big batch. I think I multiplied the recipe by 4...

And truthfully? Haven't looked back since. (There are actually a couple cans of the other stuff that need to make their way to the food pantry before they expire...)

In all the recipes I've made with this, which is everything that calls for a cream-of soup since last winter, I haven't had any real issues. I have learned that you sometimes need to decrease the liquid, if adding it to something with a lot of liquid already, but that's about it. 

So, go on. Join the mini-revolution. Have fun, we have all kinds of goodies here. 

Printable Recipe
Cream of Soup
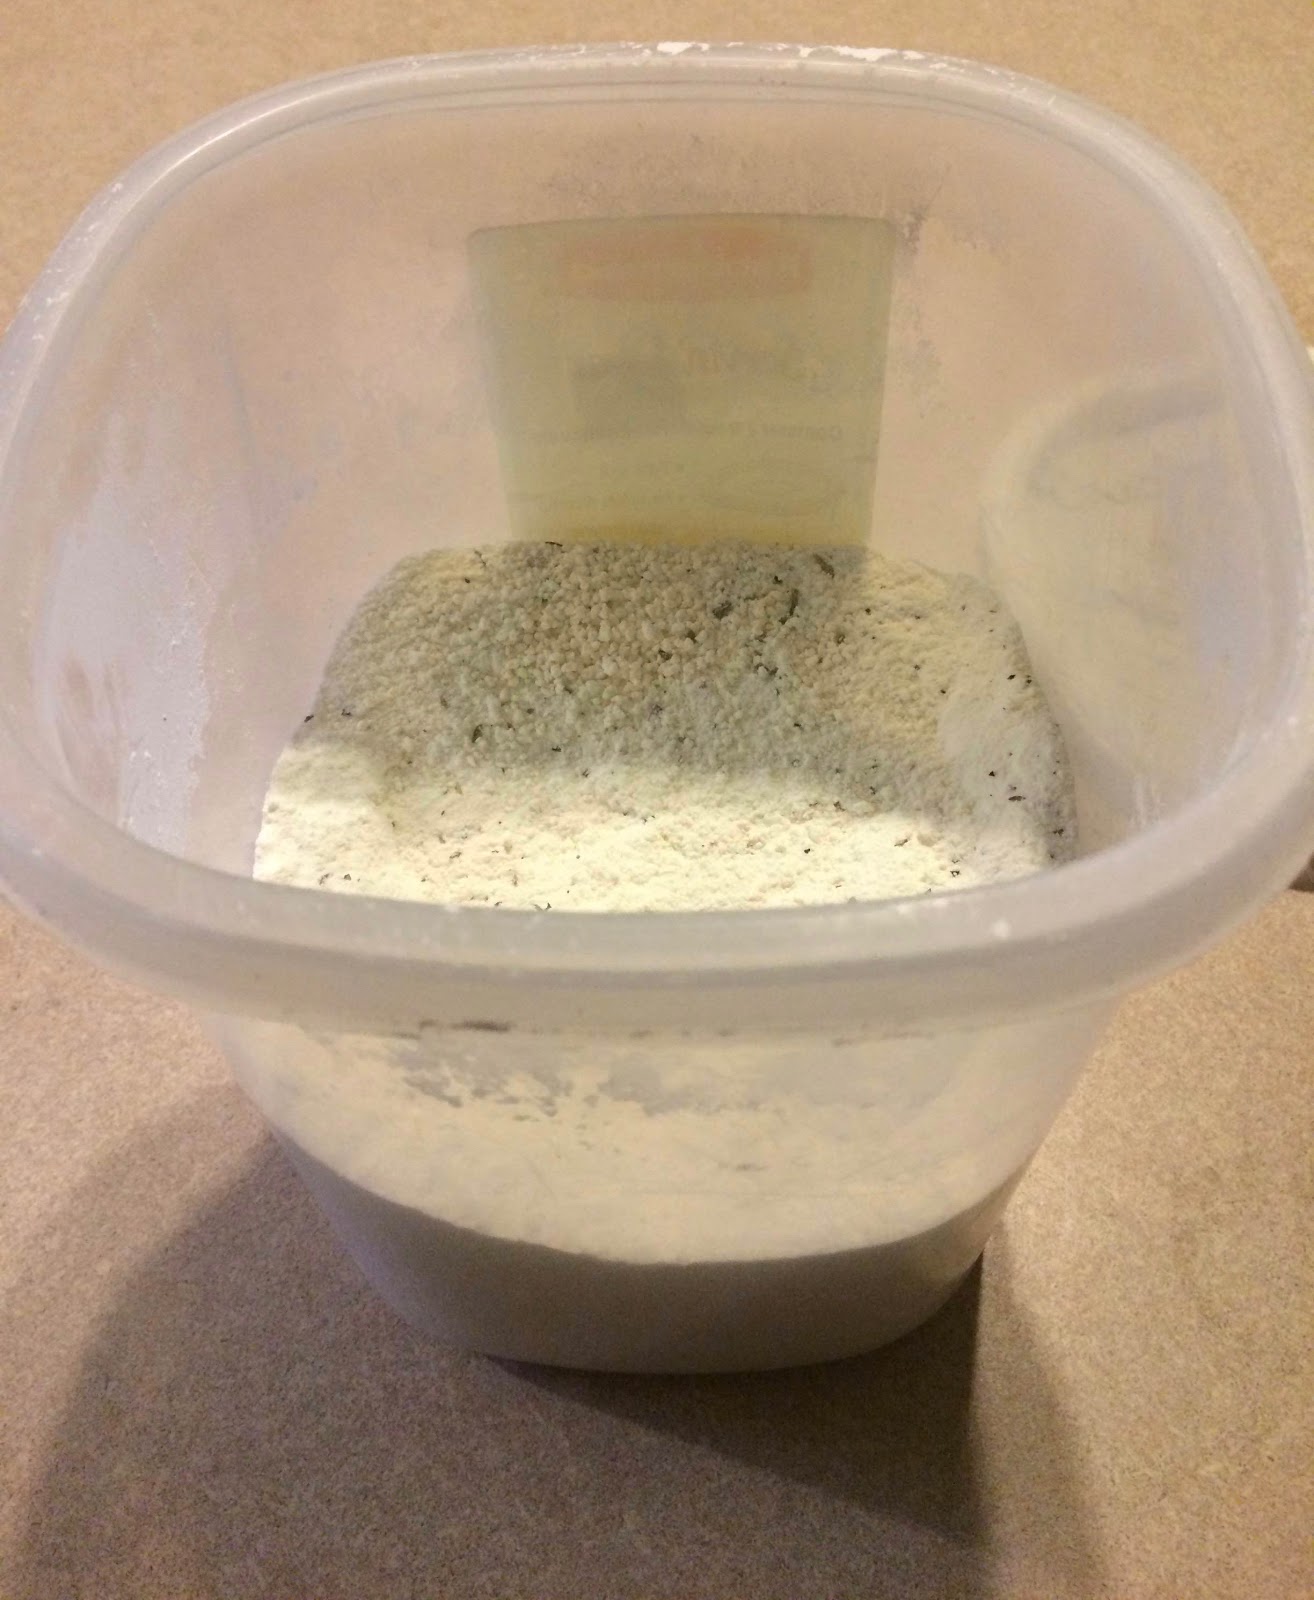
(Yes, the picture is mediocre, but what else am I supposed to take a picture of? It's not any prettier when you add the water. Just better than the canned stuff.)


Ingredients

  • 2 cups dry milk powder
  • 3/4 cup cornstarch
  • 1 teaspoon onion flakes (I use Onion Onion)
  • 1/2 teaspoon garlic powder (I use Garlic Garlic)
  • 1/2 teaspoon dried thyme
  • 1/2 teaspoon dried basil
  • 1/2 teaspoon dried parsley
  • 1/4 teaspoon black pepper


Directions

  1. Mix all ingredients together with a whisk. Store in an airtight container.
  2. To make into soup: Combine 1/3 cup dry mix with 1 1/4 cups water in a small saucepan. Whisk until smooth. On medium heat, bring to a boil. Cook for 2 minutes or until desired consistency. (Cooking not necessary if adding to a recipe, just whisk and add instead of cream of soup. Do not skip the whisking!)
  3. If making cream of chicken soup, add 1 crushed bouillon cube to the 1/3 cup dry mix.
Yield/Time
8 servings
<5 minutes
Nutrition Facts
76 calories per serving *I calculate nutrition facts for my use only, this is not done scientifically


Source (for original): Humorous Homemaking

Remember, comments are love! What convenience foods have you stopped using, or want to?

Tastefully Simple info: If you are interested in making a purchase, you can purchase through my page, or just search and select "Serena Lee" as your consultant. Obviously, if you are not local and already have a consultant.... purchase through them online, or contact them! Shop local, as always! Disclaimer: I am paid a small amount with each purchase, based on sales, made through myself as a consultant. You are helping to support my baking addiction, thank you! ;)

Tuesday, August 9, 2016

Chocolate Rolo Stuffed Cookies

I LOVE chocolate. Really, really love chocolate. I'll rarely turn down dessert, and I'm happy to take anything sweet, but it never truly feels like dessert to me unless chocolate is involved. It doesn't have to be complicated. It can be something as easy as No-Bake Cookies. (Which I am known to make practically monthly. If you want something to satisfy your need for chocolate really fast, that's it.) Or, it can be a little more time consuming. Doesn't matter. Sometimes, a lady just needs chocolate.

Thankfully, my husband doesn't laugh too much when he wakes up or gets home and sees more chocolate on the counter. He just goes with it. He even has the kindness to take care of the goodies for me when I am baking late at night, and have to go to bed before they are cooled.

Which is actually what happened with these...

I've been sitting on this idea for a week or so. At the store where I work, we had some candy go outdated.... thus, half price. I can't resist that! Rolo's and Butterfingers, so many options.... I'll post the Butterfingers idea soon. ;)

For the Rolo's, the one thing I knew was that I wanted to do put them IN a cookie. From there, so many questions!

First, I was debating on what kind of cookie. Plain, chocolate, peanut butter--so many ideas! I opted for chocolate because, well, chocolate. (See above.) Can't resist. I used the base for my Reese's Pieces Chocolate Cookies, slightly adapted. I knew I wanted to freeze the Rolo's first, to help them keep their form when baking. Then, of course, I needed to add some more chocolate chips. Mini ideally, but I didn't have those, so I just used regular. Once those decisions were made, the next question was how to handle the dough. To freeze, or not to freeze. Well, why not try it both ways? I made the dough, added the Rolo's, and froze half the dough! The other half, I baked right away.

End results? Absolutely amazing. ABSOLUTELY AMAZING. Like, forget sharing these. You're going to eat the whole batch. (My coworkers and mama are soooo lucky, because I actually shared. And my children. And my husband.)

I definitely would recommend freezing the dough, AFTER rolling the balls. The Rolo's hold their form much better, and the consistency of the cookie is much softer. If you don't have time to freeze the dough, however, they are still pretty good!

Printable Recipe

Chocolate Rolo Stuffed Cookies


Ingredients
1/2 cup butter-flavored Crisco
1/2 cup granulated sugar
1/2 cup packed light brown sugar
2 large eggs
1/2 teaspoon pure vanilla extract
1 1/4 cups all purpose Flour
1/2 cup unsweetened cocoa powder
1/2 teaspoon baking soda
1/2 teaspoon salt
1 1/2 teaspoons cornstarch
1/2 cup semi-sweet chocolate chips (mini is preferable)
3 1/2 packages Rolo’s (24-30 total)


Directions
Freeze Rolo’s, at least an hour before making cookies.
Place Crisco and sugars into a stand mixer, cream until well combined. Add eggs and vanilla, beating until well combined. In a separate bowl, mix together flour, cocoa powder, salt, & baking soda. Slowly add into wet mixture until just combined. Mix in chocolate chips.
Form dough into 24-30 small balls. To form cookies: take one ball and make a small hole in the center. Insert one Rolo, then use hands to roll dough into a sphere; ensuring that the Rolo is completely covered. Place onto parchment lined baking sheet. Repeat with all balls, placing them 2" apart. Once finished, freeze dough for one hour.
Preheat oven to 350°.
Bake for 11-12 minutes or until soft set. Be careful not to overbake! They should NOT look completely set! Let cookies cool for 5 minutes before transferring to cooling rack. Serve and enjoy.
Yield/Time
2 - 2 ½ dozen
Prep/total time: 3 hours (including freezing time)
Nutrition Facts
126 calories each (based on 30 ct) *I calculate nutrition facts for my use only, this is not done scientifically


Source (for original): Original (before being slightly adapted) cookie base: Picky Palate

Remember, comments are love! What would be your favorite candy to put in a cookie?