PinIt!

Showing posts with label ginger. Show all posts

Wednesday, December 7, 2016

Gingerbread Cheesecake Dip

I've been doing a lot of gingerbread items this fall... It's not something I normally do, and I'm not always a big fan, but it's just SO Christmas! And, let's be honest-- I love baking for other people, and it makes other people happy for me to make gingerbread things!

I saw this, and thought it would be something easy and tasty. Not time consuming, so it wouldn't be too complicated to do in the morning. (Mornings have actually been easier for me lately... sometimes.) 

This dip is VERY gingerbread-y. If you aren't a fan of gingerbread, you probably won't like this--but, you should make it anyways. The gingerbread people in your life will love you for it!

Oh, and FYI- while some dips don't really need the time to 'set' in the fridge, this one does. I actually add more cool whip than the original recommends, because it seems too thin without it. (The taste is still very strong though, so don't worry about that!)

Printable Recipe
Gingerbread Cheesecake Dip

Ingredients

  • 8 ounces cream cheese, softened
  • ¼ cup brown sugar
  • ¼ cup powdered sugar
  • 3 tablespoons molasses
  • 1 teaspoon ground ginger
  • 1 teaspoon ground cinnamon
  • ¼ teaspoon nutmeg
  • 8 ounces Cool Whip
  • Graham crackers, animal crackers, etc. for serving
Directions

  1. In a large mixing bowl, beat the cream cheese until smooth, about 1 minute. Add the sugars and molasses; beat on medium speed until smooth and combined. Add the spices and mix until combined.
  2. Beat in the Cool Whip until combined.
  3. Transfer dip to a serving bowl and chill until ready to serve. Serve with graham crackers, animal crackers, etc. 
Yield/Time
Approx 4 cups (estimate)
15 minutes + cooling
Nutrition Facts *I calculate nutrition facts for reference only, this is not done scientifically
116/ ¼ cup (estimate)

Source (for original): Food, Folks & Fun

Monday, November 21, 2016

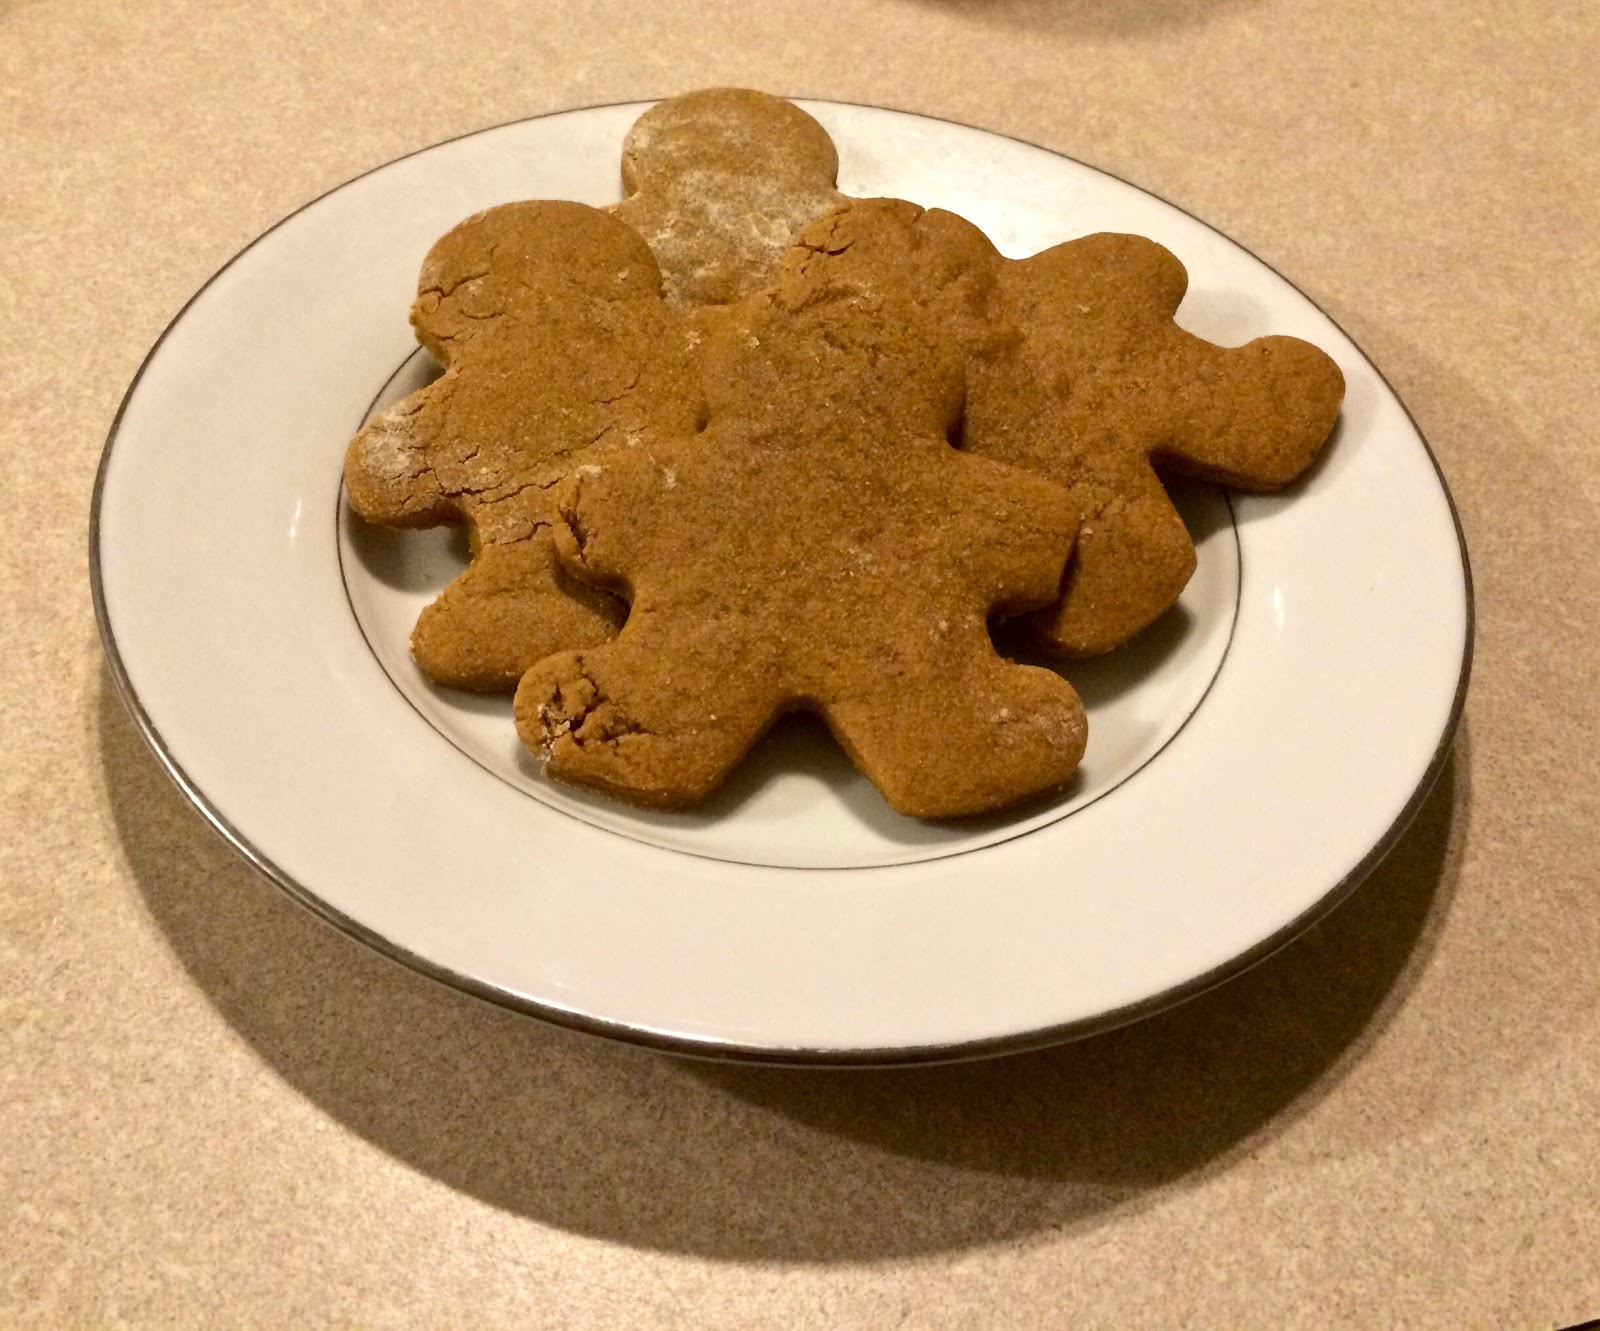
Gingerbread Cookies

I am, in general, not a fan of gingerbread cookies. I can have one or two, but they are not my thing. Nate is usually a fan though, and I like to try to do the "typical" seasonal things. I have a recipe that I've made before, but these are slightly different. Also, those are the ones I made for my mom to use on her advent calendar.... and there's something about the fact that they can last for years that throws me off. Time for a new, different recipe! :)

These, as advertised on the blog I got them from, don't spread. I like that about them. I was iffy to use butter, in my experience it tends to cause more issues than using Crisco, especially with spreading. (I know I've talked about my love for Crisco before.)  However, I am pretty fond of these. I think the lack of baking powder/baking soda helps, too. 


They are fairly crunchy, but soften a lot if you add frosting. Frosting is totally optional, though!

Remember, comments are loved! Tell me about your favorite gingerbread recipes & ideas!


Printable Recipe

Gingerbread Cookies

Ingredients
  • 6 tablespoons unsalted butter, room temperature
  • ¾ cup brown sugar
  • 1 large egg
  • ½ cup molasses
  • 2 teaspoon vanilla
  • 3 cups all-purpose flour
  • ½ teaspoon salt
  • 1 tablespoon ground ginger
  • 2 teaspoon ground cinnamon
  • ¼ teaspoon ground cloves

Directions
  1. Preheat the oven to 375°. Line a baking sheet with parchment paper. 
  2. In a large mixing bowl, cream the butter and sugar together. Do not overmix. Add the egg, and mix until incorporated.
  3. Add the molasses, and vanilla; mix just until incorporated.
  4. Whisk the flour, salt, and spices together in a separate bowl. Slowly mix in the flour mixture.
  5. Roll the dough out on a lightly floured surface, to ¼" thickness. Place on prepared baking sheet, and bake for 8-9 minutes.

Yield/Time
Approximately 27 cookies
45 minutes
Nutrition Facts
110

Source (for original): The Kitchen Paper


Cream Cheese Icing

Ingredients
  • 4 ounces cream cheese, softened
  • ¾ cup powdered sugar
  • 2-3 tablespoons milk

Directions
  1. In a large mixing bowl, mix together the cream cheese, powdered sugar, and milk to desired consistency. 
  2. Spread over cookies. 

Yield/Time
5 minutes
Nutrition Facts
20/cookie


Source (for original): Love Grows Wild

Friday, September 30, 2016

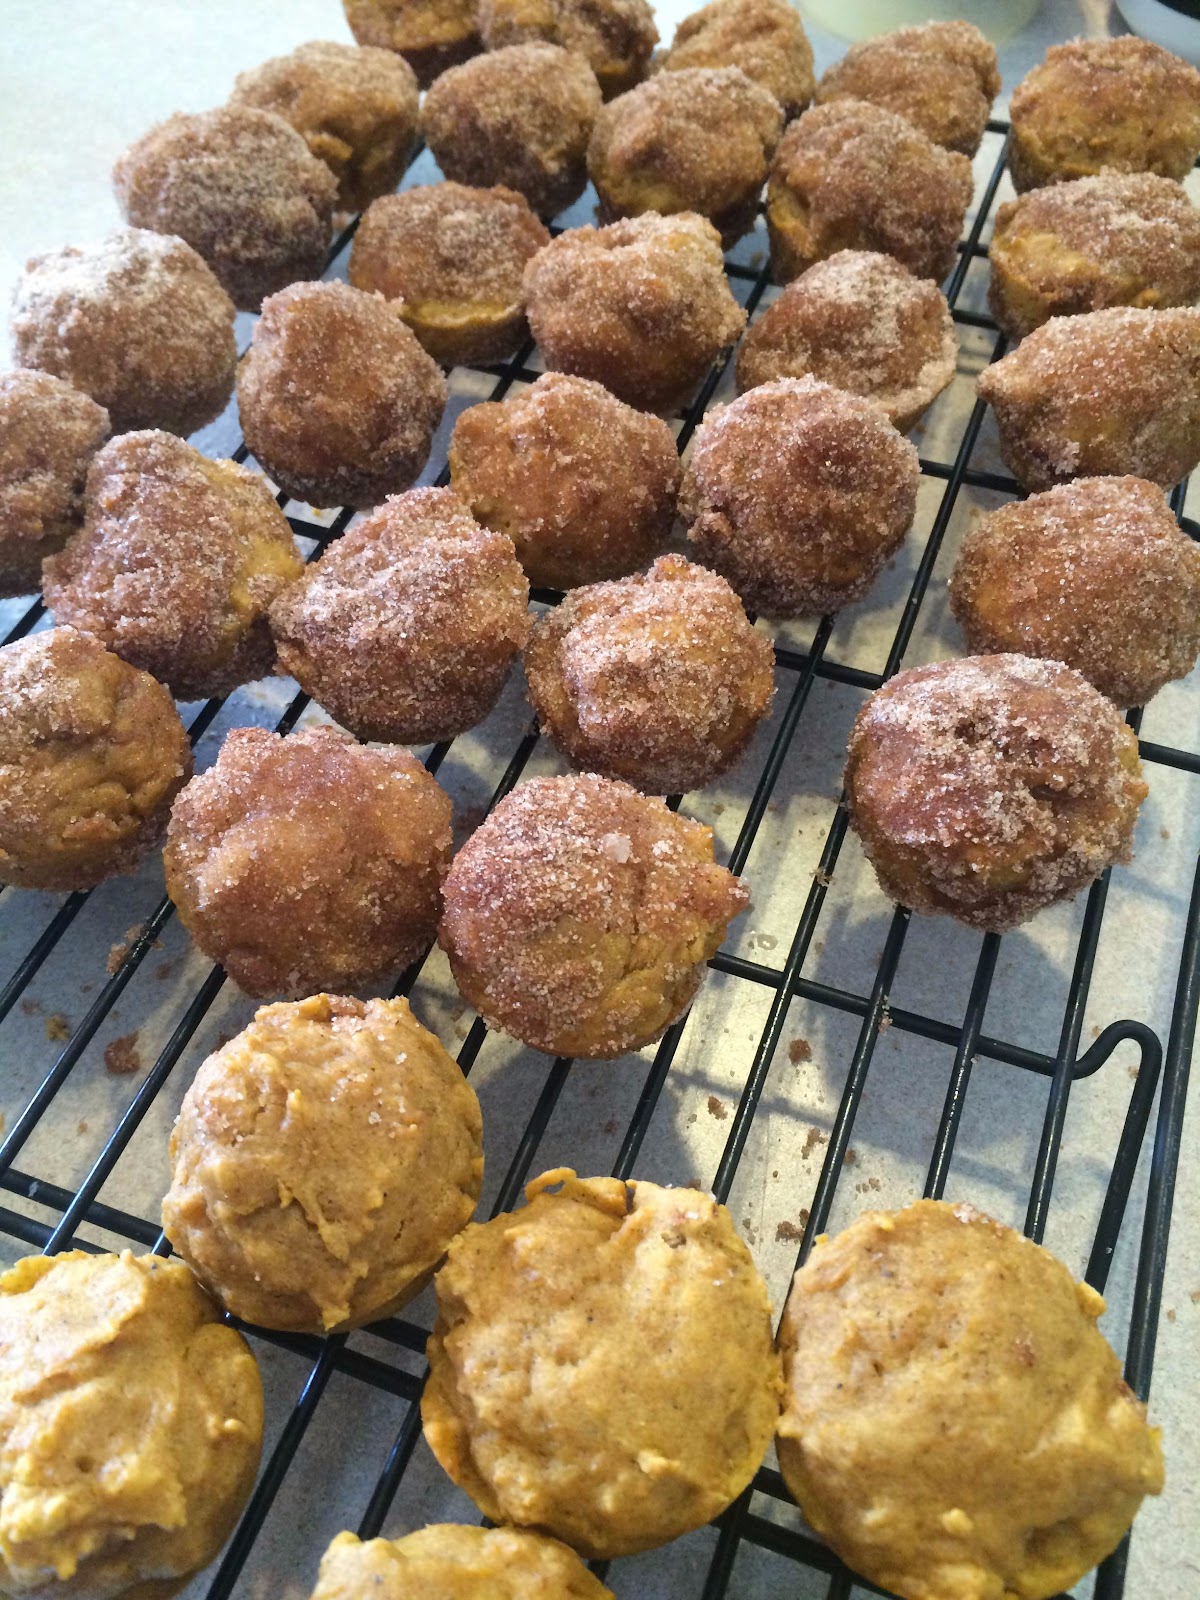
Baked Pumpkin Donuts-the taste of fall!

I love fall. This is, without a doubt, my favorite time of the year. Getting ready for all the fun of the holidays, the leaves are beautiful, it's not too hot or too cold, and I have the desire to bake even more than normal. Good times!

I started my fall-style baking yesterday. I really wanted to make spiced apple cider donuts, but I didn't have any apple cider. Dug through my pantry, found a can of pumpkin puree, and decided to find a recipe for pumpkin donuts instead!

These are perfect. I made donut holes, that's our preference with little ones in the house, and they turned out great. They are full of pumpkin, are deliciously moist, and have plenty of spices in them! 

Now, these are good dipped in butter & coated in cinnamon sugar, but they are great by themselves too. Adrian, oddly enough, seemed to prefer them without coating. Nate, Gabriel, & I preferred them with the coating. (I won't tell you how quickly my family of 4 went through a batch of these...)

These are a perfect baking idea for a rainy fall day!

Printable Recipe
Baked Pumpkin Donuts

Ingredients
Donuts
  • 2 cups all-purpose flour
  • 2 teaspoons baking powder
  • 1 teaspoon cinnamon
  • ¼ teaspoon ginger
  • ¼ teaspoon allspice
  • 1 teaspoon nutmeg
  • ½ teaspoon salt
  • 1 cup pumpkin puree
  • ½ cup light brown sugar
  • 1 large egg
  • ½ cup milk
  • ¼ cup unsalted butter, melted
  • 1 teaspoon vanilla

Coating
  • ⅔ cup cinnamon-sugar mixture
  • 5 tablespoons unsalted butter, melted and slightly cooled


Directions
  1. Preheat oven to 350°. Lightly spray 2 mini muffin pans with non-stick cooking spray; set aside. (Alternately, lightly spray donut pan.)
  2. In a large bowl, whisk together the flour, baking powder, spices, and salt. Set aside.
  3. In a separate bowl, mix together the pumpkin, brown sugar, egg, milk, butter, and vanilla. Make a well in the center of the dry ingredients; add the wet ingredients until just combined. 
  4. Spoon the batter into the prepared pans, about ⅔ - ¾ of the way full. Bake for 10-13 minutes or until a wooden toothpick inserted into the center comes out clean. (Note: metal pans take slightly less time than silicon; watch closely if you are using metal. Donut pan may take longer.)
  5. Remove from the oven, and place the donuts on a wire rack to cool. 
  6. Once cool, dip each donuts  into the melted butter, then roll in the cinnamon-sugar mixture. Be sure to coat well.

Yield/Time
40 donut holes
(maybe 13 donuts?)
1 hour
Nutrition Facts
47/donut hole
(71 with cinnamon sugar)
144/donut
(220 with cinnamon sugar)

Source (for original): Live Well Bake Often

Remember, comments are loved! What's your favorite fall baking recipe?

Wednesday, September 7, 2016

Buttermilk Bread

My Grandma is one of my favorite people in the world. Partly because she taught me most of what I know, partly because she's just amazing, and partly because she shares recipes with me.

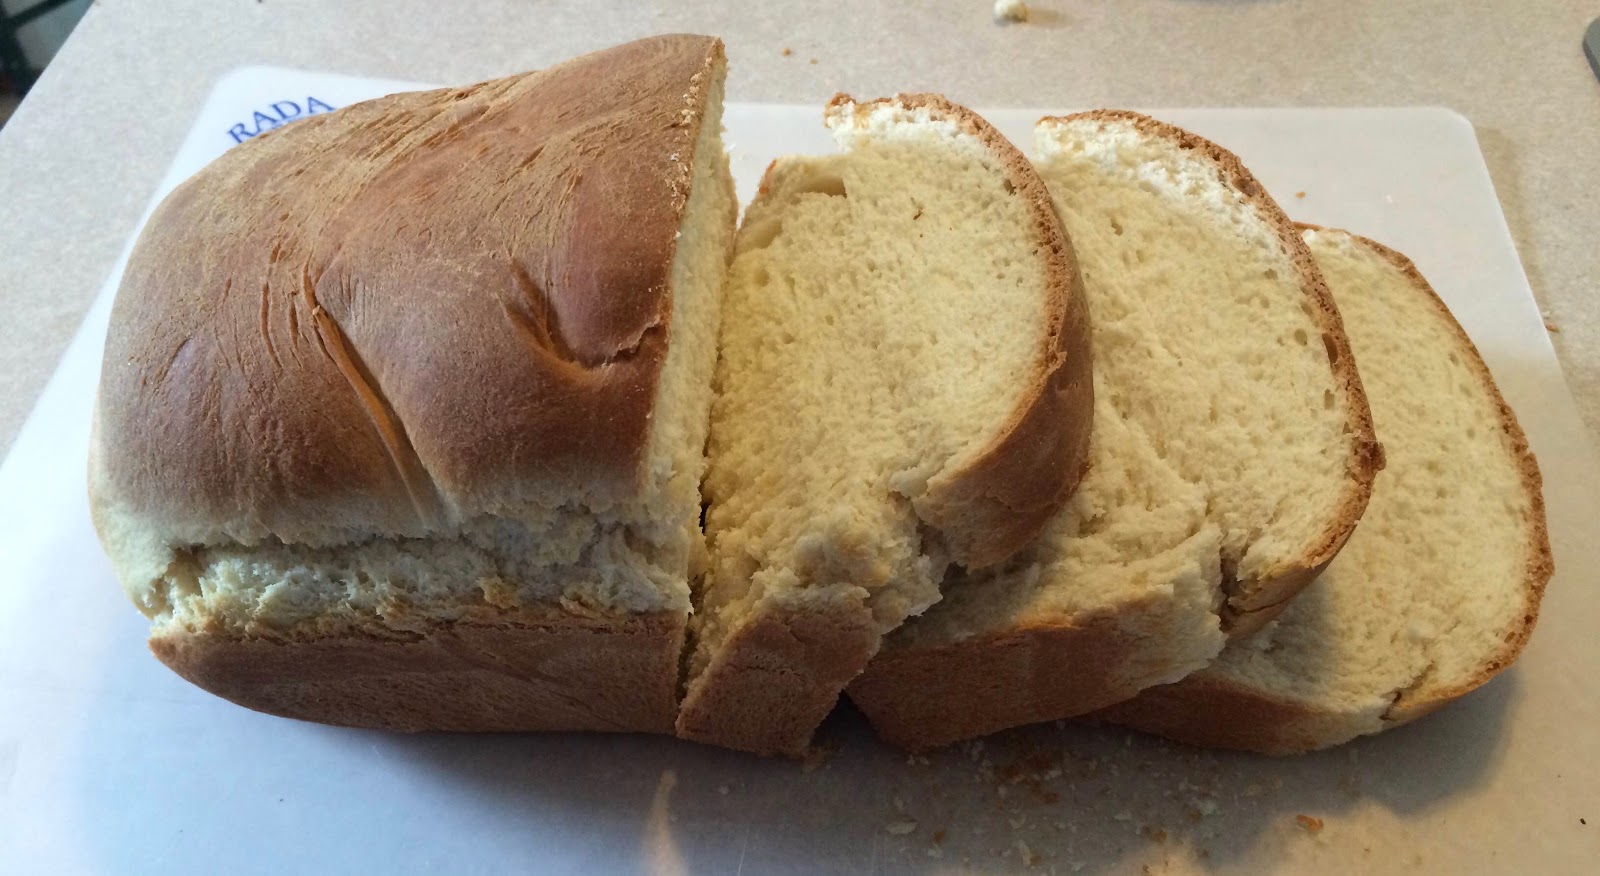
Like this one. I have no idea where she got it, but she shared it with me, and that's the important part. I have a few plain bread recipes, but this is by far my favorite. Close your eyes, and imagine biting into warm, fresh homemade bread. The best warm, fresh, homemade bread you've ever had.

It's not as good as this. Promise.

There is something about the buttermilk in this recipe that makes it amazing. I'm sure it's a combination of everything, but I am giving a lot of the credit to the buttermilk. (Unless you have fresh goat's milk! Then use that! I've done that whenever we had goat milk, and had enough extra that my husband wouldn't divorce me for using it in my baking. He tends to hoard the stuff when we have it.) The taste and texture of this are perfect.

Yes, in the picture I cut the slices really thick. Try this bread, and tell me you wouldn't do the same. You don't even need to butter it. Just eat it warm, fresh, and perfect.

Buttermilk Bread


Ingredients
  • pinch of ginger
  • 1 teaspoon sugar
  • 1 tablespoon yeast
  • ¼ cup warm water
  • 2 cups warm buttermilk (or goat's milk!)
  • ⅓ cup honey
  • 1 teaspoon salt
  • ¾ teaspoon baking soda
  • 6 cups flour, divided
  • ¼ cup butter, melted, cooled until only warm to the touch + extra

Directions
  1. Mix the ginger, sugar, yeast, and water; set aside for five minutes. Add buttermilk, honey, salt and baking soda with the yeast mixture. Add 3 cups flour and mix with electric mixer about 5 minutes on low speed, til smooth. Mix in butter until it is totally incorporated into batter.  Add remaining flour, one cup at a time, keeping mixer on low. When dough pulls away from sides of bowl remove from bowl to floured surface and knead until smooth and elastic. (Can continue to knead in mixer.)
  2. Place in greased bowl and let rise 1 - 1 ½ hours. Meanwhile, grease 2 loaf pans.
  3. Punch down and roll out/form into 2 loaves and place into prepared pans. Let rise 30-45 minutes.
  4. Preheat oven to 400°.
  5. Bake in preheated oven for 25-30 minutes.  Remove from oven and brush with melted butter (optional). Cool in pans for 10 minutes. Turn out and cool on rack.  

Yield/Time
2 loaves, 12 slices each
3 hours
Nutrition Facts
146/slice


Source (for original): my amazing grandma
Remember, comments are loved! What's your favorite bread recipe?

Saturday, December 21, 2013

Perfect Pumpkin Pie

With all the things I enjoy that have pumpkin in them, it may be a surprise that I don't like pumpkin pie. I think it's the texture. I don't mind the taste, the texture is just... weird.

However, since plenty of people in my family do enjoy pumpkin pie, I started making it for the holidays a few years ago. (And it's slightly hard to make a recipe when you can never judge if there is anything that needs to be changed about it....) Apparently, it's quite awesome.  I'll take their word for it, because I've tried it and thought "meh, it's still pumpkin pie." 

So, if you haven't decided on what to make for dessert for Christmas.... everyone (but me) loves pumpkin pie! This is exceptionally easy to make, too. I haven't seen or played with other recipes, for the simple reason that this is so easy and I never get any complaints or "maybe you should try doing x" comments.

One thing that could be fun to do (and I did this with my apple pies too) is use cookie cutters to make pretty designs around the edge. Obviously, for pumpkin pie, I wanted cookie cutter pumpkins on top! I wish I had some smaller cookie cutters, but since no one wants small cookies.... I don't. ;)

Remember, comments are love! 
     

(Oh, and I apologize profusely for the picture. I made this one for Thanksgiving, and forgot to take a picture til I got to Mama's. At that point, I didn't have the camera; just my cruddy camera phone. The shine on the top of the pie was some slight condensation; I had to put the warm pie in the carrier for the trip. Oops.)


Perfect Pumpkin Pie


Ingredients
  • 1/2 Teaspoon salt
  • 1 1/4 Cups all-Purpose flour
  • 1/4 Teaspoon Salt
  • 1/3 Cup shortening
  • 4-5 Tablespoons cold water
  • 15 Ounces canned pumpkin
  • 14 Ounces sweetened condensed milk
  • 2 Large eggs
  • 1 Teaspoon ground cinnamon
  • 1/2 Teaspoon ground ginger
  • 1/2 Teaspoon ground nutmeg
  • Redi-whip


Directions
If using a store-bought crust, skip the first 5 ingredients and steps 2-5, and prepare crust as directed.
  1. Heat oven to 425°. 
  2. In a medium bowl stir together flour and salt. Using a pastry blender, cut in shortening until pieces are pea size. Sprinkle 1 tablespoon of the water over part of the flour mixture, gently toss with a fork. Repeat moistening flour mixture, using 1 tablespoon of the water at a time, until all the flour mixture is moistened. Form pastry into a ball.
  3. On a lightly floured surface, slightly flatten pastry. Roll pastry from center to edges into a circle about 12” in diameter.
  4. Wrap pastry circle around the rolling pin. Unroll into a 9” pie plate. Ease into pie plate without stretching it.
  5. Trim pastry to ½” beyond edge of pie plate. Fold under extra pastry. Crimp edges as desired.
  6. Whisk pumpkin, sweetened condensed milk, eggs, spices, and salt in medium bowl until smooth. Pour into crust.
  7. Bake 15 minutes. Reduce oven temperature to 350°; bake an additional 35-40 minutes or until knife inserted 1” from crust comes out clean. Cool. Garnish as desired.
Yield/Time
Serves: 8 Yields: 1 pie
Prep Time: 15 Cook Time: 50

Source (for original): Taste of Home for the pie itself, Better Homes & Gardens Cookbook for the crust

Thursday, November 7, 2013

Apple Pie: Some For Now, Some For Later....


This may be surprising, but my love of sweets doesn't really extend to pie. Don't get me wrong, I don't dislike pie, it's just not my first choice for a yummy sweet after a meal. However, we had a lot of apples this year. In addition to the 1/2 bushel we got at the orchard, we got another bushel or so from my in-laws. 

Since I was up to my ears in apples, I had to find things to do with them. I made 3 batches of applesauce, 2 batches of apple jelly, 2 batches of apple crisp, 2 batches of peanut butter apple muffins, 2 loaves of apple bread, 1 dehydrator full of dried apples, and still had enough apples that I decided to make some pies to put in the freezer.  (This is, of course, in addition to the apples that we've just eaten plain.)

So far, I have made 5: 1 to make sure I can make a decent apple pie, and 4 to freeze once we determined that I do make a good pie. (Between Mama, Nate, and two of my coworkers, I got plenty of compliments; apparently it's more than decent. Again, I'm not really a pie fan, so it's honestly hard for me to tell.) 

Since I am making so many, I had quite a bit of fun with the top crusts, too. Out of the five, I only did one 'normal' crust. (Which I don't have a picture of, because honestly, who cares about that one?)


 I've made 2 lattice-one we ate (pictured), and one for the freezer.
I got creative and had fun with cookie cutters, too! One star....
And one tree! At some point around Christmas I know we'll wind up getting a pie out of the freezer, and this one will be perfect!

Now, neither of the cookie-cutter pies pictured above is cooked. To freeze them, I prepared as directed below & froze prior to baking. Per my awesome big brother who has done this before, you just have to bake for an additional 10-15 minutes when you take it out of the freezer. 

Don't they look yummy? Everyone seems quite excited that we are going to have fresh apple pie into the winter/spring/summer (if they last that long). I'm just glad I have most of the apples used up.... only another dozen or so left. That should be enough for another apple pie, and maybe some apple bread too....

Before I get too overwhelmed with the amount of apple-something-making I need to do still, here's the apple pie recipe I used!
 Remember, comments are love! Do you make apple pie regularly? How do you decorate the crust?

 
Apple Pie

Ingredients
  • 2 ¼ cups all-purpose flour   
  • ¾ teaspoon salt   
  • ⅔ cup butter-flavored shortening   
  • ¼ - 1 cup cold water  
  • 6 cups thinly sliced, peeled apples
  • ¼ to ¾ cup sugar
  • 2 tablespoons all-purpose flour
  • ¼ teaspoon ground nutmeg
  • ½ teaspoon ground cinnamon
  • ⅛ teaspoon ground ginger (optional)
Instructions
  1. In a medium bowl stir together 2 ¼ cups flour and salt. Using a pastry blender, cut in shortening until pieces are pea size. Sprinkle small amounts of the water over part of the flour mixture; gently toss with a fork. Repeat moistening flour mixture, using small amounts of the water at a time, until all the flour mixture is moistened. (I always use more than they recommend, which is 1/4 cup. My crusts turn out great, so I just go into the mixture is moistened enough; never really measure.)  Form pastry into 2 balls.
  2. On a lightly floured surface, slightly flatten each pastry. Roll from center to edges into a circle about 12” in diameter. Wrap pastry circle around the rolling pin. Unroll into a 9” pie plate, without stretching it. Trim pastry to ½” beyond edge of pie plate.
  3. In a large bowl, stir together sugar, 2 tablespoons flour, cinnamon, nutmeg, and ginger (if desired). Add apple slices; toss to coat.
  4. Transfer apple mixture to pie plate. Cut slits in remaining pastry shell and cover apples; crimp as desired. 
  5. (Alternatively, can also prepare lattice shell or cookie-cutter designs. For lattice: cut the dough into even strips, approximately ½” wide. Place strips across the apples, with about ½” space between each. Fold back alternating strips, halfway across the pie. Place a strip perpendicular to the parallel strips. Unfold the folded strips over the perpendicular strip. Repeat with original strips that were not folded back originally. Keep repeating steps until half the pie is covered, then repeat with the other half. Crimp edges. (For a picture tutorial, go here. This is the site I used when I was trying to figure out an easy way.) For cutouts, use desired cookie cutter shapes to cut out enough pastry to cover the pie. Form extra dough into a ball and roll out again as needed to obtain enough shapes. Place around edge of pie, moving in circles to cover the pie in slightly overlapping layers. Leave some small sections of pie uncovered to let out steam. See pictures above.) I apologize for the cruddy directions... there's a reason I'm not a teacher.
  6. Cover edges of pie with foil to prevent overbrowning.
  7. Bake at 375° for 40 minutes. Remove foil, bake for an additional 20 minutes or until apples are tender and filling is bubbly.
Yield/Time
8 servings
1 ½ hours

Nutrition Facts
395 calories, 18 g fat, 4 g saturated fat, 0 mg cholesterol, 219 mg sodium, 57 g carb


Comments
For sweeter apples, use smaller amount of sugar. For the apples I used, I only used ¼ cup.
To freeze, prepare as directed then freeze prior to baking. When you want one, remove from freezer then bake as directed, adding an additional 10-15 minutes of baking time.

Source (for original): Better Homes & Gardens