PinIt!

Showing posts with label experimenting. Show all posts

Friday, January 6, 2017

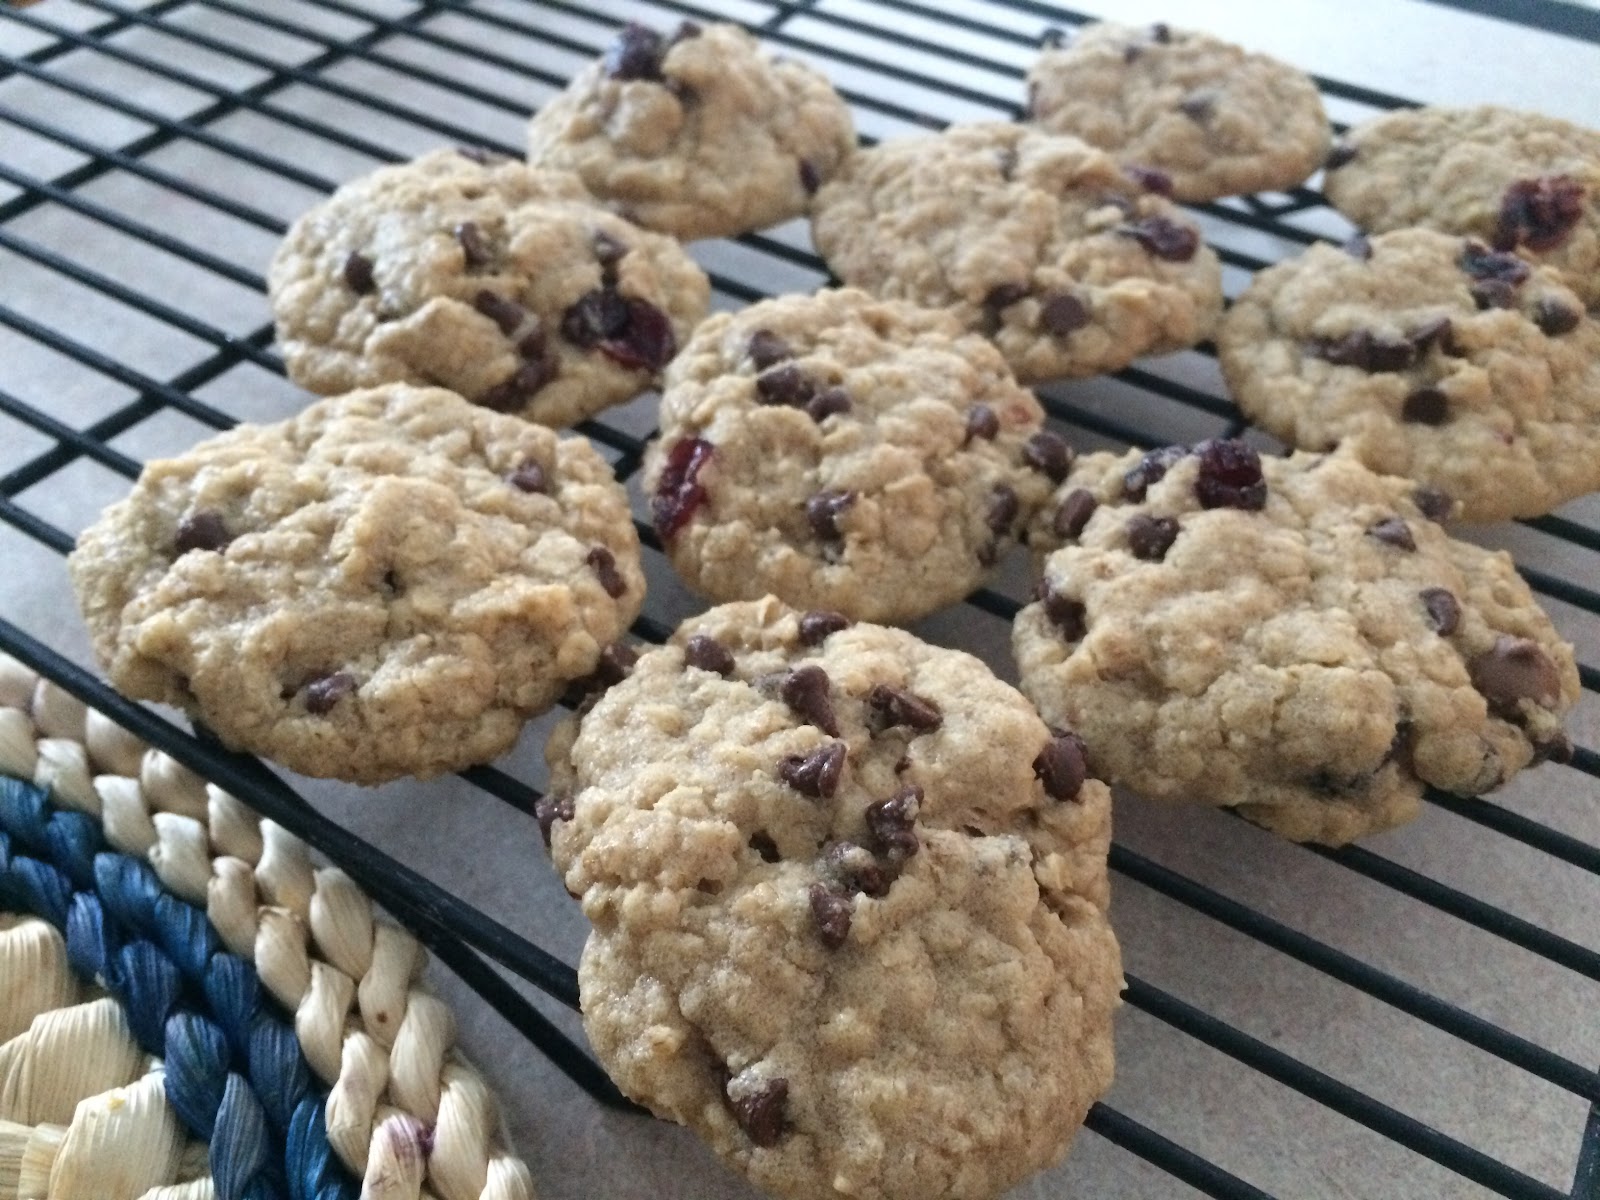
Oatmeal Chocolate Chip Cranberry Cookies!

If you are on my facebook, you probably saw my story yesterday, but I hope you'll forgive my re-telling!

My boys were having their afternoon snack yesterday after Gabriel got out of school, and part of it was dried cranberries. (Which they love.) Gabriel announced that we should make cookies with cranberries in them someday. Well, no time like the present--I was already planning on making oatmeal chocolate chip cookies sometime soon, so I asked if he wanted to add cranberries! He was so excited that these were his cookies!

(And no, this never would've occurred to me on my own... Have you ever read the quote "oatmeal raisin cookies that look like oatmeal chocolate chip cookies are the reason I have trust issues."? Yeah, that's fitting for me.)

We subbed out a little over half of the chocolate chips from my regular oatmeal chocolate chip cookie recipe for dried cranberries, and he decided to do the rest as a combination of milk chocolate/mini chocolate chips. (I gave him quite a few different options... but you can't just pick one!) They turned out great! I made some as regular chocolate chip, for me, but the boys devoured quite a few of the cranberry ones! They were both fairly heartbroken that they could only have two before dinner.

Next time I might try again and see if he wants to do white chips, which quite a few people suggested, but we'll see. He's his mother's child-- that might not be good enough for him. ;)

My favorite part of all of this is getting the boys involved in the kitchen... I love it!!

Remember, comments are loved! What's your favorite oatmeal cookie add in? (I promise not to judge too much if it's raisins!)
Oatmeal Chocolate Chip Cranberry Cookies


Ingredients
  • 1 cup butter-flavored Crisco
  • 1 cup packed light brown sugar
  • ½ cup white sugar
  • 2 eggs
  • 2 teaspoons vanilla extract
  • 1 ¼ cups all-purpose flour
  • ½ teaspoon baking soda
  • 1 teaspoon salt
  • 3 cups quick-cooking oats
  • 1 ¼ cup milk chocolate chips/dried cranberries

Directions
  1. Preheat the oven to 325°. 
  2. In a large bowl, cream together the Crisco and sugars until smooth. Beat in eggs one at a time, then stir in vanilla. 
  3. Combine the flour, baking soda, and salt; stir into the creamed mixture until just blended. Mix in the quick oats, and chocolate chips. Drop by heaping spoonfuls (or form into balls) onto ungreased baking sheets.
  4. Bake for 11-12 minutes. Allow cookies to cool on baking sheet for 5 minutes before transferring to a wire rack to cool completely. 

Yield/Time
3 dozen
1 hour
Nutrition Facts *I calculate nutrition facts for reference only, this is not done scientifically

168 calories/cookie


Source (for original): Radiant Dust


Wednesday, August 31, 2016

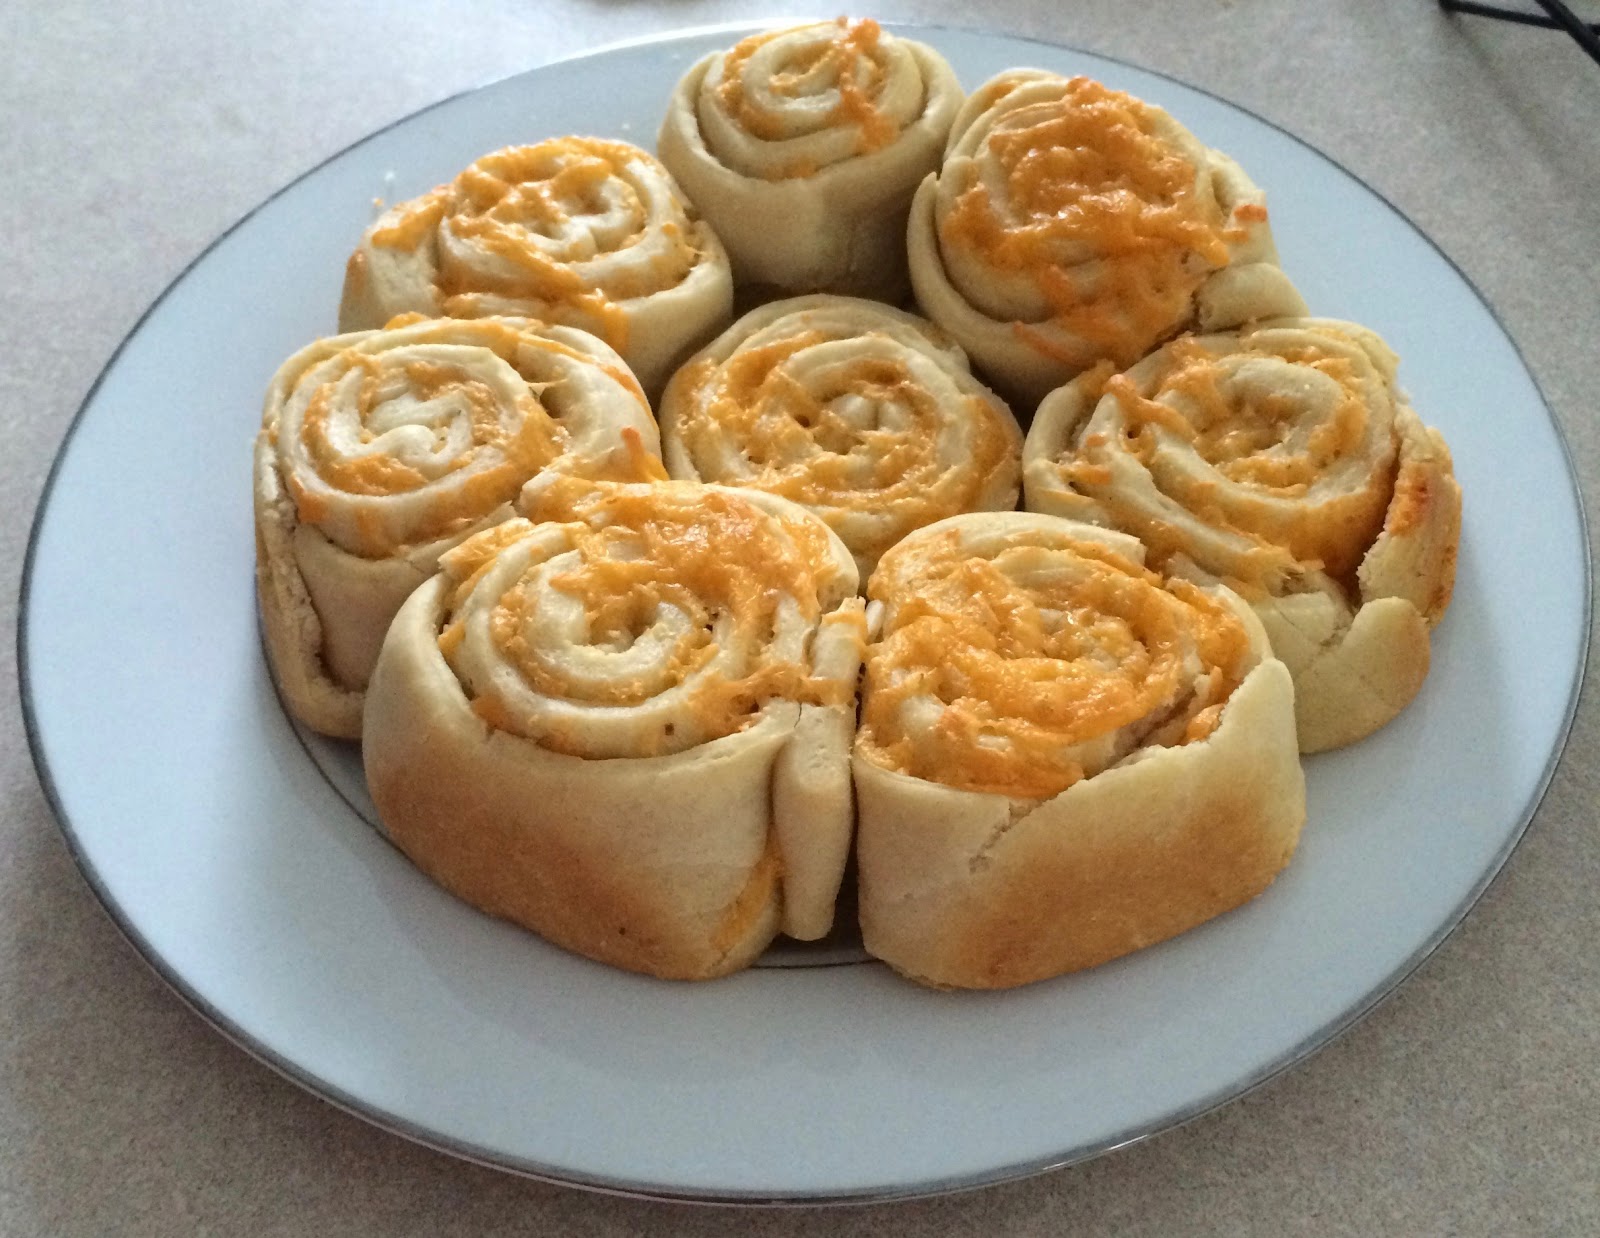
Garlic Cheese Rolls (updated)

Confession time: I am one of those people who cannot leave a recipe alone. If you know me in person, and I've ever made something for you, you probably know that about me. "Let me know what you think I should do differently!" is one of the first things I say when I give food to people. I love to tweak things until I decide they are absolutely, truly perfect.

It's not my fault though, my husband encourages me.

This is one of those recipes. I originally posted this awhile ago, when I first made it. I was so excited that it turned out so well, I had to share right away! Now it's been a couple years, and I think at this point I actually have it to my level of perfect. With minimal changes, too. We'll see though. You know me. ;)

These rolls are a perfect addition to a dinner, or great to just snack on. (Warning: they are addicting.) They are wonderfully cheesy, with just the right amount of garlic and butter. (Another warning: I really like garlic. Really, really like garlic. You may want to cut down if you are not a huge fan. Or just throw caution to the wind and try it anyways, because these rolls are amazing.) I think my favorite part is that they are actually rolls vs. a biscuit-- they are great to peel apart and eat. That just might be me though...

Garlic Cheese Rolls


Ingredients
  • 2 3/4 - 3 1/4 cups all-purpose flour
  • 2 1/4 teaspoon active dry yeast
  • 1/4 teaspoon salt
  • 1 cup warm water (120°-130°)
  • 2 tablespoons vegetable oil
  • 1/2 cup butter, softened
  • 2 teaspoons Garlic Garlic (or garlic powder)
  • Additional herbs/seasonings, optional
  • 2 1/2 cups cheese (mozzarella, cheddar, or colby jack)
Directions
  1. In a large mixing bowl, combine 1 1/4 cups flour, yeast, and salt; add water and oil. Beat on low speed for 30 seconds; then scrape bowl. Beat on high speed for 3 minutes. Knead in another 1 1/2 cups flour; adding up to 2 cups if needed. Knead for 6-8 minutes, to make a moderately stiff dough that is smooth and elastic.
  2. Cover, let rest for 10 minutes. Grease 3 8" cake pans, or 1 9"x13" pan; set aside. Note: DO NOT use metal cake pans. I've tried it multiple times, and it may just be my pans, but they stuck very badly.
  3. Meanwhile, beat together butter and garlic, adding additional seasonings as desired.
  4. Roll dough out into large rectangle (approximately 24”x12”). Spread garlic butter to within 1” of edge. Sprinkle with 2 cups desired cheese. Roll up jelly-roll style.
  5. Slice into 18-20 rolls, then place prepared pans. Sprinkle with remaining cheese. Let rise in a warm place for 30 minutes.
  6. Preheat oven to 350°.
  7. Place pan(s) on center rack, bake for 20-25 minutes or until golden brown. Remove to wire rack to cool.

Yield/Time
18-20 rolls
1 1/2 hours
Nutrition Facts *I calculate nutrition facts for reference only, this is not done scientifically
173 each/20 rolls


Source (for original): Better Homes & Gardens (dough), and the loose idea for the rolls came from a blog that no longer exists.
Remember, comments are loved! What's your favorite go-to roll?

Tastefully Simple info: If you are interested in making a purchase, you can purchase through my page, or just search and select "Serena Lee" as your consultant. Obviously, if you are not local and already have a consultant.... purchase through them online, or contact them! Shop local, as always! Disclaimer: I am paid a small amount with each purchase, based on sales, made through myself as a consultant. You are helping to support my baking addiction, thank you! ;)

Thursday, August 25, 2016

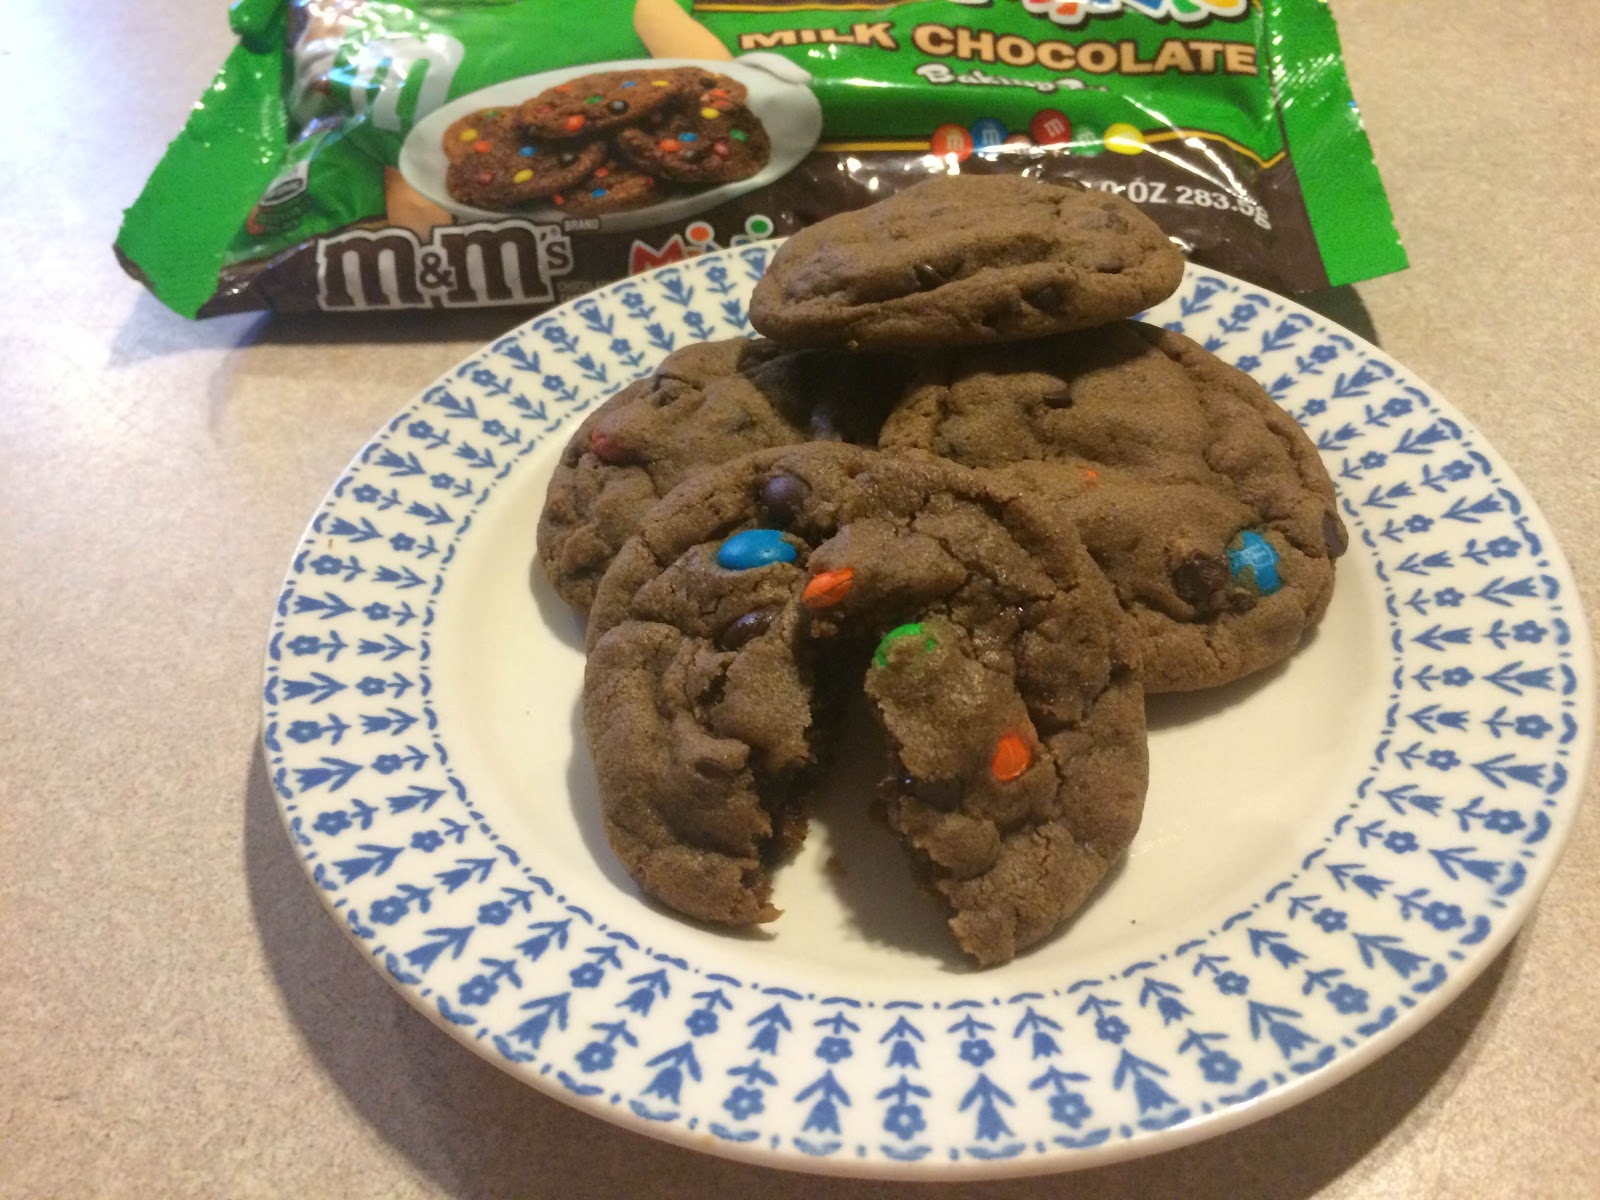
Chocolate Peanut Butter M&M Cookies

If you follow my page on Facebook, you probably saw my (teaser) post about perfecting my new cookie recipe. These things are AMAZING. I've discovered two things recently: 1, cornstarch seriously makes the cookie. 2, freezing dough for an hour before baking makes a huge difference in texture. 

I've wanted to do something slightly different with my base cookie recipe, and I needed to use up some of my chocolate peanut powder before it outdated, so I decided to experiment. Experiment #1, while everyone thought it was great, needed some changes. A few changes later... these cookies are fabulous! They are perfectly soft, full of lots of chocolate chips and M&M's, just barely a taste of peanut butter, and the perfect amount of chocolate!

Printable Recipe
Chocolate Peanut Butter M&M Cookies

Ingredients
1/2 cup butter-flavored Crisco
1/2 cup granulated sugar
1/2 cup packed light brown sugar
2 large eggs
1/2 teaspoon pure vanilla extract
1 1/4 cups all purpose Flour
1 tablespoon unsweetened cocoa powder
1/4 cup + 3 tablespoons chocolate peanut powder
1/2 teaspoon baking soda
1 1/2 teaspoons cornstarch
1/2 teaspoon salt
3/4 cup mini chocolate chips
3/4 cup mini M&M’s

Directions
  1. Place Crisco and sugars into a stand mixer, cream until well combined. Add egg and vanilla, beating until well combined. Slowly add flour, cocoa powder, chocolate peanut butter powder, baking soda, cornstarch, and salt. Hand mix in chips and M&M’s.
  2. Scoop dough (or form into balls) and place onto a parchment lined baking sheet. (Spacing does not matter, as long as they do not touch.) Freeze for 1 hour.
  3. Preheat oven to 350°.
  4. Remove cookie dough from freezer, and place 2” apart on parchment lined baking sheet. Bake for 10-13 minutes or until edges are set. Let cookies cool for 5 minutes before transferring to cooling rack. Serve and enjoy.

Yield/Time
2 dozen
Prep/total time: 2 hours
Nutrition Facts
130 calories each (30 ct) *I calculate nutrition facts for reference only, this is not done scientifically


Source (for original): Picky Palate

Remember, comments are loved! Have you tried any of the peanut powders? What's your favorite recipe with them?

Friday, November 22, 2013

Peppermint Bark: Trying to beat Russell Stover's at their own game....


The hard thing about working in retail is that there is always soooo much candy to tempt me. Personally, Russell Stover's caramels are usually my downfall--the ones that are available seasonally. Caramel Hearts, Caramel Pumpkins, Caramel Santas, Caramel Eggs.... really, Russell Stover's makes the best caramel. (The really unfortunate thing is that my boss is aware of this, and I swear he buys extra for every holiday because he knows I'll eat it.) 

However, one of my coworkers is basically addicted to their Peppermint Bark Snowmen. When I've wanted something sweet at work lately, I've got either that or the Peppermint Bark Candy bars. 

Really, don't they look yummy? I know those are poor quality pictures (just what I found online), but trust me--they are amazing. Fairly addicting too, and I think those might be my new favorite. (I had a caramel pumpkin that got  too close to my stove this fall, and the chocolate tasted funny, so now I'm off caramel for awhile.) The only problem was that I was convinced that I could make that at home, even if not quite to that caliber.

So, I got some candy coating, peppermint extract, candy canes, and went to work.

First experiment was a flop, in my opinion. I discovered that I really don't care for peppermint extract. The other people that I shared it with (coworkers, family, etc) thought it was great, but I couldn't get past the flavor of the extract. It wasn't close enough to the Russell Stover's candy, and there's just something about the taste that bothered me.

Second experiment was much better, but I made the mistake of buying Log House candy coating vs the Meijer brand that I had bought before. The texture was... funny. I don't really know how to describe it, it was just off. (And no, in case you were wondering--I am not the only one who thought so.) I would recommend against buying that brand, unless it's the only one available. 

For the second experiment, I tried using about 1/4 dram of Lorann Peppermint Oil. (The kind you use for making hard candy.) That, combined with the candy canes, gave it a wonderful peppermint flavor. Next time I might try toning it down a little, but we'll see.

We all agreed that the second try was much, much better. However, this is like the Candy Bark I made around Halloween.... you can't really go wrong! Play with it, see what you like! Try adding different types of candy canes (have you seen the flavors of candy canes they have??? I had to search to find normal ones at Meijer!), different oil flavors (obviously making sure it's the edible kind; Lorann makes a ton), etc. Have fun with it! 

Let me know what you do! I love to get different ideas. :)

Remember, comments are love!


Peppermint Candy Bark


Ingredients
  • 8 ounces chocolate candy coating
  • 10 ounces vanilla candy coating
  • 1/4 dram peppermint oil
  • 3-4 candy canes, broken into small chunks


Directions
  1. Melt chocolate candy coating in a double-boiler.
  2. Meanwhile, place aluminum foil in a 8”x8” baking pan, going at least 1” up all sides. Ounce chocolate is melted, pour into pan. Refrigerate while melting vanilla.
  3. Melt vanilla candy coating in a double-boiler; add peppermint oil once melted. Remove from heat, stir in candy canes.
  4. Remove pan from fridge; carefully pour vanilla over chocolate, small sections at a time. (Chocolate will not be completely hard.)
  5. Let harden, then break into small (or large!) pieces. Enjoy!


Yield/Time
30 minutes

Monday, November 18, 2013

Spiced Pumpkin Bread

I've talked before about how much I love fall, and in Michigan we are still having some very fall-like days. In between the days where mother nature doesn't know what season it is, of course. Even though all the hunters were complaining, I was enjoying the warm rain we got on Sunday. (Well, until the wind got scary and people started posting about tornadoes on facebook. Then, not so much.) It was a perfect fall baking day.....

And since it was a fall baking day, that meant pumpkin! Well, I was debating between pumpkin bread and Nutella banana bread, but the pumpkin won out. I have a pumpkin bread recipe that I love (as well as a pumpkin streusel muffin recipe), but I wanted to make some changes to make it a little healthier. 

(And who said healthier is a bad thing? Look at how tasty that looks!)  

I was debating on the changes to make, and decided on this: sub part of the butter for Greek yogurt, cut down on the sugar, and sub half the flour for wheat flour. I was debating on also switching the sugar to brown sugar, but decided against it. (Didn't really make it any healthier, would add some calories, and since there was already molasses in this, I was afraid of adding brown sugar.)

Since I was making so many changes at once, I cut the recipe in half so I would only make one loaf. (That way, if it failed, I only had to pitch one!) 

Overall, we are definitely pleased by the changes! Cutting down on the sugar makes a significant difference in taste; it tastes less like a sweet bread now. We all still loved it, but if you prefer a sweeter quick bread, I would add the full amount of sugar. It would be easy to vary the sugar content (from ¾ to 1 cup per loaf) depending on how sweet you would like it

One thing that I would suggest, that I didn't think of beforehand, was increasing the spices if you are cutting down on the sugar. The pumpkin is more noticeable, but the cinnamon & cloves aren't very dominant. I honestly can't say if that's because of the sugar decrease, or if I just didn't notice it before. Either way, I would suggest increasing the spices.

To make things easier for people who don't want to have the healthier version or who want to compare, I'm posting both. Check them out, & let me know if you make one or both!


First, the version I made today: (this makes one loaf, just double if you would like to make 2)


Spiced Pumpkin Bread

Ingredients
  • 3 tablespoons butter, softened    
  • 1 ½ tablespoons Greek yogurt 
  • ¾ cup sugar
  • 2 eggs    
  • 1 cup canned pumpkin
  • cup orange juice    
  • 1 tablespoon molasses
  • ¾ teaspoon vanilla extract    
  • ¾ cup + 3 tablespoons all-purpose flour (to double, use 1 ½ cup + cup)
  • ¾ cup whole wheat flour
  • ½ teaspoon baking powder    
  • ½ teaspoon baking soda
  • ½ teaspoon salt    
  • ½ teaspoon ground cinnamon
  • ½ teaspoon ground cloves
Instructions
  1. Preheat oven to 350°.
  2. In a bowl, cream butter, yogurt, and sugar. Add the eggs, one at a time, beating well after each. Add the pumpkin, orange juice, molasses and vanilla. 
  3. Combine dry ingredients; add to the creamed mixture and mix until blended. Pour into a greased and floured 9”x5” loaf pan.
  4. Bake for 65-75 minutes or until a toothpick inserted near the center comes out clean. 
  5. Cool for 10 minutes; remove from the pan to wire rack. 

Yield/Time
16 Servings
Prep: 15 min. Bake: 65 min. + cooling

Nutrition
120 calories per slice


Now, the original (this makes 2 loaves, cut in half if you would like to make 1):
(Oh, and please note: if you make it without the whole wheat flour, it's NOT going to look like my picture. I don't have any pictures of the original recipe, but there is a significant color difference when you switch out some all-purpose flour for whole wheat.)

 Spiced Pumpkin Bread


Ingredients
  • ¾ cup butter, softened    
  • 2 cups sugar
  • 4 eggs    
  • 2 cups canned pumpkin
  • ⅔ cup orange juice    
  • 2 tablespoons molasses
  • 1 ½ teaspoons vanilla extract    
  • 3 ⅓ cups all-purpose flour
  • 1 teaspoon baking powder    
  • 1 teaspoon baking soda
  • 1 teaspoon salt    
  • 1 teaspoon ground cinnamon
  • ¾ to 1 teaspoon ground cloves
Instructions
  1. Preheat oven to 350°.
  2. In a bowl, cream butter and sugar. Add the eggs, one at a time, beating well after each. Add the pumpkin, orange juice, molasses and vanilla. 
  3. Combine dry ingredients; add to the creamed mixture and mix until blended. Pour into two greased and floured 9”x5” loaf pans.
  4. Bake for 65-75 minutes or until a toothpick inserted near the center comes out clean. 
  5. Cool for 10 minutes; remove from the pans to wire racks.

Yield/Time
32 Servings
Prep: 15 min. Bake: 65 min. + cooling

Nutrition Facts
145 calories per slice

Source (for original): Taste of Home (Note: The original original also called for pecans & raisins, to be added after the dry ingredients. I don't like pecans or raisins, so I never made it that way.)