PinIt!

Showing posts with label Candy. Show all posts

Wednesday, December 14, 2016

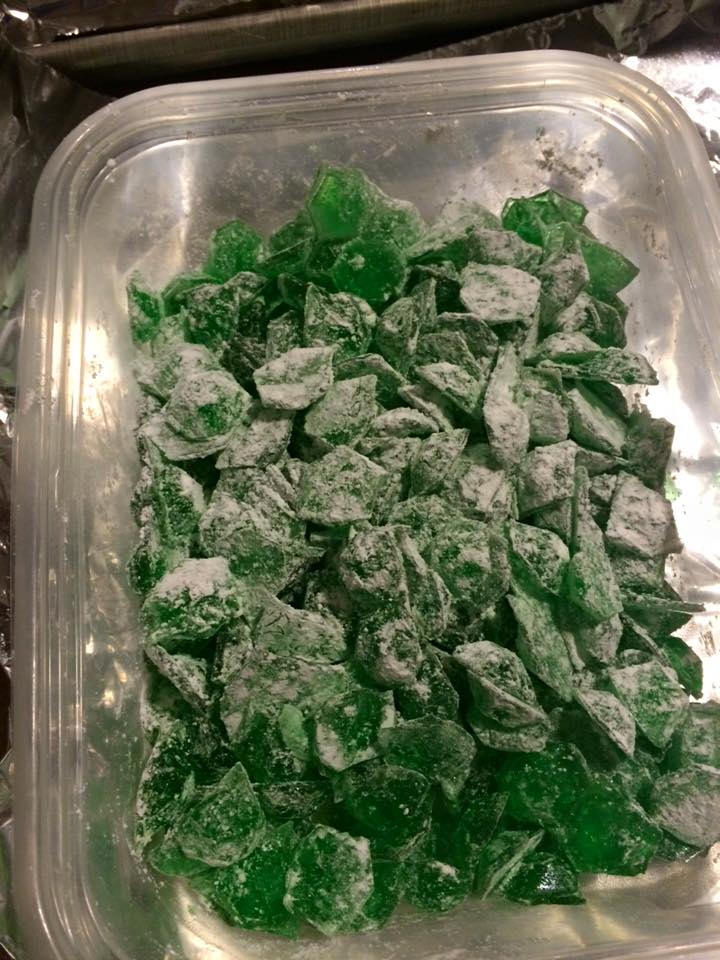
Hard Candy

This is a recipe that's available everywhere, but it's too good not to share anyways. Mainly to encourage others to make it (and use the molds!): hard candy! 

Back when Nate & I got married and I was just starting to REALLY cook, the idea of using a candy thermometer intimidated me. Looking back, I'm not really sure why, but it did. Now I pull out my candy thermometer for everything that calls for it--if the recipe is temperature sensitive, I always use it. 

I actually started making hard candy partly to do something fun & new, and partly to send some to my grandma in Florida. She used to make it, years ago, but doesn't anymore. Now I send about 5 flavors to her every year! I have to make sure she remembers that I'm her favorite, while she's so far away. (Grandpa, too!) ;) 

If you've never made hard candy, it might seem intimidating, but the hardest part is making sure not to breathe in when you are mixing in the flavoring. Trust me. You'll only smell that flavoring for days.  (Cinnamon is effective at clearing your sinuses, though...) The rest, though you have to move quickly at some points, is easy!

Remember, comments are loved! Give it a try, and let me know! What are your favorite flavors?

Printable Recipe
Hard Candy

Ingredients
  • 2 cup sugar
  • ⅔ cup light corn syrup
  • ¾ cup water
  • 1 dram lorann flavoring (Anise, wintergreen, butterscotch/butter rum, and cinnamon are the 4 biggest hits in my family!)
  • food coloring
  • powdered sugar

Directions
  1. In a 2-quart kettle or large saucepan, mix together sugar, corn syrup and water. Stir over medium heat until sugar dissolves. Insert candy thermometer if using (which I always recommend), making certain it does not touch the bottom of the pan. Bring mixture to a boil without stirring.  
  2. Continue to cook the syrup, without stirring, until the temperature reaches 260ยบ; add drops of coloring until desired hue is achieved. (Recommendations vary here, but I usually do about 20 for most colors, that's enough to make it nice & bright.) Do not stir; boiling action will incorporate color.
  3. Remove from heat precisely at 300°, or until drops of syrup form hard, brittle threads in cold water. After boiling action has ceased, add flavor and stir. 
  4. Carefully pour syrup onto the prepared greased and foil lined cookie sheet. (As the sugar mixture begins to set up, you may want to score with a large knife to mark squares.) Do not refrigerate. Alternately, pour into greased molds. (I always recommend using molds. I started last year, and will never go back!)
  5. Cool completely. Break sheet candy into small pieces and dust with powdered sugar, if desired. Store in airtight containers between waxed paper.  Store hard candy in a cool, dry place. Do not refrigerate.

Yield/Time
Approx 400

Nutrition Facts *I calculate nutrition facts for reference only, this is not done scientifically
6

Source (for original): Lorann

Friday, September 9, 2016

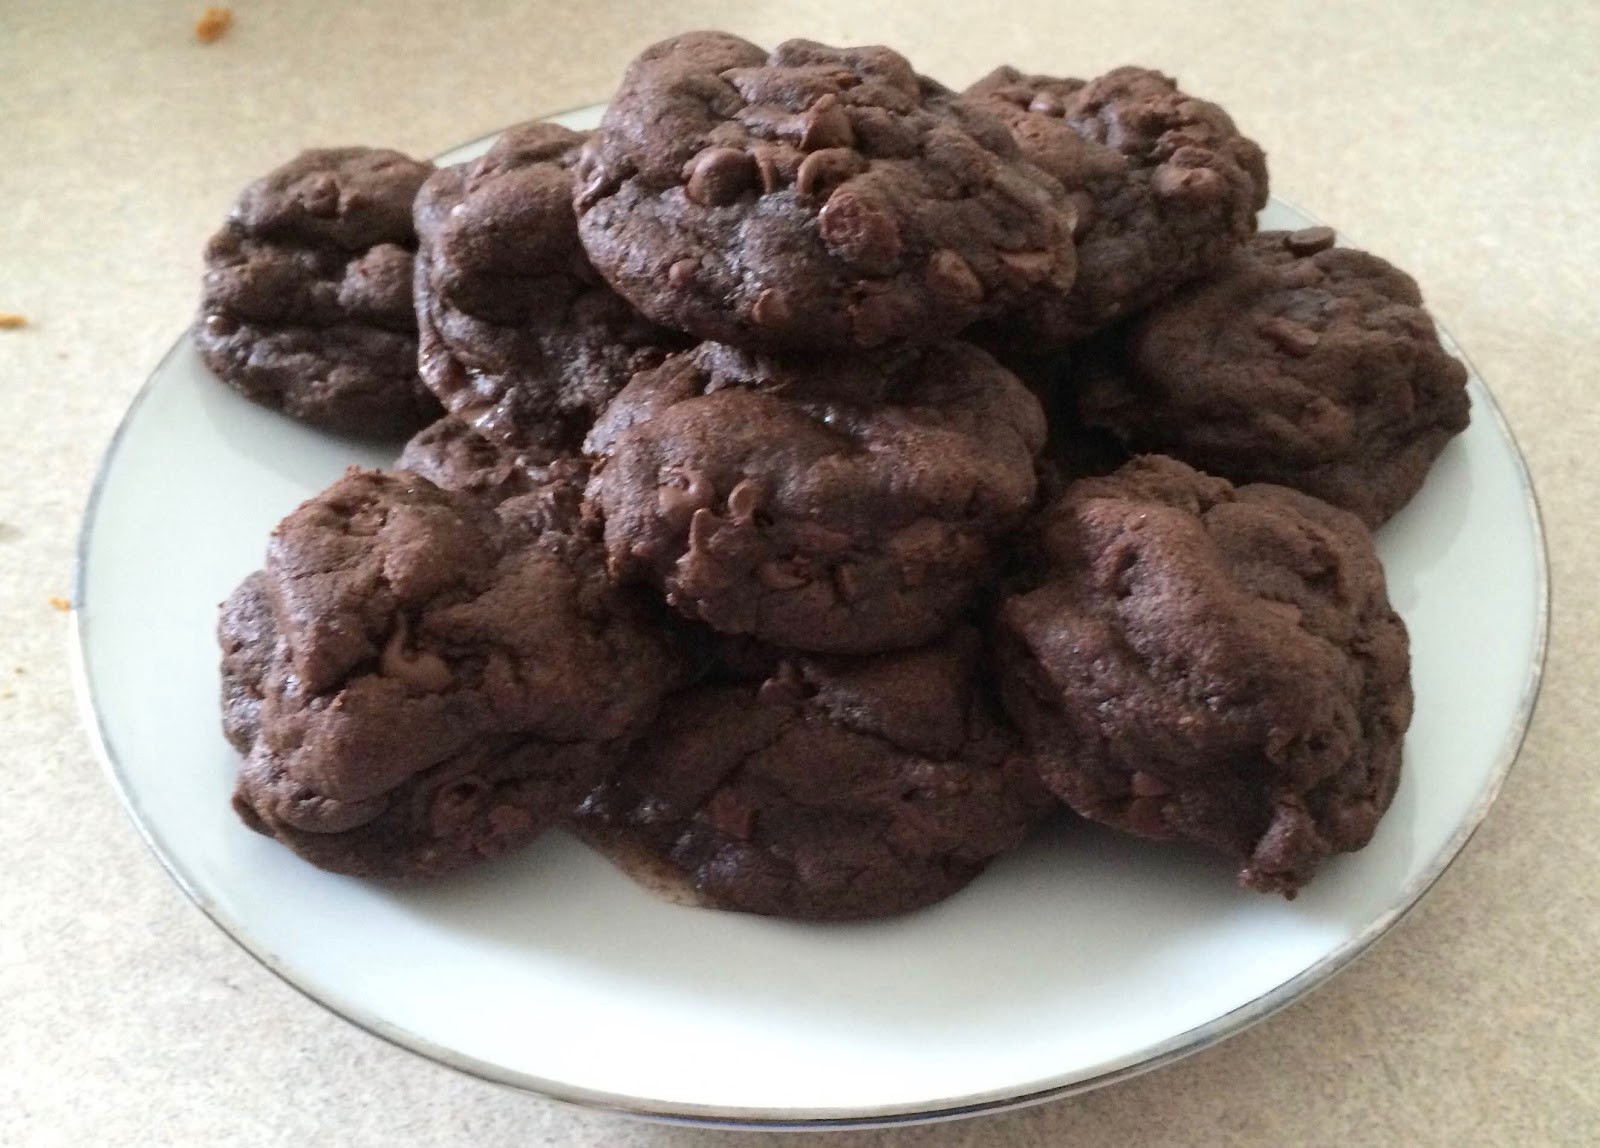
Double Chocolate Junior Mint Cookies

I love Junior Mints. I could eat an entire box in one sitting, and be quite happy about it. (And have nice breath! See, if they give you good breath, it's a health food! .... right? No?) 

Anyways... I am always up for chocolate, and I am always up for Junior Mints. So once I saw this recipe, there was no going back. It's full of chocolate, with surprise bites of Junior Mints scattered throughout. You can't possibly go wrong! Unless, of course, you're one of the few people who are not big fans of Junior Mints.... like my husband. His reaction was pretty much "meh." Not a dislike, but he would never request that I make these.

However, my mama, who I inherited my massive love of Junior Mints from, absolutely loved these. I made these for her birthday a few years ago, and I think it completely made her day. It certainly made mine! 

My siblings & I don't do birthday presents for each other anymore, we haven't for quite awhile. (Now that we're all officially grown ups, at least in age.) The same goes for my mama, most of the time. She doesn't want presents, but she never turns down cookies. ;) Actually, her birthday is coming up next month, so maybe I'll make her another batch of these... we'll see what I find on Pinterest in the meantime! 

Note on the recipe itself: I've said this before, but freezing cookie dough is my new favorite thing. It makes a huge difference, especially with a recipe like this, with the crushed Junior Mints. It is a must for this, and you should definitely try it with some of your other cookie recipes!

Printable Recipe
Double Chocolate Junior Mint Cookies


Ingredients
  • ½ cup butter flavored Crisco
  • ½ cup sugar
  • ½ cup light brown sugar, packed
  • 2 large eggs
  • ½ teaspoon pure vanilla extract
  • 1 ½ cups all purpose flour
  • ½ cup cocoa powder
  • ½ teaspoon baking soda
  • ¼ teaspoon salt
  • 1 cup mini chocolate chips
  • 4 ounce box Junior Mints

Directions
  1. In a large mixing bowl, beat the Crisco and sugars until well combined. Add eggs and vanilla, mixing to combine. Add flour, cocoa powder, baking soda and salt, mixing to combine.
  2. Stir in chocolate chips then smash in Junior Mints. All mints need to be completely smashed into the dough. Chill dough for a couple hours or overnight.
  3. Preheat oven to 350°, and line 2-3 large baking sheets with parchment paper.
  4. Form cookies into small balls, or drop by tablespoonful onto prepared cookie sheets, 1” apart.
  5. Bake for 10-12 minutes, until baked through. (8-10 minutes for smaller cookies). If mints ooze out of cookies, use a butter knife to form cookies back to round shape right out of the oven when hot. Let cool for 5 minutes before transferring to cooling rack.

Yield/Time
2 dozen regular, 3 dozen small
1 hour + chilling time
Nutrition Facts *I calculate nutrition facts for reference only, this is not done scientifically
158 (26 ct), 105 (39 ct)


Source (for original): Picky Palate

Remember, comments are loved! What your favorite cookie to give?

Thursday, January 23, 2014

Twix Caramel Brownies: Why My Coworkers Love Me!

I like to joke that the only reason my coworkers like me is because I make good food to bring in & share with them. They say it's not true, but I think they are actually nicer to me when I do bring in food... they certainly tell me they love me more often. ;)

This recipe is something that's been on my mind since shortly after I made Butterfinger Brownies. I wanted to make them as soon as I found the recipe, but wound up waiting til after Christmas. (We had wayyyyy too many goodies in the house during Christmas, especially considering I wasn't eating many sweets.) This is something that's great for me to take into work & share with my Mama & little brother, for a couple reasons. 1) they all love things like this & 2) Nate is not a huge fan of things like this, so I get some & the rest doesn't go to waste!

These were a huge hit. I left 4 in a dish at home, and took the rest to work. There were only about 6 left when I got out of work, to take to Mama's. They are very rich, but not as strong cocoa flavor as a lot of other brownies. (Which is my biggest complaint about homemade brownies.) The caramel topping really adds to the brownie, too.

I didn't make many changes--some small changes in the actual process, but those don't affect the  brownies. I don't measure the caramel, I just drizzled it on til it looked right, and I think I used a little more Twix than the original.

If you are looking for something sweet, try these! Let me know what you think!

Remember, comments are love!


Sorry for the bad picture. :(

Twix Caramel Brownies


Ingredients
  • 1 cup butter/margarine, melted
  • 2 cups granulated sugar
  • 2 teaspoons vanilla extract
  • 4 large eggs
  • 3/4 cup cocoa
  • 1 cup all-purpose flour
  • 1/2 teaspoon baking powder
  • 1/4 teaspoon salt
  • 4 Twix candy bars, chopped (Do not chop too finely, or it won't be noticable! I left mine in 1/4-1/2" chunks)
  • Caramel ice cream topping (I used the Smucker's Sundae Syrup; easy to drizzle!)


Directions
  1. Heat oven to 350°. Grease a 9”x13” pan with cooking spray. Set aside.
  2. In large mixing bowl, combine butter, sugar and vanilla extract. Add eggs, one at a time, beating well after each addition. Add cocoa; stir until well blended.
  3. In a separate bowl, combine flour, baking powder and salt; slowly add to mixer. Stir in Twix candy bar chunks by hand. Pour batter into prepared pan.
  4. Drizzle caramel evenly over the brownies. Using a toothpick, swirl caramel into brownies. 
  5. Bake for 35-50 minutes or until a toothpick inserted in the middle comes out clean. Cool brownies completely in pan on a wire rack. Once cool, cut into squares and serve.
Yield/Time
24 brownies
Prep Time: 10 minutes Cook Time: 35-50 minutes

Source (for original): Two Peas & Their Pod (Really, you should check out this blog. I have found quite a few amazing recipes from here!)

Friday, November 22, 2013

Peppermint Bark: Trying to beat Russell Stover's at their own game....


The hard thing about working in retail is that there is always soooo much candy to tempt me. Personally, Russell Stover's caramels are usually my downfall--the ones that are available seasonally. Caramel Hearts, Caramel Pumpkins, Caramel Santas, Caramel Eggs.... really, Russell Stover's makes the best caramel. (The really unfortunate thing is that my boss is aware of this, and I swear he buys extra for every holiday because he knows I'll eat it.) 

However, one of my coworkers is basically addicted to their Peppermint Bark Snowmen. When I've wanted something sweet at work lately, I've got either that or the Peppermint Bark Candy bars. 

Really, don't they look yummy? I know those are poor quality pictures (just what I found online), but trust me--they are amazing. Fairly addicting too, and I think those might be my new favorite. (I had a caramel pumpkin that got  too close to my stove this fall, and the chocolate tasted funny, so now I'm off caramel for awhile.) The only problem was that I was convinced that I could make that at home, even if not quite to that caliber.

So, I got some candy coating, peppermint extract, candy canes, and went to work.

First experiment was a flop, in my opinion. I discovered that I really don't care for peppermint extract. The other people that I shared it with (coworkers, family, etc) thought it was great, but I couldn't get past the flavor of the extract. It wasn't close enough to the Russell Stover's candy, and there's just something about the taste that bothered me.

Second experiment was much better, but I made the mistake of buying Log House candy coating vs the Meijer brand that I had bought before. The texture was... funny. I don't really know how to describe it, it was just off. (And no, in case you were wondering--I am not the only one who thought so.) I would recommend against buying that brand, unless it's the only one available. 

For the second experiment, I tried using about 1/4 dram of Lorann Peppermint Oil. (The kind you use for making hard candy.) That, combined with the candy canes, gave it a wonderful peppermint flavor. Next time I might try toning it down a little, but we'll see.

We all agreed that the second try was much, much better. However, this is like the Candy Bark I made around Halloween.... you can't really go wrong! Play with it, see what you like! Try adding different types of candy canes (have you seen the flavors of candy canes they have??? I had to search to find normal ones at Meijer!), different oil flavors (obviously making sure it's the edible kind; Lorann makes a ton), etc. Have fun with it! 

Let me know what you do! I love to get different ideas. :)

Remember, comments are love!


Peppermint Candy Bark


Ingredients
  • 8 ounces chocolate candy coating
  • 10 ounces vanilla candy coating
  • 1/4 dram peppermint oil
  • 3-4 candy canes, broken into small chunks


Directions
  1. Melt chocolate candy coating in a double-boiler.
  2. Meanwhile, place aluminum foil in a 8”x8” baking pan, going at least 1” up all sides. Ounce chocolate is melted, pour into pan. Refrigerate while melting vanilla.
  3. Melt vanilla candy coating in a double-boiler; add peppermint oil once melted. Remove from heat, stir in candy canes.
  4. Remove pan from fridge; carefully pour vanilla over chocolate, small sections at a time. (Chocolate will not be completely hard.)
  5. Let harden, then break into small (or large!) pieces. Enjoy!


Yield/Time
30 minutes

Friday, November 1, 2013

Candy Bark

Originally published 11/1/13, updated 10/30/16

There are some people who, whether it's from years or practice or God-given talent, can appear to throw a bunch of random foods together & have it turn out amazing. I grew up watching my Mama & Grandma do that, and I have to admit it drives me crazy sometimes. Which makes me a filthy hypocrite, because I do it all the time. Not usually with baking (that's harder to correct when the cookies are already in the oven) but with most of my entrees. Even if I am 'following' a recipe, I usually just guess. 1 cup of veggies? Eh, that looks like enough corn. 1/3 cup of milk? Here, I'll pour some in. Hmm, that looks too thick, let's add more. However, it really makes it hard to duplicate something if you don't know how much of anything was used.

That being said... what I am about to post isn't really a recipe.  More of an idea. And you don't have to be THAT kind of cook to make it. Promise.

I've seen candy bark all over: melt some chocolate (or vanilla) candy coating, spread it out in a pan (or in candy molds), put a bunch of yummy stuff (sometimes following a theme) on top (or in the candy itself), then let it harden & break it into pieces (unless you used the candy molds, then if you break it I think you missed the point). Get the idea? Super easy, fun, and you can do whatever you want with it. 

For some reason, I've never done this before. Growing up, I helped Mama make chocolate-covered pretzels (and Ritz bits, and whatever else we could convince her to dip), but I don't recall ever using candy coating to make something like this.  I've seen it many times, and thought 'oh, I need to get some candy coating so I can do that,' but then I never actually did it. Finally, when I saw The Pioneer Woman posting about it, I remembered to put it on my grocery list so I could.

Remember when I said this isn't really a recipe? I did write it in a recipe, but the only thing I actually measured was the candy coating... and that's only because I used half a block. The rest I recorded in recipe format just to have an idea of how much was used. (And wrote down so I can use this theme again.... peanut butter & chocolate!!!)

Use whatever you have on hand, or whatever flavors or themes you like. It's good to have some salt (or this could get way too sweet way too fast), but you can do whatever your little heart desires.

When I saw the idea recently, I liked how she put it on graham crackers--it makes a nice base. The Reese's Pieces go well with the chocolate/peanut butter theme, and the pretzels add a nice crunch along with the salt. Some other ideas would be to use M&M's, candy bars broken into pieces, used wafers as a base, various nuts, etc.

So, what are you going to put on/in your candy bark? 

Printable Recipe
Candy Bark


Ingredients (remember, I didn't actually measure any of this)
  • 8 ounces chocolate candy coating
  • 1 cup peanut butter chips
  • 3 graham crackers
  • 2 tablespoons peanuts
  • ¼ cup broken stick pretzels
  • ¼ cup Reese’s Pieces
Directions
  1. Melt candy coating & peanut butter chips in a double-boiler. Meanwhile, break half of the peanuts into smaller pieces.
  2. Place aluminum foil in a 8”x8” baking pan, going at least 1” up all sides. Place graham crackers as close as possible in dish, breaking into pieces as needed.
  3. Once chocolate & peanut butter is melted, spread over the graham crackers, making sure to cover crackers entirely. Spread toppings over chocolate, one at a time, spreading each out evenly.
  4. Let harden, then break into small (or large!) pieces. Enjoy!
Yield/Time
15 minutes
Approximately 24 chunks

Nutrition Facts *I calculate nutrition facts for reference only, this is not done scientifically
117/chunk (based on 24)

Source (for original): Pioneer Woman
Remember, comments are loved! What would you put on your candy bark?