PinIt!

Showing posts with label Yeast. Show all posts

Monday, January 16, 2017

Cinnamon Sugar Pull Apart Bread

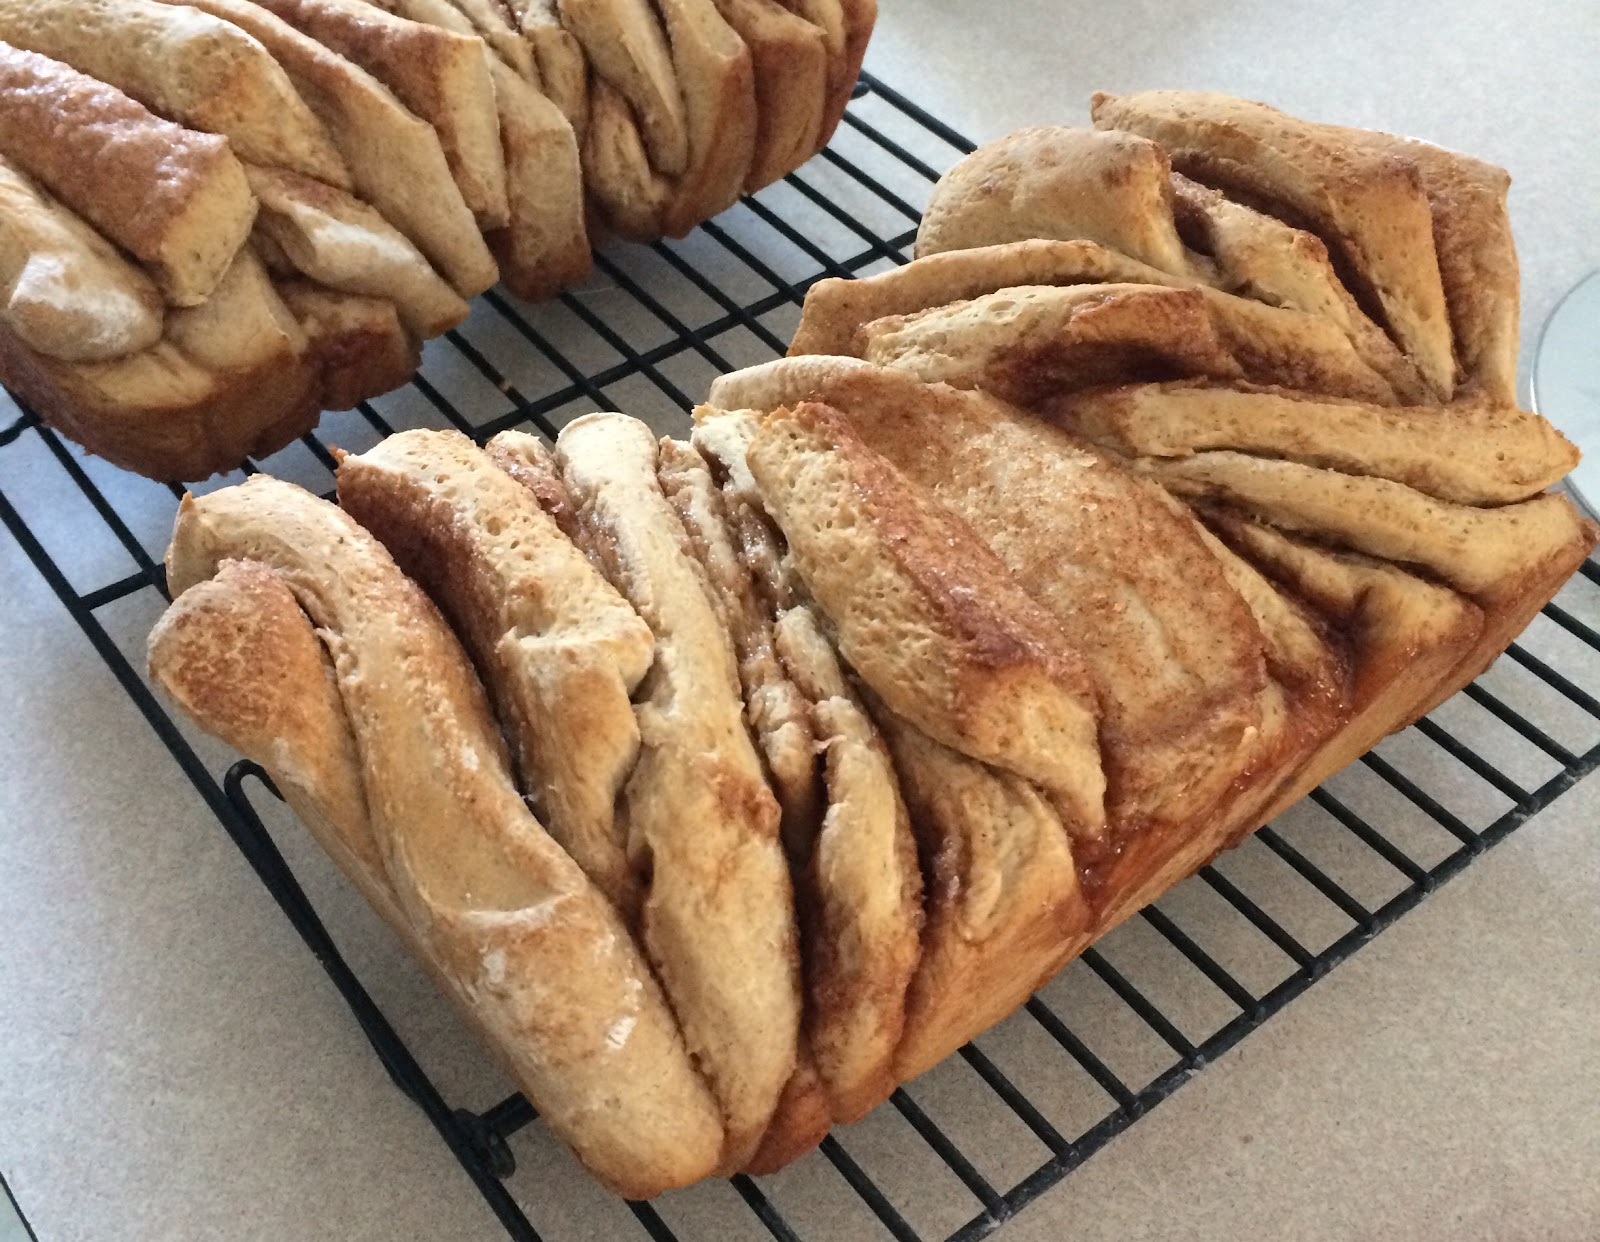
So, if you follow me on facebook, you saw the teaser photo yesterday. I actually meant to take another photo last night, but the loaf that I originally meant to keep for us... was mostly gone. Between Nate, the boys, and I, we ate most of it in one afternoon. I'm eating the last couple pieces for breakfast. Doesn't look like we're sharing all of the other loaf now... oops.

Yes, it's really that good. 

This is actually my Cinnamon Swirl Bread recipe, but it's almost like monkey bread. I got the idea from another blog, but I prefer my cinnamon swirl bread recipe, so I adapted it for that. Funny thing is that my cinnamon swirl bread never goes this fast. When it's in this form, it's SO easy to snack on. (So, tip: if you want it to last, but want the same flavor, do the swirl bread.) 

Warning: this is addictive. I'm sorry. This only makes one loaf, but I basically always recommend doubling it. 

Remember, comments are loved! What's your favorite cinnamon sugar goody?

Printable Recipe
Cinnamon Sugar Pull Apart Bread

Ingredients
  • 1 tablespoon butter
  • ½ cup milk
  • 2 1/4 teaspoon active dry yeast
  • ¾ cup warm water
  • 4 tablespoons sugar, divided
  • ½ teaspoon salt
  • 2 tablespoons cinnamon, divided
  • 3 cups flour
  • 2 tablespoons butter, melted

Directions
  1. In small saucepan, warm milk and 1 tablespoon butter until butter is melted. Set aside until lukewarm. In small bowl, mix water and yeast until yeast is dissolved. In large bowl, add 2 tablespoon sugar, salt, and 1 tablespoon cinnamon. Pour in milk and butter. Mix until sugar and salt is dissolved. Stir in yeast and water. Mix in 2 ½ cups flour. Turn out onto floured board and knead in the remaining flour or until the dough is soft and smooth.
  2. Put dough in greased bowl and turn dough so that the top is greased. Cover and let rise in warm place for about 60 minutes, or until double in size. Grease and flour a 9”x5” loaf pan.  Set that aside.
  3. Punch down the dough, and let rest for 5 minutes.  On a lightly floured surface, roll the dough out to approximately 12”x20”. Use a pastry brush to spread melted butter on top of the dough, then sprinkle remaining cinnamon & sugar on top. (Or however much you want... I don't measure.)
  4. Slice the dough into approximately 20 equal sized pieces. Layer them in the loaf pan like a flip book, with the cinnamon sides all facing the same direction. Place a clean towel over the pan and allow to rise in a warm place for 30 to 45 minutes, or almost doubled in size. 
  5. Preheat oven to 350°. Place loaf in the oven and bake for 40-50 minutes, until the top is very golden brown.  (BE CAREFUL. It is easy to under bake this, but it's just as easy to over bake. Keep a close eye on it around 40 minutes, and test the soft looking pieces slightly for doneness.)
  6. Remove from the oven and allow to rest for a few minutes. If needed, run a butter knife around the edges of the pan to loosen the bread, and invert onto a clean board. Using a clean plate, carefully invert so that it’s right side up. (This part's hard, and usually messy. I use my hands, to be honest, it's easier that way.)

Yield/Time
1 loaf
Prep Time: 2 hours Cook Time: 45 minutes
Nutrition Facts *I calculate nutrition facts for reference only, this is not done scientifically
108/2 slices

Source (for original): idea and instructions: Joy the Baker, bread recipe: unknown, I've had it for years.

Monday, December 19, 2016

Breadsticks

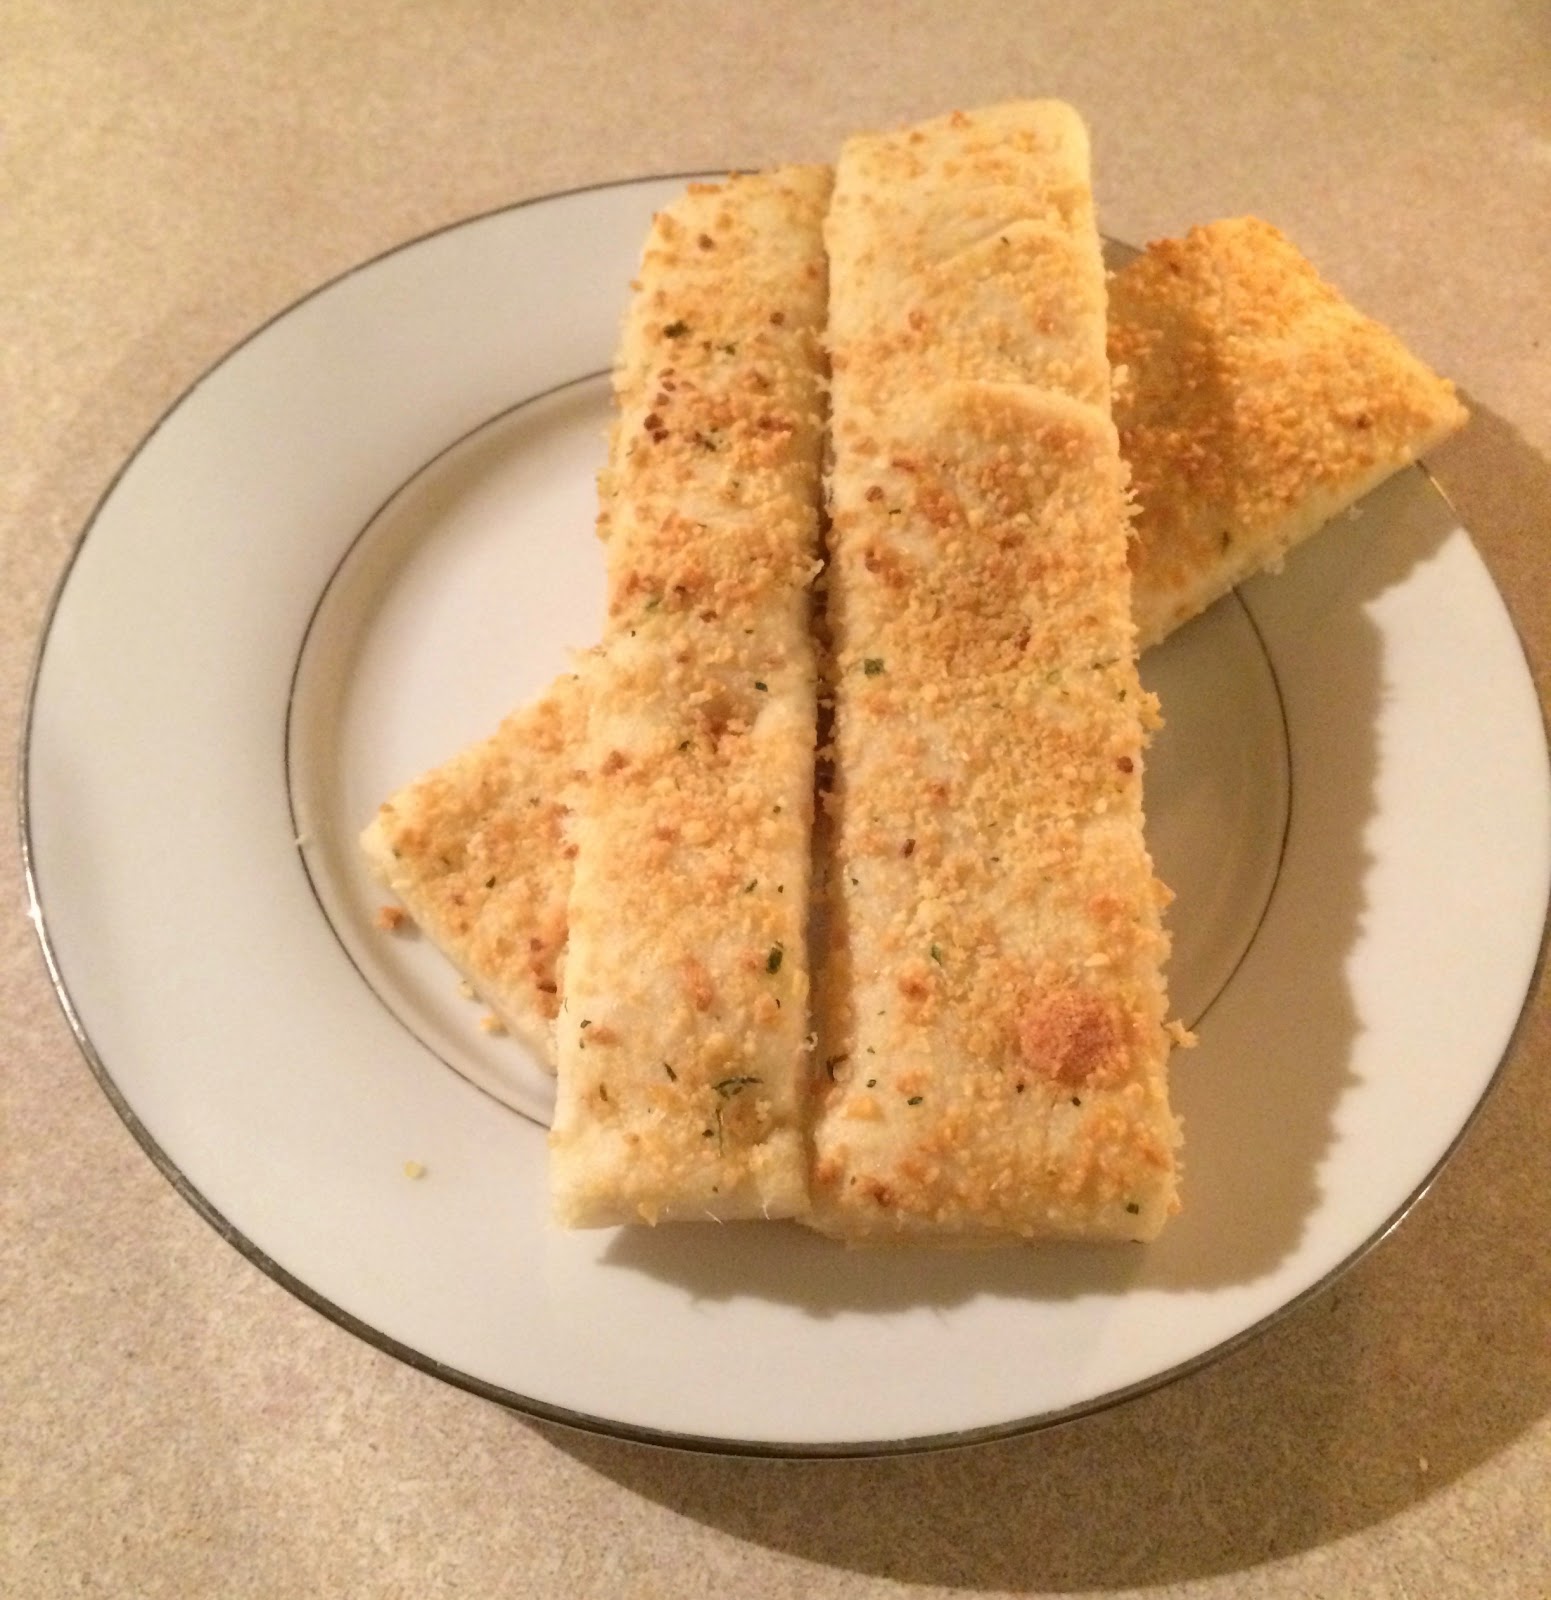
So, I have a recipe to share today that I didn't actually make. My husband did! He's pretty awesome. ;) Nerdy, handsome, makes cute babies, and he can cook/bake. (When I let him in my kitchen.) He's quite the catch. 

And... He loves bread. Loves it. And, let's be honest...as much as I love it too, I don't make it enough. Especially this time of year, when I am making sweets about daily. So, I am learning to relinquish control of the kitchen (which is hard) and stay out of the way when he occasionally wants to make it. He loves breadsticks too, and between him and I we put these together awhile ago. (Mostly him, to be honest, but since I'm the baker he did ask for my advice.) Last night I finally remembered to take a picture of them! 

These are awesome. This is, truthfully, a basic recipe. We always put garlic, butter, and parmesan on them, but you can do whatever you want. Onion, etc. 

Remember, comments are loved! Tell me what you try, and what your favorite toppings are! 

Printable Recipe
Breadsticks

Ingredients
  • 2 ¼ - 3 cups flour
  • 2 ¼ teaspoon active  dry yeast
  • ¾ teaspoon salt
  • 1 cup warm water (120°-130°)
  • 2 tablespoons butter, melted *Nate usually adds more
  • 2 tablespoons Garlic Garlic (or any other seasoning)
  • ½ cup parmesan

Directions
  1. In a large mixing bowl, stir together 1 cup flour, yeast, and salt. Add warm water to the flour mixture. Beat with an electric mixer on low to medium speed for 30 seconds. Beat on high speed for 3 minutes. Using a wooden spoon, stir in as much of the remaining flour as you can. Turn dough out onto a lightly floured surface. Knead in enough remaining flour to make a stiff dough that is smooth and elastic (8-10 min). Shape dough into a ball. Place in a lightly greased bowl, turning to grease surface. Cover; let rise in a warm place until double in size (1 hour).
  2. Preheat oven to 375°. Punch dough down. Turn dough out onto a lightly floured surface. Cover; let rest 10 min. Meanwhile, lightly grease a baking sheet.
  3. Roll the dough into a 15”x10” rectangle. Using pizza cutter, slice into 1” strips. Spread butter on top, adding more as needed, and sprinkle with garlic garlic and/or parmesan as desired. 
  4. Bake for 15-20 minutes or until golden brown.

Yield/Time
Yields: 10-14 pieces
Total Time: 2 hours

Nutrition Facts *I calculate nutrition facts for reference only, this is not done scientifically
139 calories/14 pieces

Source (for original): Better Homes & Gardens (french bread recipe, adapted)
Tastefully Simple info: If you are interested in making a purchase, you can purchase through my page, or just search and select "Serena Lee" as your consultant. Obviously, if you are not local and already have a consultant.... purchase through them online, or contact them! Shop local, as always! Disclaimer: I am paid a small amount with each purchase, based on sales, made through myself as a consultant. You are helping to support my baking addiction, thank you! ;)

Wednesday, November 23, 2016

Quick Rolls

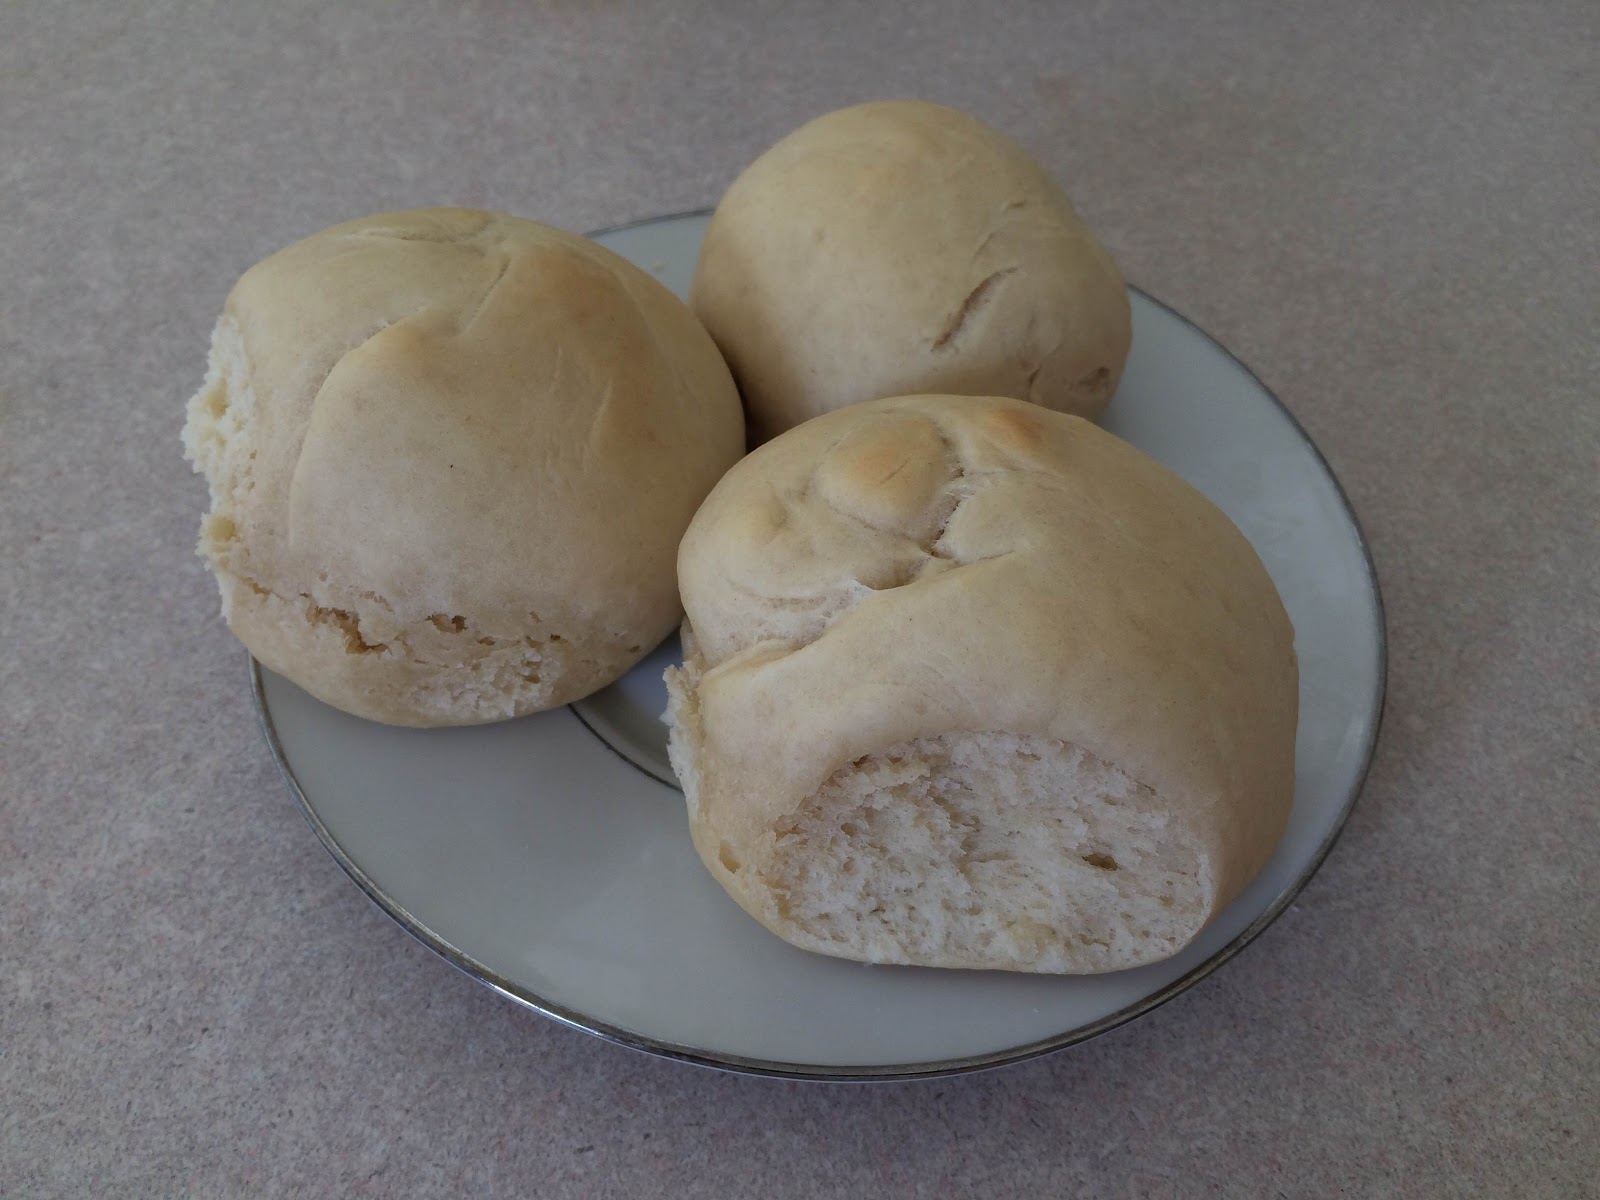
With Thanksgiving coming up tomorrow, I thought it would be good to post a fun roll recipe! These rolls are great- fluffy, tasty, and bake up fast!

For Thanksgiving with our family, I'm making my Perfect Pumpkin Pie, and something else sweet. I haven't decided yet, but knowing me--it will probably be something with chocolate. ;) Mama already has everything else taken care of. (Thanksgiving with my mom is always awesome!)

Remember, comments are loved! What's your usual food duty for Thanksgiving?

Printable Recipe
(This picture shows them more dense than they are--I initially tried them with a shorter rise time, but they are much better with the longer time! I just keep forgetting to take another picture...)
Quick Rolls

Ingredients
  • 1 ¼ cup warm water
  • ¼ cup vegetable oil
  • 2 tablespoons active dry yeast
  • 3 tablespoons sugar
  • 1 ½ teaspoon salt
  • 1 egg
  • 3 ½ cups bread flour 

Directions
  1. Preheat oven to 400°. Grease a 9”x13” pan; set aside.
  2. In large mixing bowl, combine the water, oil, yeast, and sugar. Allow it to rest for 15 minutes. Using dough hook, mix in the salt, egg, and flour.
  3. Knead with hook for a few minutes until well incorporated and dough is soft and smooth.
  4. Form dough into 12 balls, place in prepared pan, and allow to rest for 20 minutes. 
  5. Bake for 10-20 minutes or until golden brown.

Yield/Time
12 rolls
30-45 minutes
Nutrition Facts
192/roll

Source (for original): Your Home Based Mom

Friday, October 21, 2016

French Bread

Do you know what the difference between French bread and Italian bread is? I didn't, until I started writing this blog post. 

Short story: French bread has no fats, or oils. Italian bread usually does.

Which is why this is called French bread. That, and the shape: French bread (baguettes) usually are long and tapered, Italian bread is more rounded. 

Don't you feel all educated now? (This site is actually one I found when I was googling the differences.... really interesting, if you want to read more!) 

The lack of sugar in this bread is probably why Nate likes it so much. For some reason, he doesn't have as much of a sweet tooth as I do... oh well! If I made this bread twice a week, I think he would be happy! He loves to just munch on it, or dip it in olive oil with some seasonings. (Which is apparently more of an Italian thing... we're multi-cultural, I guess!)

And, of course, Nate's teaching the boys: if mama makes bread, you get it when it's warm and fresh from the oven and just eat it. When it's cool you can do things with it, or put things on it--but warm and fresh? Just start eating. ;) 

Printable Recipe
(I didn't realize how pale this looked in the photo til I uploaded it. Really, it's much more of a golden brown color than it appears.)
French Bread


Ingredients
  • 5 ½ - 6 cups flour
  • 4 ½ teaspoon active dry yeast
  • 1 ½ teaspoon salt
  • 2 cup warm water (120°-130°)
  • Cornmeal, optional
  • 1 egg white
  • 1 tablespoon water

Directions
  1. In a large mixing bowl, stir together 2 cups flour, yeast, and salt. Add warm water to the flour mixture. Beat with an electric mixer on low to medium speed for 30 seconds. Beat on high speed for 3 minutes. Using a wooden spoon, stir in as much of the remaining flour as you can. Turn dough out onto a lightly floured surface. Knead in enough remaining flour to make a stiff dough that is smooth and elastic (8-10 min). (Note: I do all this in the mixer. I love my KitchenAid!)
  2. Shape dough into a ball. Place in a lightly greased bowl, turning to grease surface. Cover; let rise in a warm place until double in size (1 hour).
  3. Note on rising: I always warm up my oven, just slightly, and then let my bread rise in there. Don't let it get overly warm, just so that it's a few degrees warmer than your house, especially in the chilly months!
  4. Punch dough down. Turn dough out onto a lightly floured surface. Divide dough in half. Cover; let rest 10 min. Meanwhile, lightly grease a baking sheet; sprinkle greased baking sheet with cornmeal (optional).
  5. Roll each dough half into a 15”x10” rectangle. Tightly roll up, starting from a long side; seal well. If desired, pinch and slightly pull ends to taper. Place shaped dough, seam sides down, on prepared baking sheet. 
  6. In a small bowl, stir together egg white and water. Brush some of the egg white mixture over loaf tops. Let rise until nearly double in size (35-45 minutes).
  7. Preheat oven to 375°. 
  8. Using a sharp knife, make 3-4 diagonal cuts about ¼” deep across each loaf top. Bake for 20 minutes. Brush again with some of the egg white mixture. Continue baking for 15-20 minutes more or until bread sounds hollow when lightly tapped. Immediately remove loaves from baking sheet. Cool on wire rack.

Yield/Time
Yields: 2 loaves (28 slices)
Total Time: 3 hrs


Nutrition Facts *I calculate nutrition facts for reference only, this is not done scientifically
89 calories/slice


Source (for original): Better Homes & Gardens (red checkered cookbook!)
Remember, comments are loved! Which do you prefer, French or Italian bread?

Wednesday, September 7, 2016

Buttermilk Bread

My Grandma is one of my favorite people in the world. Partly because she taught me most of what I know, partly because she's just amazing, and partly because she shares recipes with me.

Like this one. I have no idea where she got it, but she shared it with me, and that's the important part. I have a few plain bread recipes, but this is by far my favorite. Close your eyes, and imagine biting into warm, fresh homemade bread. The best warm, fresh, homemade bread you've ever had.

It's not as good as this. Promise.

There is something about the buttermilk in this recipe that makes it amazing. I'm sure it's a combination of everything, but I am giving a lot of the credit to the buttermilk. (Unless you have fresh goat's milk! Then use that! I've done that whenever we had goat milk, and had enough extra that my husband wouldn't divorce me for using it in my baking. He tends to hoard the stuff when we have it.) The taste and texture of this are perfect.

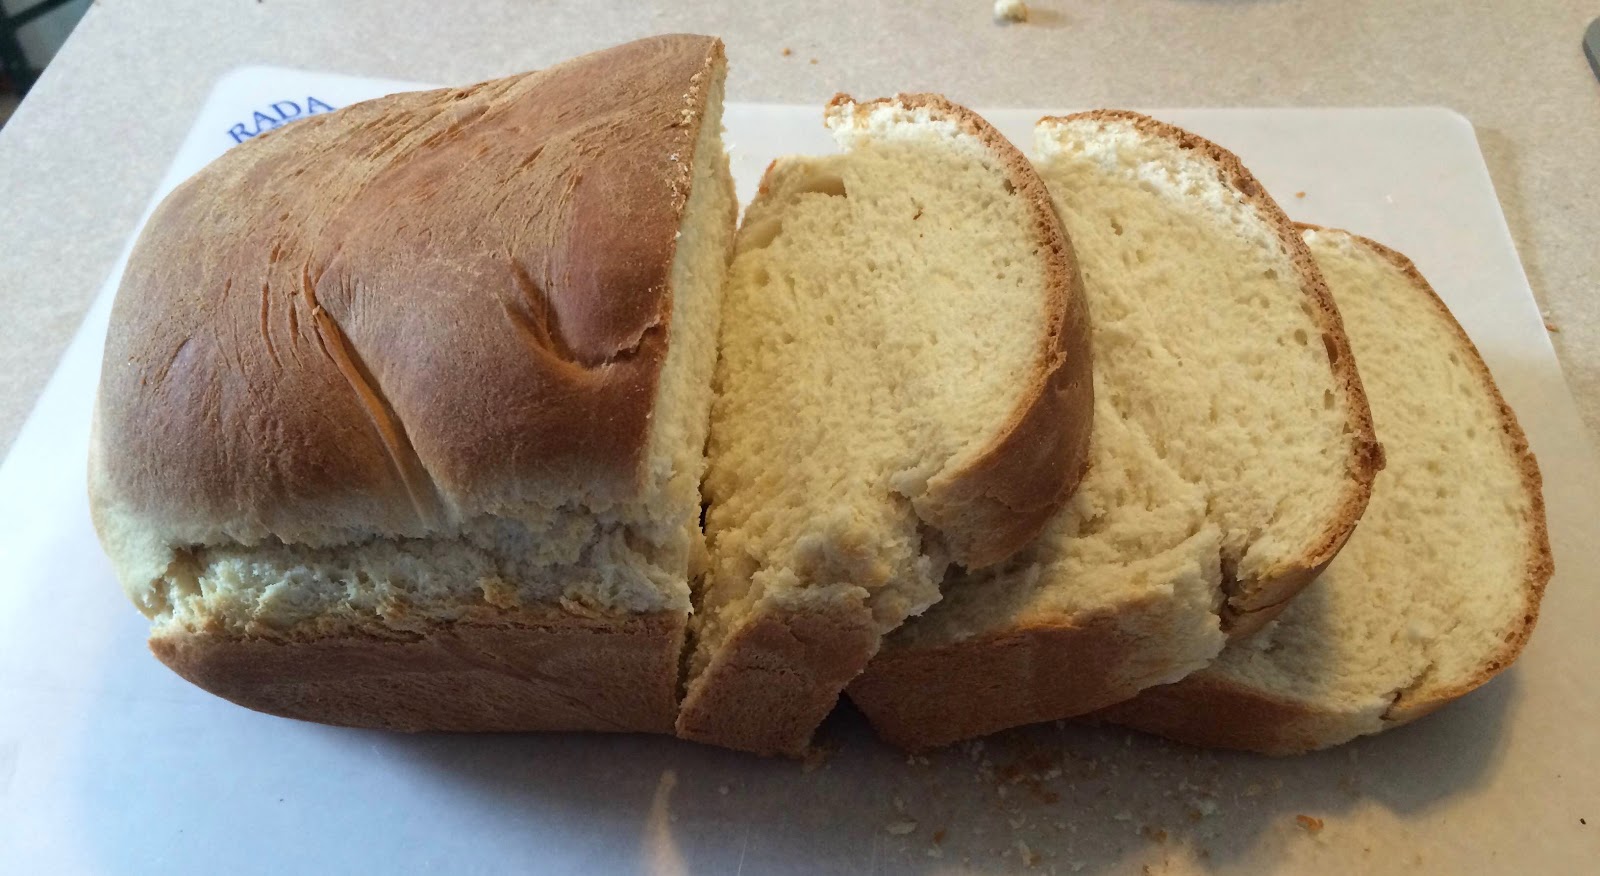
Yes, in the picture I cut the slices really thick. Try this bread, and tell me you wouldn't do the same. You don't even need to butter it. Just eat it warm, fresh, and perfect.

Buttermilk Bread


Ingredients
  • pinch of ginger
  • 1 teaspoon sugar
  • 1 tablespoon yeast
  • ¼ cup warm water
  • 2 cups warm buttermilk (or goat's milk!)
  • ⅓ cup honey
  • 1 teaspoon salt
  • ¾ teaspoon baking soda
  • 6 cups flour, divided
  • ¼ cup butter, melted, cooled until only warm to the touch + extra

Directions
  1. Mix the ginger, sugar, yeast, and water; set aside for five minutes. Add buttermilk, honey, salt and baking soda with the yeast mixture. Add 3 cups flour and mix with electric mixer about 5 minutes on low speed, til smooth. Mix in butter until it is totally incorporated into batter.  Add remaining flour, one cup at a time, keeping mixer on low. When dough pulls away from sides of bowl remove from bowl to floured surface and knead until smooth and elastic. (Can continue to knead in mixer.)
  2. Place in greased bowl and let rise 1 - 1 ½ hours. Meanwhile, grease 2 loaf pans.
  3. Punch down and roll out/form into 2 loaves and place into prepared pans. Let rise 30-45 minutes.
  4. Preheat oven to 400°.
  5. Bake in preheated oven for 25-30 minutes.  Remove from oven and brush with melted butter (optional). Cool in pans for 10 minutes. Turn out and cool on rack.  

Yield/Time
2 loaves, 12 slices each
3 hours
Nutrition Facts
146/slice


Source (for original): my amazing grandma
Remember, comments are loved! What's your favorite bread recipe?

Wednesday, August 31, 2016

Garlic Cheese Rolls (updated)

Confession time: I am one of those people who cannot leave a recipe alone. If you know me in person, and I've ever made something for you, you probably know that about me. "Let me know what you think I should do differently!" is one of the first things I say when I give food to people. I love to tweak things until I decide they are absolutely, truly perfect.

It's not my fault though, my husband encourages me.

This is one of those recipes. I originally posted this awhile ago, when I first made it. I was so excited that it turned out so well, I had to share right away! Now it's been a couple years, and I think at this point I actually have it to my level of perfect. With minimal changes, too. We'll see though. You know me. ;)

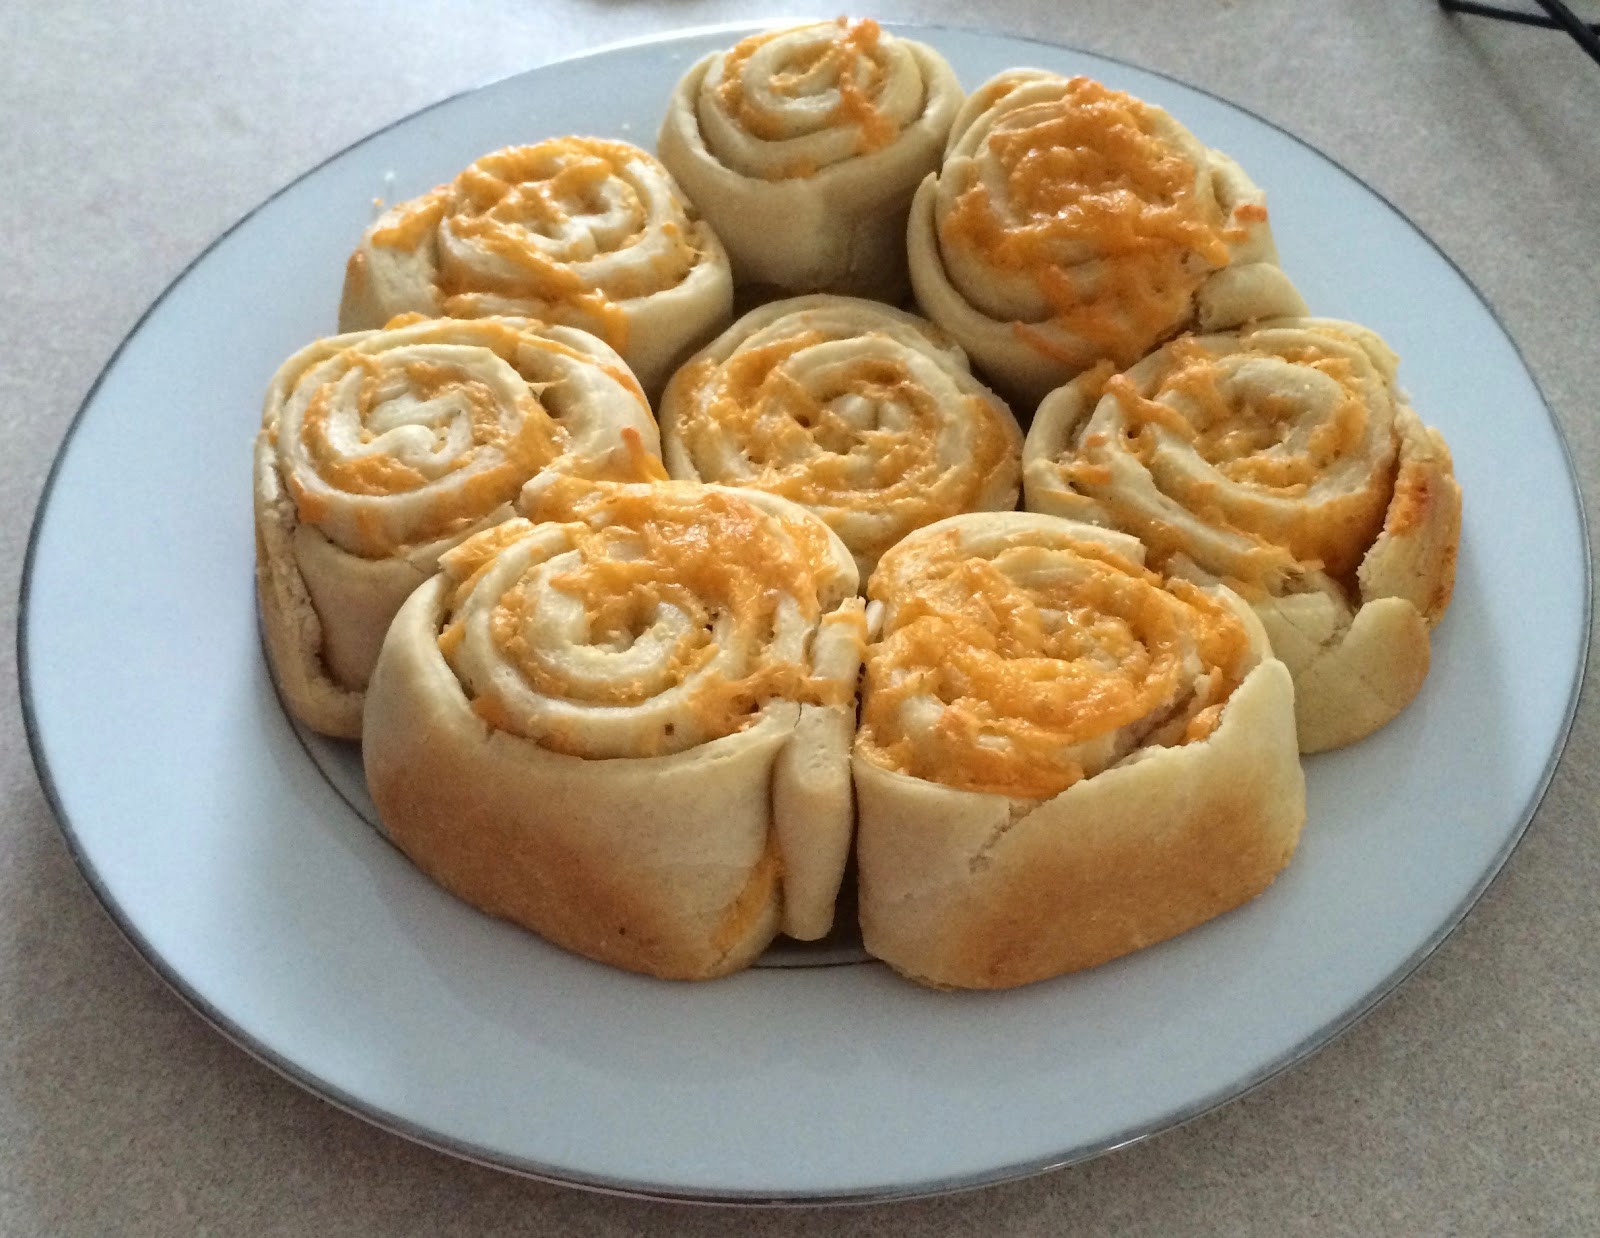
These rolls are a perfect addition to a dinner, or great to just snack on. (Warning: they are addicting.) They are wonderfully cheesy, with just the right amount of garlic and butter. (Another warning: I really like garlic. Really, really like garlic. You may want to cut down if you are not a huge fan. Or just throw caution to the wind and try it anyways, because these rolls are amazing.) I think my favorite part is that they are actually rolls vs. a biscuit-- they are great to peel apart and eat. That just might be me though...

Garlic Cheese Rolls


Ingredients
  • 2 3/4 - 3 1/4 cups all-purpose flour
  • 2 1/4 teaspoon active dry yeast
  • 1/4 teaspoon salt
  • 1 cup warm water (120°-130°)
  • 2 tablespoons vegetable oil
  • 1/2 cup butter, softened
  • 2 teaspoons Garlic Garlic (or garlic powder)
  • Additional herbs/seasonings, optional
  • 2 1/2 cups cheese (mozzarella, cheddar, or colby jack)
Directions
  1. In a large mixing bowl, combine 1 1/4 cups flour, yeast, and salt; add water and oil. Beat on low speed for 30 seconds; then scrape bowl. Beat on high speed for 3 minutes. Knead in another 1 1/2 cups flour; adding up to 2 cups if needed. Knead for 6-8 minutes, to make a moderately stiff dough that is smooth and elastic.
  2. Cover, let rest for 10 minutes. Grease 3 8" cake pans, or 1 9"x13" pan; set aside. Note: DO NOT use metal cake pans. I've tried it multiple times, and it may just be my pans, but they stuck very badly.
  3. Meanwhile, beat together butter and garlic, adding additional seasonings as desired.
  4. Roll dough out into large rectangle (approximately 24”x12”). Spread garlic butter to within 1” of edge. Sprinkle with 2 cups desired cheese. Roll up jelly-roll style.
  5. Slice into 18-20 rolls, then place prepared pans. Sprinkle with remaining cheese. Let rise in a warm place for 30 minutes.
  6. Preheat oven to 350°.
  7. Place pan(s) on center rack, bake for 20-25 minutes or until golden brown. Remove to wire rack to cool.

Yield/Time
18-20 rolls
1 1/2 hours
Nutrition Facts *I calculate nutrition facts for reference only, this is not done scientifically
173 each/20 rolls


Source (for original): Better Homes & Gardens (dough), and the loose idea for the rolls came from a blog that no longer exists.
Remember, comments are loved! What's your favorite go-to roll?

Tastefully Simple info: If you are interested in making a purchase, you can purchase through my page, or just search and select "Serena Lee" as your consultant. Obviously, if you are not local and already have a consultant.... purchase through them online, or contact them! Shop local, as always! Disclaimer: I am paid a small amount with each purchase, based on sales, made through myself as a consultant. You are helping to support my baking addiction, thank you! ;)

Monday, August 29, 2016

Cinnamon Rolls & Icing

Now, I know we've had lots of conversations about homemade vs. storebought items. (Well, they've been mainly one-sided, but that's OK.) Homemade cinnamon rolls are another one of those things that are about 1000x better when homemade. I've been known to buy my share of canned cinnamon rolls, but they seriously cannot compare to homemade. 

And I know, I know--who has the time to make cinnamon rolls from scratch, every time they want cinnamon rolls? Not this mama. That's what's great about these-- make 1 batch, eat a pan, and have 2 more in the freezer for another day. (Or give them away, that works too.) 
Note: you can freeze the rolls at any point. Unrisen in the pan: cover tightly with plastic wrap & aluminum foil. Remove them, allow them to thaw and rise, and continue the baking and icing process. Baked but unfrosted: thaw, warm for a few minutes in the oven, and ice while warm.

Don't be deterred by the number of steps! These do take some time to make, but I promise you--they are worth it! You'll know it when you bite into the cinnamon, creamy-covered goodness. 

Speaking of creamy-covered goodness... Originally, I made this with a heavy cream based icing. (And that's the only one I've ever remembered to take a picture with.) Not really my thing, to be honest. I get rave reviews when I share it, but Nate and I both prefer cream cheese bases for an icing like this. Not just the consistency; you can make either to whatever consistency you prefer. The cream cheese taste really hits the spot with cinnamon rolls. However, I wanted to include both--take your pick, or use whatever icing recipe you prefer! 

Printable Recipe (all)

Printable Recipe (cinnamon rolls)
Cinnamon Rolls
Ingredients
  • 1 1/3 cups Milk
  • 1/3 cup Vegetable Oil
  • 1/3 cup Sugar
  • 1 1/2 teaspoons Active Dry Yeast
  • 3 cups All-purpose Flour, separated
  • 1/3 heaping teaspoon Baking Powder
  • 1/3 teaspoon Baking Soda
  • 1/3 heaping tablespoon Salt
  • 8 - 10 2/3 tablespoons Melted Butter
  • 2/3 cup cinnamon/sugar mix
  • Desired icing recipe

Directions
  1. Heat the milk, oil, and sugar in a saucepan over medium heat to just below a boil. Set aside and cool to warm. Sprinkle the yeast on top and let it sit on the milk for 1 minute.
  2. Add 2 2/3 cups flour. Stir until combined, then cover and set in a warm place for 1 hour. In the meantime, coat 3 cake pans (disposable or regular) with cooking spray.
  3. Remove the cover and add the baking powder, soda, salt, and remaining flour. Stir thoroughly to combine. (At this stage, may refrigerate for up to 3 days, punching down the dough if it rises to the top of the bowl.)
  4. On a floured surface, roll the dough into a large rectangle, about 30”x10”. The dough should be thin.
  5. To make the filling, pour melted butter over the surface of the dough, then spread evenly. Generously sprinkle cinnamon/sugar mix over the butter.
  6. Roll the rectangle tightly. Work slowly, being careful to keep the roll tight. (The filling will ooze.) Pinch the seam together and flip the roll so that the seam is face down.
  7. Slip a cutting board underneath the roll and cut into 1/2” slices. Place the sliced rolls in the pans, being careful not to overcrowd. (Each pan will hold 7-9; 3rd pan is for end pieces.)
  8. Cover all the pans and let rise for at least 20 minutes before baking.
  9. Preheat the oven to 375°F.
  10. Remove the cover and bake for 15 to 18 minutes, until golden brown.
  11. While the rolls are baking, prepare desired recipe for icing.
  12. Remove pans from the oven. Immediately drizzle icing over the top.

Yield/Time
Servings: 11 (2 rolls each)
Prep Time: 2 Hours Cook Time: 30 Minutes
Nutrition Facts *I calculate nutrition facts for reference only, this is not done scientifically
173/roll without icing
213/roll with heavy cream icing
241/roll with cream cheese icing

Cream Cheese Icing for Cinnamon Rolls
Note: this makes icing for just over 1 pan! Multiply by 2 if doing all pans at once.

Ingredients (per pan of rolls)
  • 4 ounces cream cheese, softened
  • 3/4 cup powdered sugar
  • 2-3 tablespoons milk

Directions
  1. In a large mixing bowl, mix together the cream cheese, powdered sugar, and milk to desired consistency.
  2. Drizzle over prepared cinnamon rolls.
Yield/Time
5 minutes

Nutrition Facts *I calculate nutrition facts for reference only, this is not done scientifically
68 per roll

Vanilla Cream Glaze for Cinnamon Rolls
Note: this makes icing for just over 1 pan! Multiply by 2 if doing all pans at once.

Ingredients (per pan of rolls)
  • 1/2 heaping cup of powdered sugar
  • 1/4 teaspoons vanilla extract
  • 1/4 cup heavy cream
  • milk

Directions

  1. In a large mixing bowl, combine sugar, heavy cream, and vanilla until mixture resembles a thick batter.
  2. If needed, add milk one tablespoon at a time, stirring until smooth – about 3-5 minutes.
Yield/Time
5 minutes
Nutrition Facts *I calculate nutrition facts for reference only, this is not done scientifically
40 per roll

Source (for original): Cinnamon Rolls: The Pioneer Woman; Heavy cream frosting: How Sweet It Is; Cream Cheese Icing: Love Grows Wild

Remember, comments are loved!
What is your favorite way to have cinnamon rolls?