PinIt!

Showing posts with label Butter. Show all posts

Monday, May 1, 2017

Dirt Cake

I've tried different type of dirt dessert recipes over the years, but I've never been fully satisfied with one I've found... til now.

This is perfect. I seriously wouldn't change anything about this recipe! (Well, except for the calorie content...) If you really wanted to cut down on the calories, you could try cutting out some of the Oreos, using light cream cheese, skim milk, etc. However... this is worth the calories. 

I made this for Easter with my extended family (thus the Peeps, eggs, and green sprinkles), but you really don't need to decorate it unless it's for a holiday. I'm considering making this again soon just for a random Wednesday or something. Or possibly just because baby says it sounds good. ;) 

Remember, comments are loved! Do you have a favorite dirt dessert recipe?

Printable Recipe

Dirt Cake

Ingredients
  • 1 & ⅓ package Oreos, separated
  • 8 ounces cream cheese, softened
  • ½ cup butter, softened
  • 1 cup powdered sugar
  • 16 ounces cool whip
  • 2 small boxes instant vanilla pudding
  • 3 cups milk
  • 1 teaspoon vanilla
  • Decorations (ex: including bunnies and edible grass for Easter)

Directions
  1. Finely crush 1 package Oreos, place ⅔ in the bottom of a 9” x 13” pan. Set aside.
  2. Separately, crush ⅓ package Oreos into small chunks and set aside.
  3. Mix cream cheese and butter until smooth. Mix in powdered sugar, and fold in whipped topping and small chunks of Oreos. Set aside.
  4. In a separate bowl mix pudding, milk and vanilla. Fold this mixture in with the cream cheese mixture.
  5. Pour over crumb mixture in pan, then sprinkle with the reserve finely crushed Oreos. Let set for a few hours and keep refrigerated until ready to serve.

Yield/Time
16 servings
20 minutes + cooling time
Nutrition Facts
431/serving

Source (for original): Lil Luna

Monday, April 3, 2017

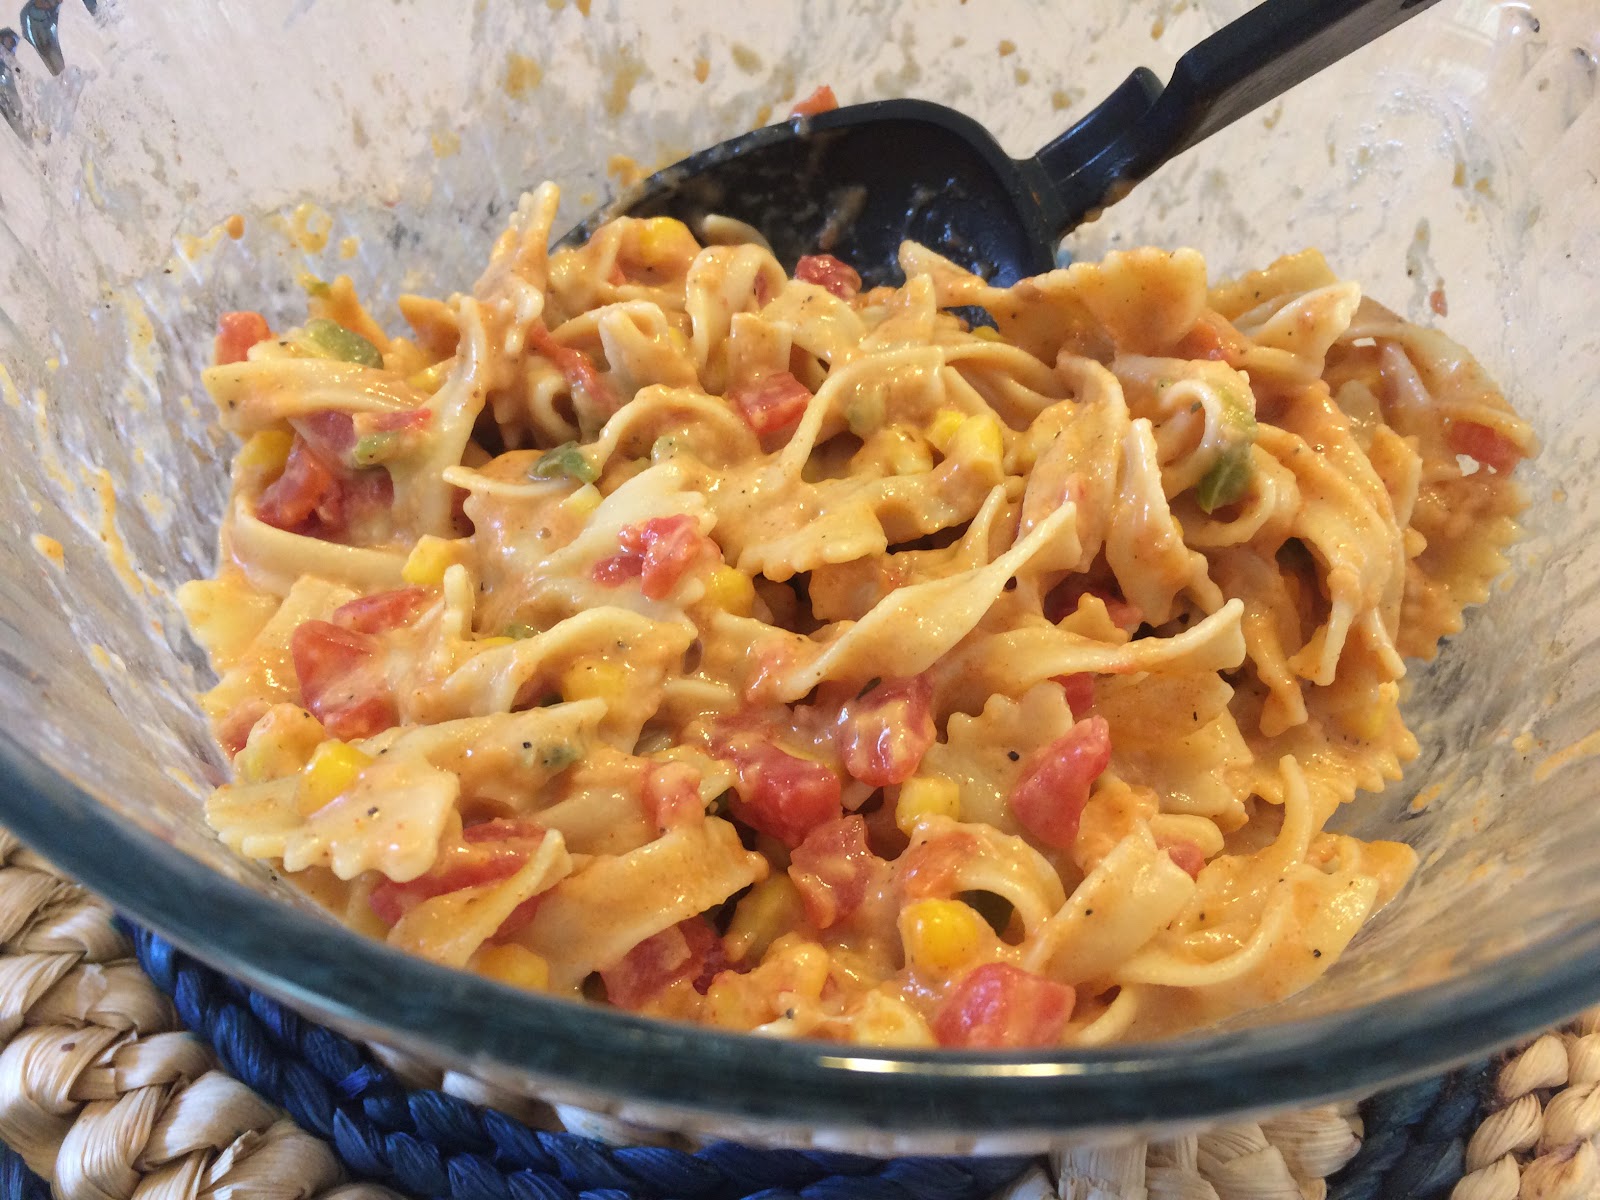
Chili Cheddar Penne

Sorry for no post last week, we were on vacation! My plans of having a post or two prepared before we left went out the window with prep for vacation, so I'll try to make it up this week. :) (On the plus side, we thoroughly enjoyed spending a week in the sunshine state!)

This entree/side dish is something that has been one of my favorites for a LONG time. The boys love it too! When I made it last, Gabriel had 4ish helpings... Nate, however, just isn't very fond of it; I've never figured out why. I try not to make it too often, knowing that he's not a fan, but I can't resist sometimes! I tone the spice down a little while making it for my family, but you could definitely add as much seasoning as you wanted!

To make this into more of a one-dish meal, add some grilled chicken!

Remember, comments are loved! What's your favorite one-dish meal?

Chili Cheddar Penne

Ingredients
  • 2 ⅔ cups uncooked penne pasta
  • ⅔ cup frozen corn, thawed
  • 1 ½ tablespoons butter
  • ½ green pepper, diced very small
  • 1 tablespoon all-purpose flour
  • 1 cup milk
  • 2 cups shredded cheddar cheese
  • 2 roma or 1 regular tomatoes, diced (or 1 can, drained)
  • ½-¾ tablespoon taco seasoning
  • Sliced avocado, optional

Directions
  1. Cook pasta according to package directions, adding corn approximately 4 minutes before done. 
  2. Meanwhile, in a large saucepan, saute green pepper until crisp-tender in butter. Set aside. 
  3. Stir in flour until smooth; gradually add milk. Bring to a boil; cook and stir for 2 minutes or until thickened.
  4. Reduce heat to medium. Stir in cheese, tomatoes, and taco seasoning. Cook and stir for 2-3 minutes or until cheese is melted. 
  5. Drain pasta; stir into cheese sauce. Garnish with avocado if desired.

Yield/Time
6 Servings
Prep/Total Time: 25 min.

Nutrition Facts *I calculate nutrition facts for reference only, this is not done scientifically
179 per ½ cup.

Source (for original): Taste of Home

Monday, March 6, 2017

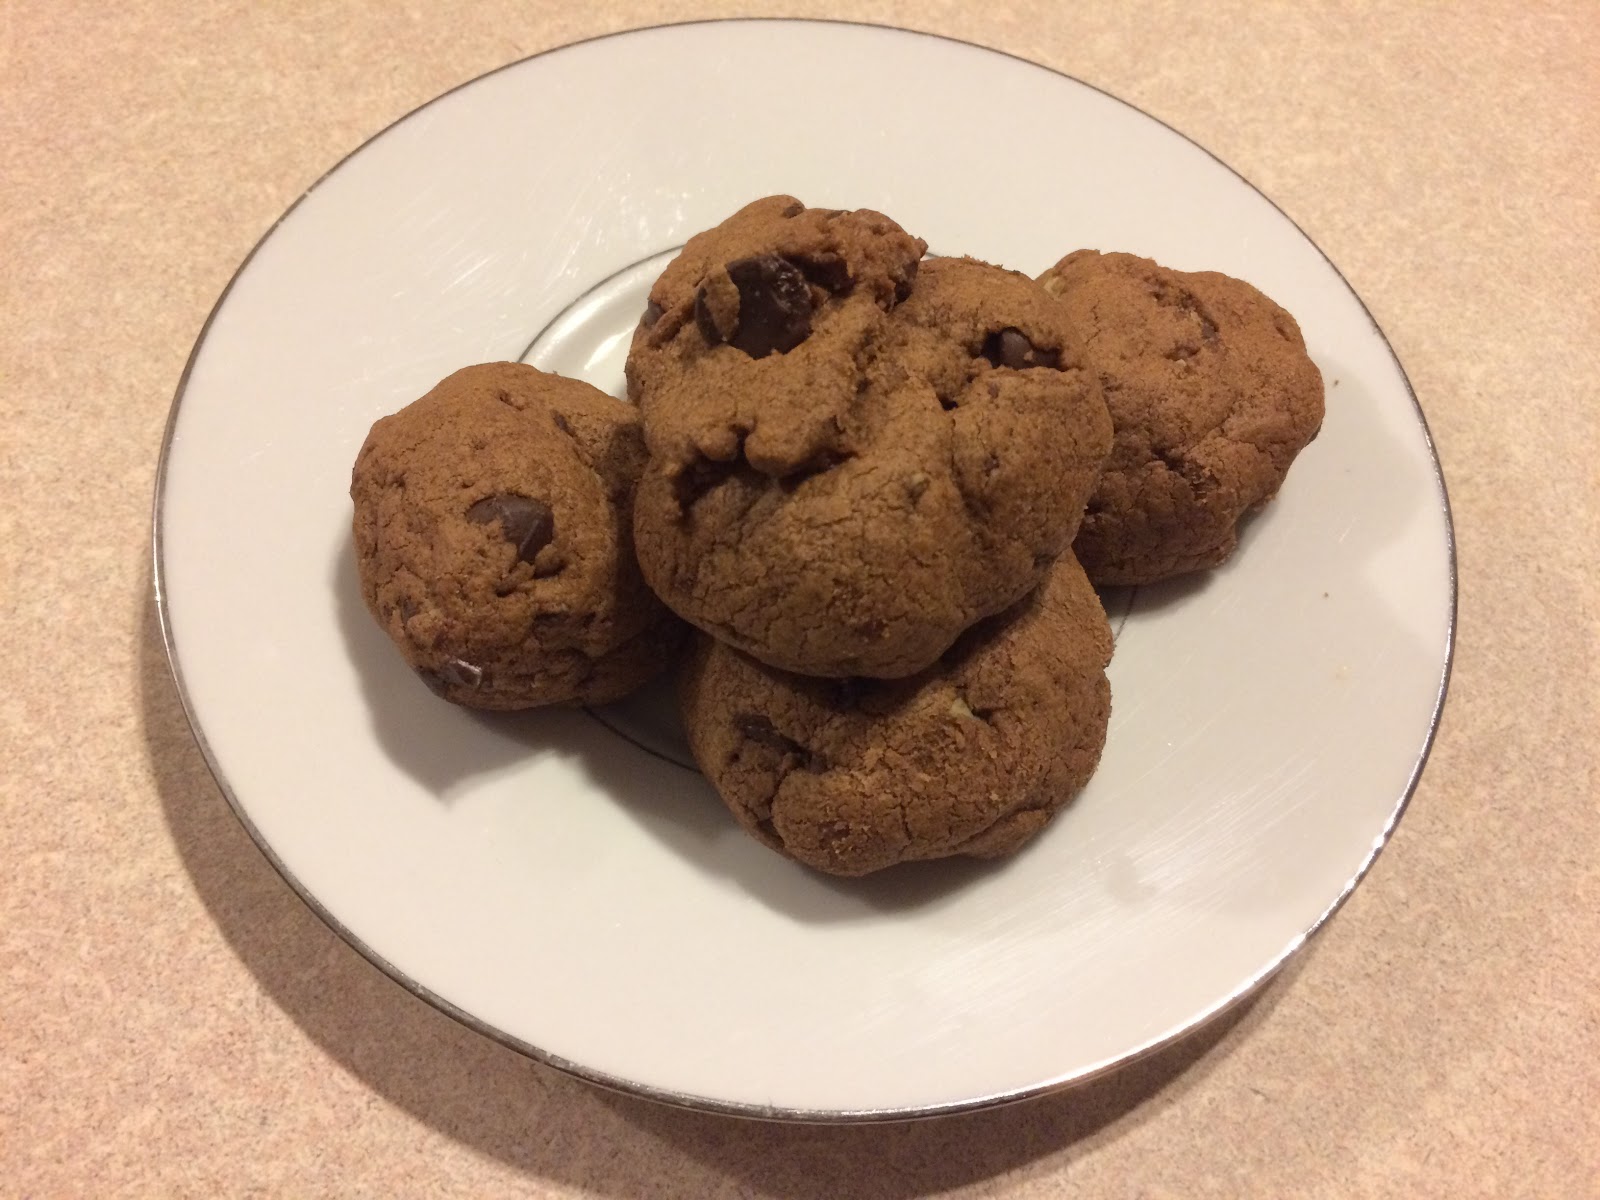
Double Chocolate Chip Cookies

So, first off, I have to apologize for the lack of posts lately... We found out we are having a girl (yay!), so I've been spending a lot of time in the evenings sorting boy clothes, getting it ready to sell, and then sorting the mountain of girl clothes I've bought. Between that, and being utterly exhausted... I haven't really been doing many new recipes. New ideas and taking photos requires energy that I just don't have! :) 

I did get some baking done this weekend, though...  I made this Sunday morning, before Nate & I had a fun date! Partly to 'pay' my mom for watching the boys... partly because I wanted chocolate. ;) 

I have a lot of variations on these cookies, and while these aren't always my go-to recipe, they are always a hit!

Remember, comments are loved! What's your favorite double-chocolate recipe?

Printable Recipe
Double Chocolate Chip Cookies

Ingredients
  • 1 cup cold, unsalted butter, cubed *note: these were made with Crisco, but I've made them both ways. While I am a Crisco girl generally... this time, I decided that they are better with butter.
  • 1 ¼ cups sugar
  • 2 large eggs
  • ½ cup cocoa powder
  • 2 ¼ cups all-purpose flour
  • ¼ teaspoon salt
  • 1 teaspoon baking powder
  • 1 teaspoon cornstarch
  • 2 ½ cups semi-sweet chocolate chips *This time, I only used 1 1/2 cups chocolate chips, the other half was Andes chips! They were great!

Directions
  1. Preheat the oven to 350°. Line baking sheets with parchment paper or silicone baking mats.  In the bowl of an electric mixer, combine the butter and sugar.  Beat together on medium-high speed until light and fluffy, 2-3 minutes.  Blend in the eggs one at a time, scraping down the bowl as needed.  Mix in the cocoa powder until well blended.
  2. Add the flour, salt, baking powder, and cornstarch to the bowl and mix on low speed just until incorporated.  Fold in the chocolate chips with a spatula. (The dough is very thick.)
  3. Roll into small balls, and place on baking sheets a few inches apart. Flatten slightly. 
  4. Bake 12-16 minutes.  Let cool on the baking sheets 5-10 minutes, then transfer to a wire rack to cool completely.

Yield/Time
3 ½ dozen cookies
1 hour
Nutrition Facts
153

Source (for original): Love from the Oven

Monday, January 30, 2017

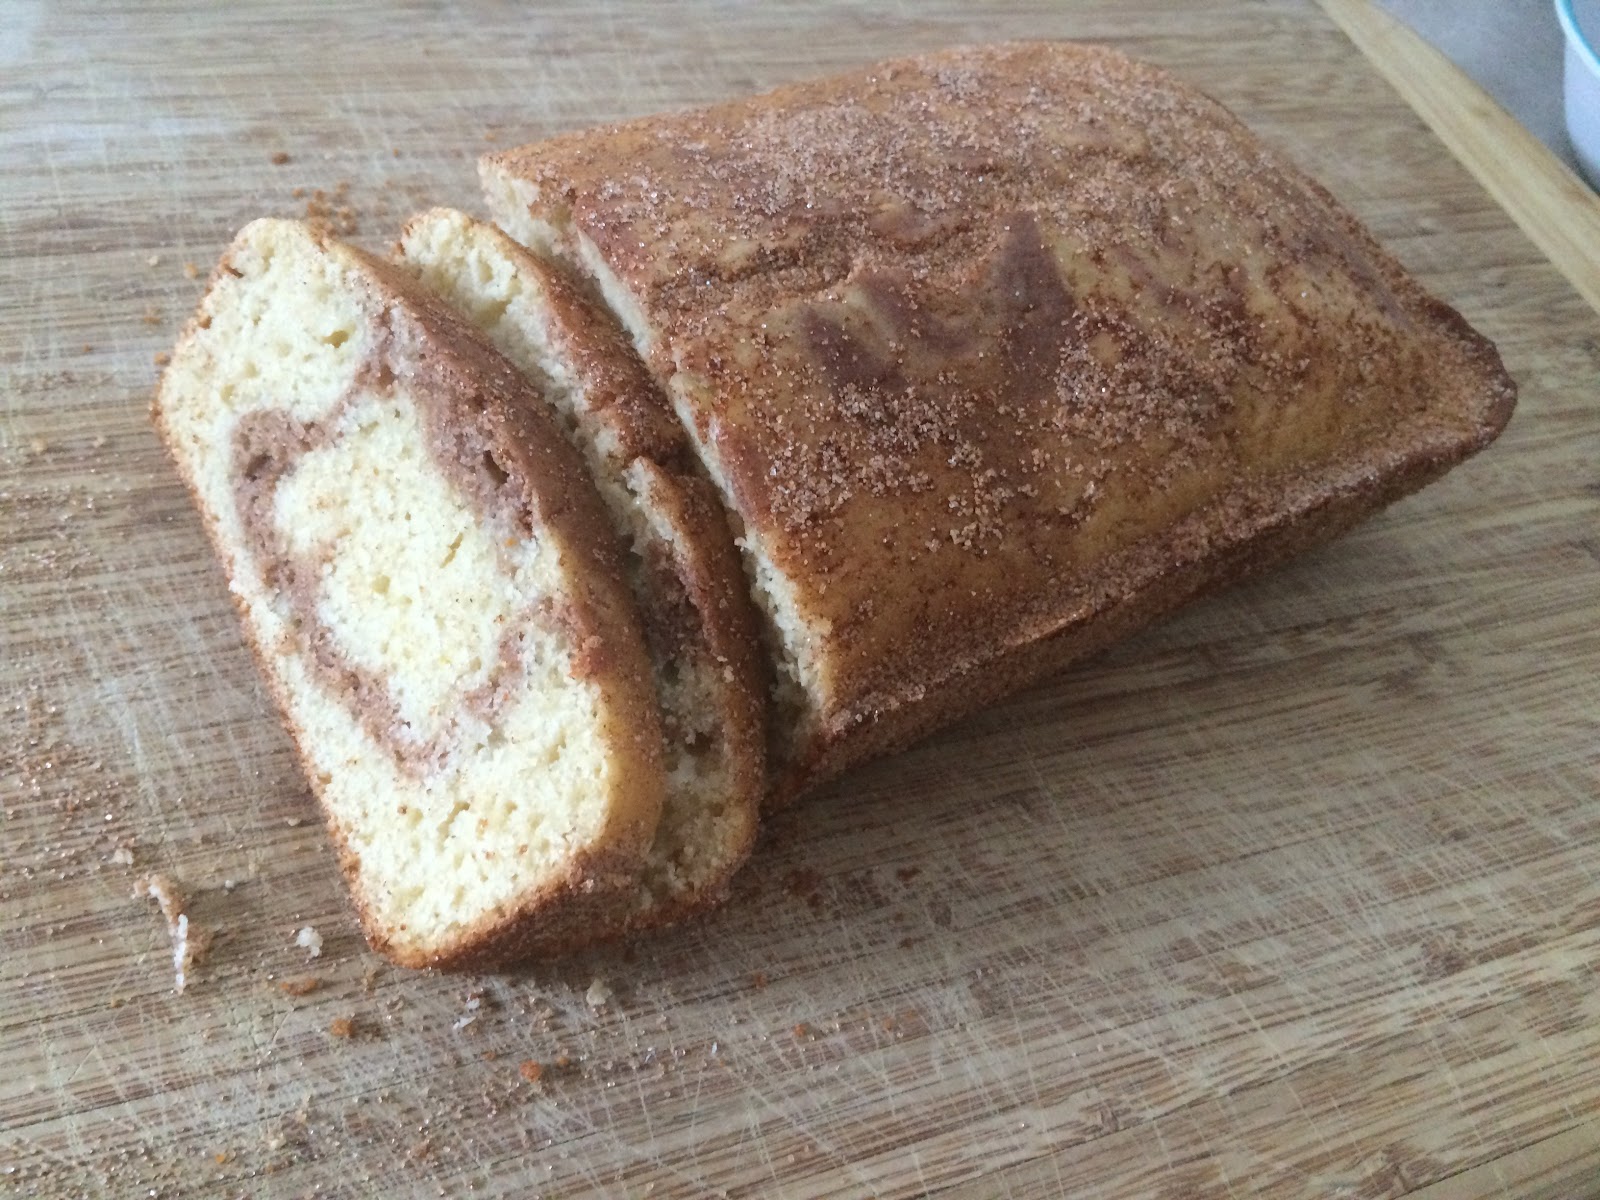
Cinnamon Swirl Quick Bread

So.... confession time. This loaf of bread did not even last one full day in my house. 

It's a quick bread, so smaller than a regular yeast bread, and that makes it okay... right? ;)

With things like this, it's hit or miss with my husband. He might love it, or he might not. He's not much of a sweet bread kinda guy. This, however, is clearly an exception. I think he and I did the most damage to it. The boys each had a few big pieces as their afternoon snack, so they definitely contributed too!

This is definitely a quick bread worth making. It was SO easy, and obviously a hit. (I had hoped to take some for a snack tomorrow to work.... that's clearly not happening.) 

I made some changes to the recipe to make it slightly healthier and more likely to be enjoyed by my family, but if you are looking to gain some pounds check out the original link at the bottom. This is not a low calorie food. ;) 

Remember, comments are loved! What's your favorite quick bread recipe?

Printable Recipe
Cinnamon Swirl Quick Bread


Ingredients
  • ¼ cup applesauce
  • ¼ cup softened butter
  • ¾ cup granulated sugar
  • 2 eggs
  • 1 teaspoon vanilla extract
  • 1 ½ cups all purpose flour
  • 1 teaspoon baking powder
  • ½ teaspoon salt
  • ½ cup buttermilk
  • 1 teaspoon cinnamon
  • ⅓ cup cinnamon sugar mixture

Directions
  1. Preheat oven to 350°. Spray a loaf pan with non-stick spray; set aside.
  2. In large bowl, mix applesauce, butter, and sugar until well combined. Stir in eggs and vanilla until smooth. Gently stir in flour, baking powder, salt, and buttermilk. 
  3. Remove ½ cup prepared batter from bowl and place into a separate smaller bowl, then add cinnamon.
  4. Pour half of the prepared batter into the bottom of the loaf pan. Spoon half of the cinnamon batter on top of the batter, then swirl with a butter knife. Pour remaining batter on top, then remaining cinnamon batter. Swirl again with butter knife. 
  5. Bake 45-50 minutes or until toothpick comes out clean.
  6. Cool 10 minutes, then loosen edges and remove from pan. Carefully place on a plate or cutting board, and sprinkle all sides with cinnamon sugar mixture. (This step must be done while the bread is still warm!!)
  7. Slice into pieces and serve warm.

Yield/Time
16 servings
1 ½ hours
Nutrition Facts *I calculate nutrition facts for reference only, this is not done scientifically

127

Source (for original): Lauren’s Latest

Wednesday, January 25, 2017

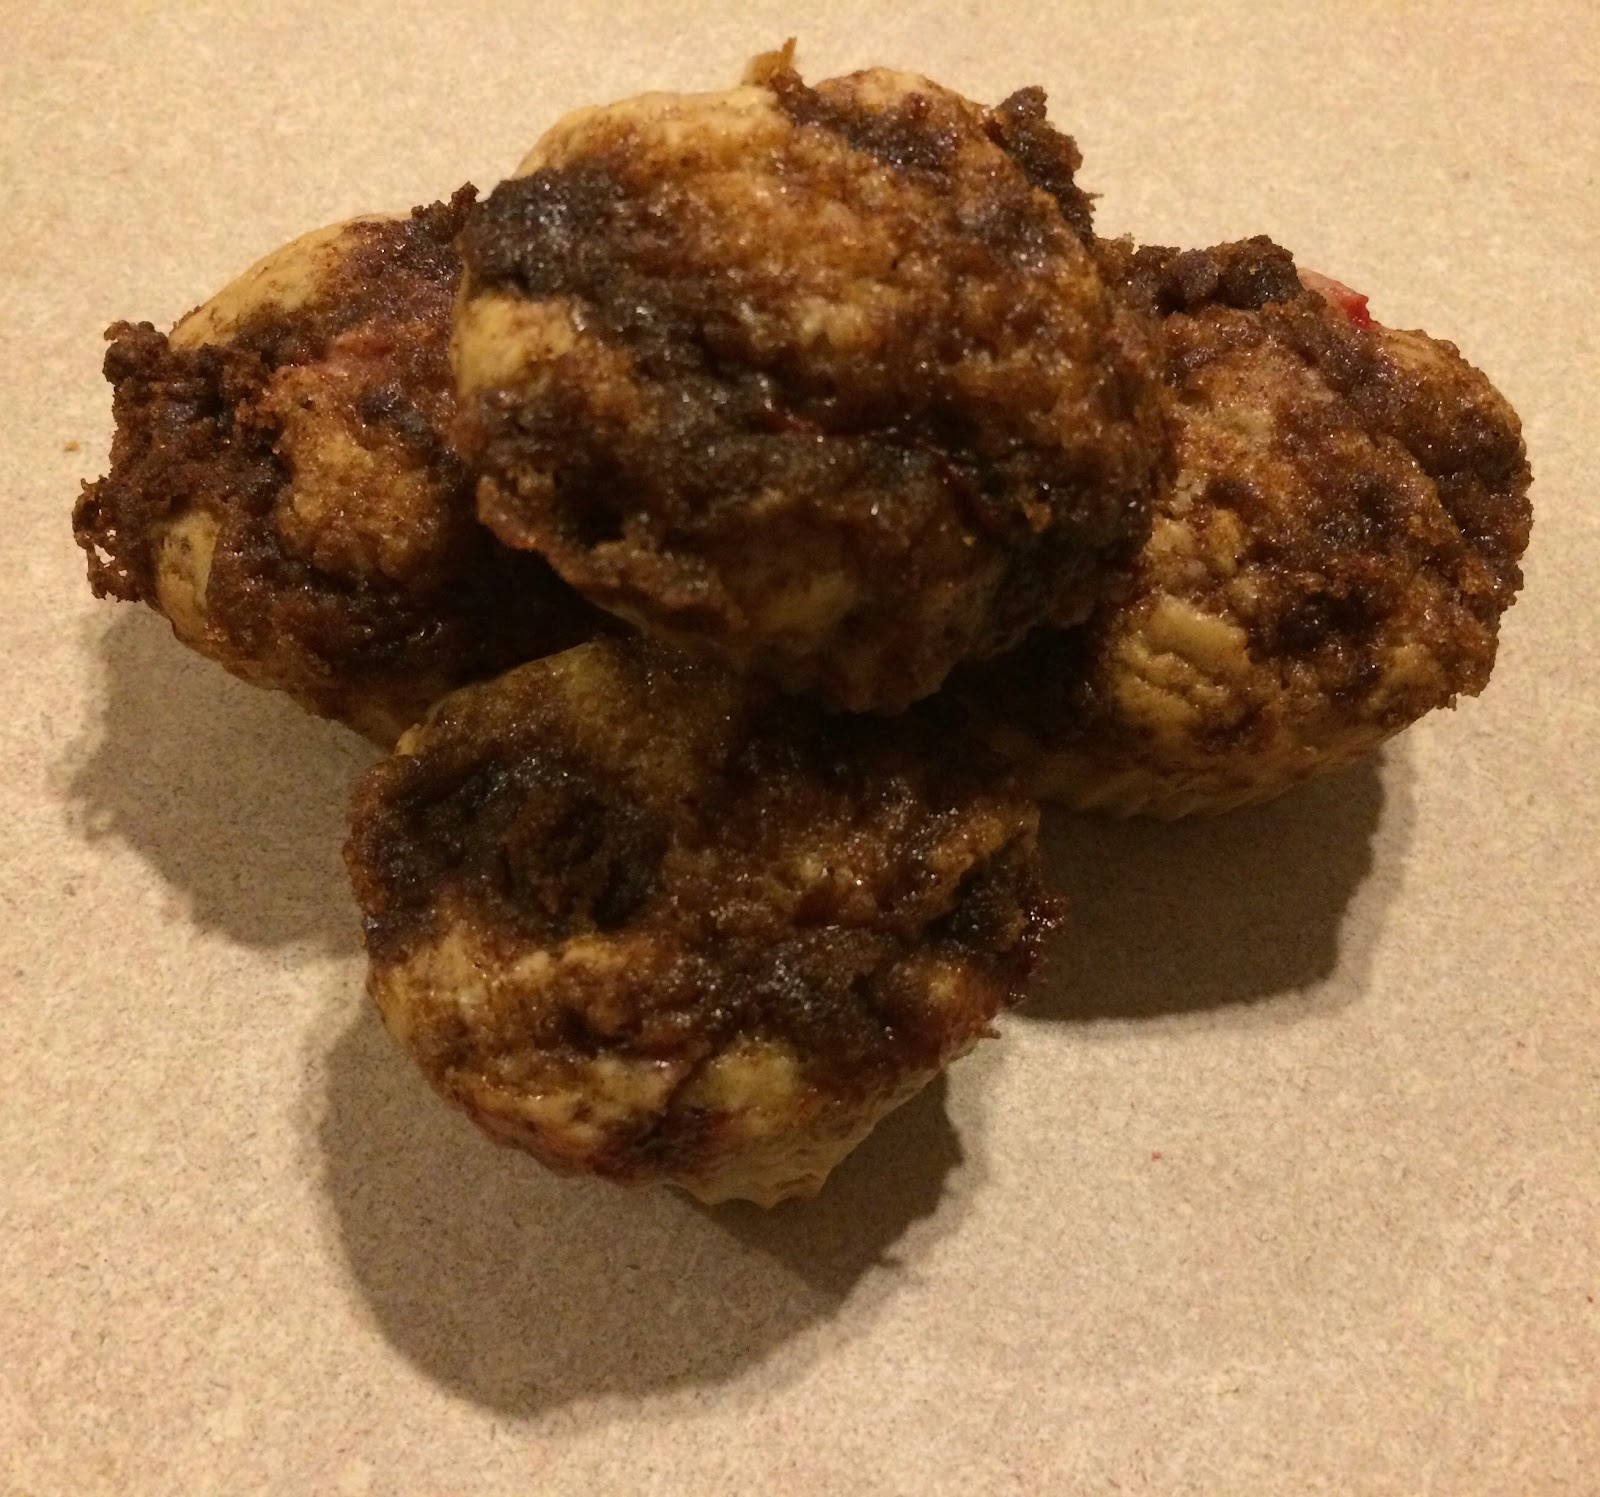
Strawberry Cinnamon Muffins

I love strawberries. When strawberries are in season here in northern Michigan, we usually buy at least 2 flats... so over 20 pounds. At least. I make 3 or more batches of jam, we eat strawberries for days, and then I freeze whatever is left. Last year, Gabriel & I picked some vs doing the pre-pick, but I think this year I'll have to just buy some that are already picked. I'm due June 25th, so... picking probably isn't going to work out. I'm still hoping that making strawberry jam & freezing strawberries is going to be doable. If baby comes early, this might get interesting. ;) 

After starting to buy local, fresh strawberries a few years ago, I just can't buy them in the store anymore. They just aren't comparable! 

The best thing about getting so many and freezing them in the summer is having strawberries all winter! Then, when I stumble across a strawberry recipe... I don't have to use mediocre ones from the store. 

This recipe is fabulous! These muffins are perfectly sweet, and full of strawberries! My one complaint is that, using frozen strawberries, they seem to be a bit soggy. That didn't stop anyone else from devouring them, though! (Didn't stop me, either.) I always warn people if I'm slightly less than satisfied with the way a recipe is turning out, and everyone told me with this that they will gladly take my rejects. ;) 

If you use frozen strawberries, cut down slightly on the milk. If you use frozen sugared strawberries, the 1/4 cup sugar is not needed! (Unless you want it, in which case I won't judge.) 

Remember, comments are loved! What's your favorite summer strawberry recipe?

Printable Recipe
Strawberry Cinnamon Muffins

Ingredients
  • 2 cups all purpose flour
  • 3 teaspoons baking powder
  • ½ teaspoon salt
  • ¼ cup sugar *cut out if using sugared strawberries
  • 3 tablespoons unsweetened applesauce
  • 1 egg
  • 1 cup milk *cut down if using frozen strawberries
  • 2 cups strawberries, chopped into pieces
  • Cinnamon Sugar Filling/Topping:
  • 3 tablespoons melted butter
  • 1 cup brown sugar
  • 1 Tablespoon cinnamon

Directions
  1. Preheat oven to 400°. Grease or line a 15 cup muffin tin and set aside.
  2. In a large bowl mix together flour, baking powder, salt, and sugar. In another bowl, combine applesauce, egg, and milk. Add to the dry ingredients, and fold in strawberries.
  3. In a small bowl, combine brown sugar, cinnamon, and melted butter. Reserve half and fold the other half into the batter. Fill each muffin cup with about ¼ cup of the batter. Top with remaining cinnamon sugar filling.
  4. Bake for 12-20 minutes or until lightly brown. Remove from the oven and cool slightly.

Yield/Time
15 muffins
45 minutes
Nutrition Facts
163

Source (for original): The Recipe Critic

Monday, January 16, 2017

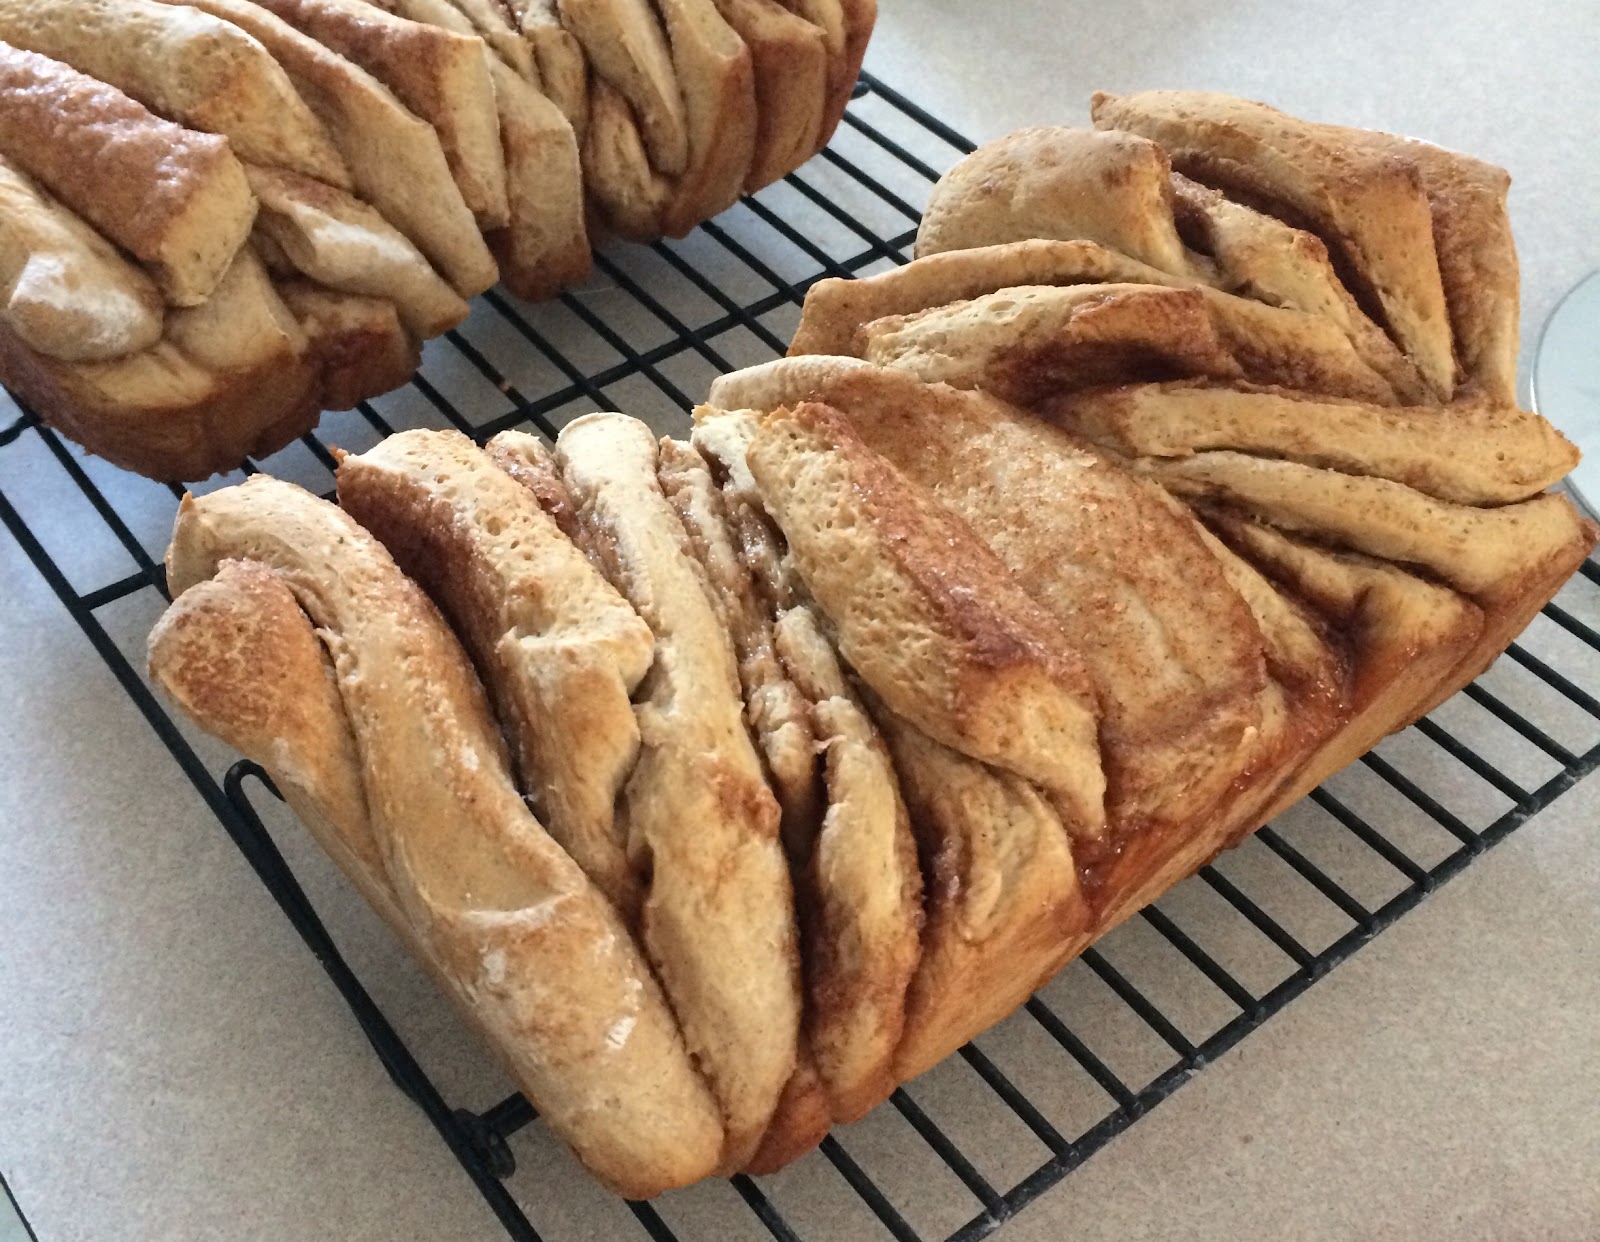
Cinnamon Sugar Pull Apart Bread

So, if you follow me on facebook, you saw the teaser photo yesterday. I actually meant to take another photo last night, but the loaf that I originally meant to keep for us... was mostly gone. Between Nate, the boys, and I, we ate most of it in one afternoon. I'm eating the last couple pieces for breakfast. Doesn't look like we're sharing all of the other loaf now... oops.

Yes, it's really that good. 

This is actually my Cinnamon Swirl Bread recipe, but it's almost like monkey bread. I got the idea from another blog, but I prefer my cinnamon swirl bread recipe, so I adapted it for that. Funny thing is that my cinnamon swirl bread never goes this fast. When it's in this form, it's SO easy to snack on. (So, tip: if you want it to last, but want the same flavor, do the swirl bread.) 

Warning: this is addictive. I'm sorry. This only makes one loaf, but I basically always recommend doubling it. 

Remember, comments are loved! What's your favorite cinnamon sugar goody?

Printable Recipe
Cinnamon Sugar Pull Apart Bread

Ingredients
  • 1 tablespoon butter
  • ½ cup milk
  • 2 1/4 teaspoon active dry yeast
  • ¾ cup warm water
  • 4 tablespoons sugar, divided
  • ½ teaspoon salt
  • 2 tablespoons cinnamon, divided
  • 3 cups flour
  • 2 tablespoons butter, melted

Directions
  1. In small saucepan, warm milk and 1 tablespoon butter until butter is melted. Set aside until lukewarm. In small bowl, mix water and yeast until yeast is dissolved. In large bowl, add 2 tablespoon sugar, salt, and 1 tablespoon cinnamon. Pour in milk and butter. Mix until sugar and salt is dissolved. Stir in yeast and water. Mix in 2 ½ cups flour. Turn out onto floured board and knead in the remaining flour or until the dough is soft and smooth.
  2. Put dough in greased bowl and turn dough so that the top is greased. Cover and let rise in warm place for about 60 minutes, or until double in size. Grease and flour a 9”x5” loaf pan.  Set that aside.
  3. Punch down the dough, and let rest for 5 minutes.  On a lightly floured surface, roll the dough out to approximately 12”x20”. Use a pastry brush to spread melted butter on top of the dough, then sprinkle remaining cinnamon & sugar on top. (Or however much you want... I don't measure.)
  4. Slice the dough into approximately 20 equal sized pieces. Layer them in the loaf pan like a flip book, with the cinnamon sides all facing the same direction. Place a clean towel over the pan and allow to rise in a warm place for 30 to 45 minutes, or almost doubled in size. 
  5. Preheat oven to 350°. Place loaf in the oven and bake for 40-50 minutes, until the top is very golden brown.  (BE CAREFUL. It is easy to under bake this, but it's just as easy to over bake. Keep a close eye on it around 40 minutes, and test the soft looking pieces slightly for doneness.)
  6. Remove from the oven and allow to rest for a few minutes. If needed, run a butter knife around the edges of the pan to loosen the bread, and invert onto a clean board. Using a clean plate, carefully invert so that it’s right side up. (This part's hard, and usually messy. I use my hands, to be honest, it's easier that way.)

Yield/Time
1 loaf
Prep Time: 2 hours Cook Time: 45 minutes
Nutrition Facts *I calculate nutrition facts for reference only, this is not done scientifically
108/2 slices

Source (for original): idea and instructions: Joy the Baker, bread recipe: unknown, I've had it for years.

Friday, January 13, 2017

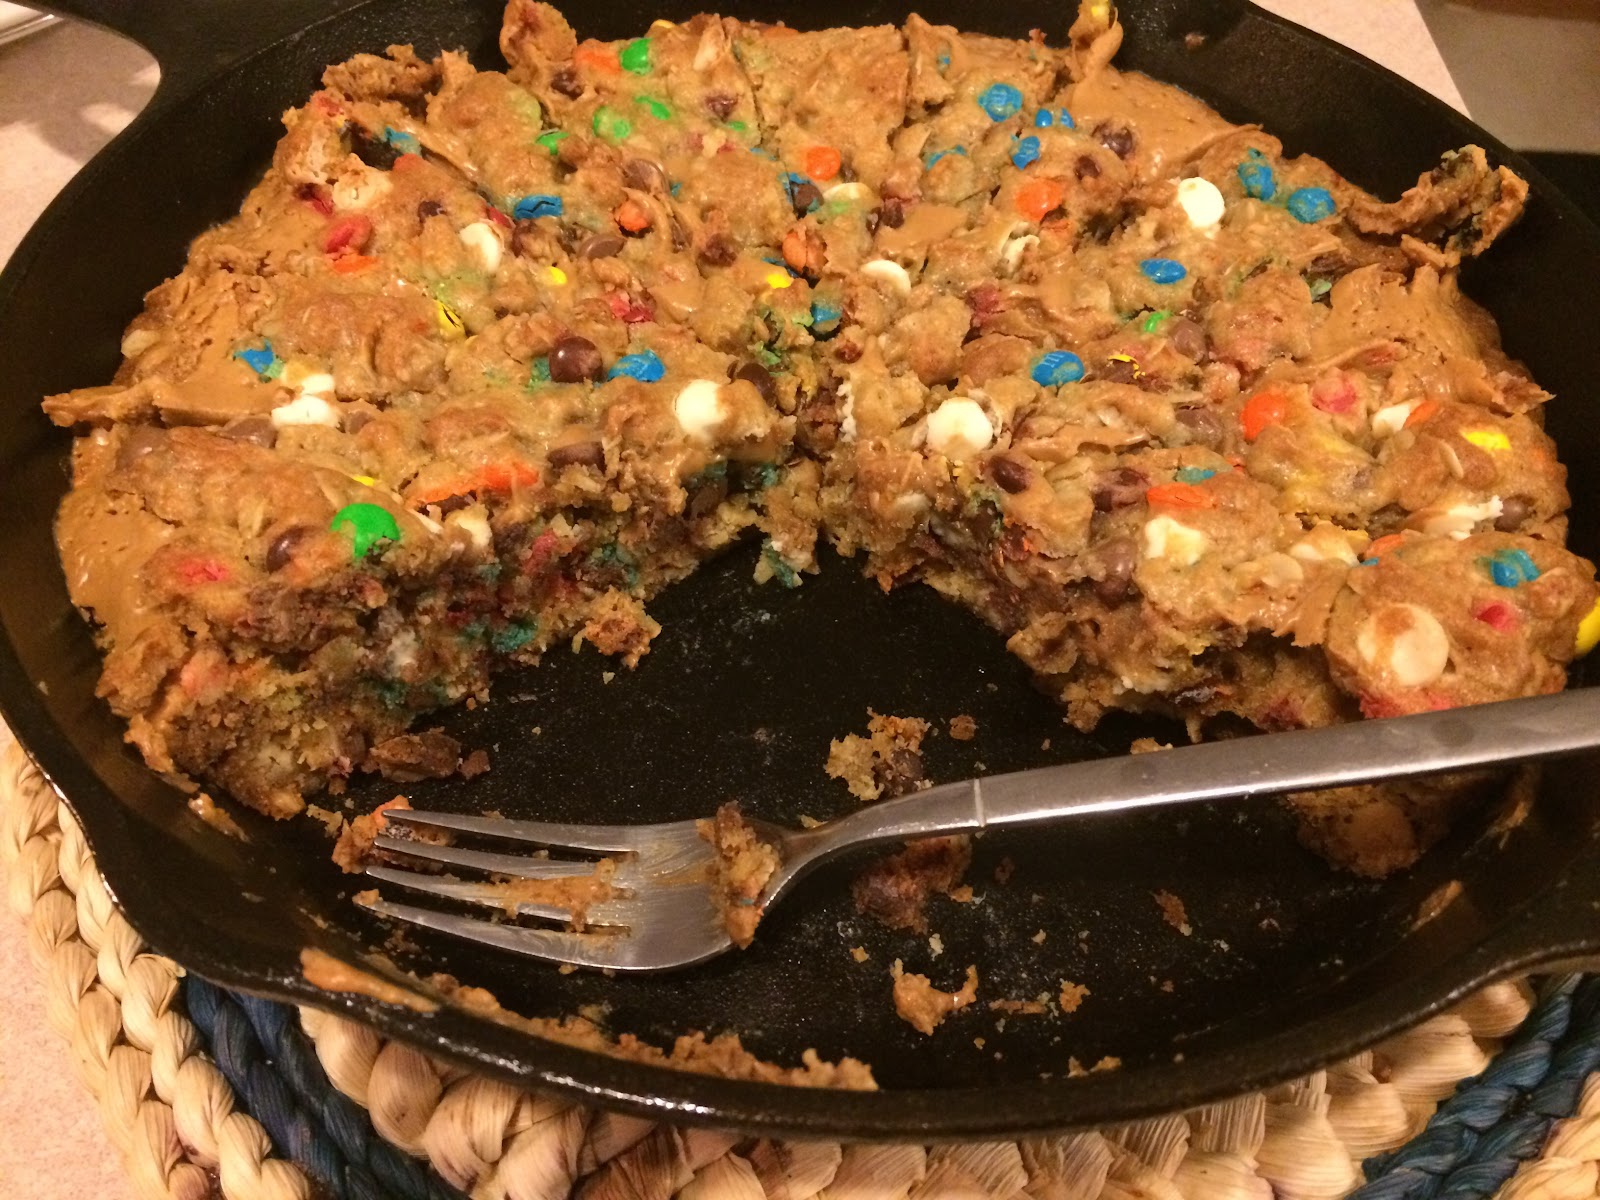
M&M Cookie Pie

So, on one of the blogs I read, she shared a recipe called "Kitchen Sink Skillet Cookie." It's very similar to my Heavenly Skillet Cookie. I liked the look of the new recipe, but decided to play with it a bit and combine some ideas. This was the result!

This is, without a doubt, perfect. And since it was a combination of a couple different recipes, it needed a name! Adrian didn't really come up with anything (but hey, he's only 2 1/2, so...). Gabriel, however, came up with the name "M&M Cookie Pie." (And let me tell you, he was pretty proud of himself!)

However, as to the name-- it doesn't have to be M&M's! Use Reese's Pieces, chocolate chips, butterscotch chips, whatever... (Gabriel does strongly recommend M&M's though! And Adrian doesn't recommend any changes either.) ;)

Remember, comments make the pregnant lady happy! What's your favorite skillet dessert recipe?

M&M Cookie Pie


Ingredients
  • 10 tablespoons unsalted butter
  • ½ cup + 2 tablespoons brown sugar
  • 2 large eggs
  • ¾ teaspoon pure vanilla extract
  • 1 ½ cups all-purpose flour
  • ½ cup old-fashioned oats
  • ¾ teaspoon salt
  • ¾ teaspoon baking soda
  • 1 cup mini M&M’s
  • 1 cup chocolate chips
  • ½ cup white chocolate chips
  • ½ cup peanut butter

Directions
  1. Preheat oven to 350°, and spray cast iron skillet (or 9”x9” pan) with cooking spray.
  2. In a large microwave-safe bowl, melt the butter. Add sugar, eggs, and vanilla; whisk to combine. Add flour, oats, baking soda, salt; mix well. Add in M&M’s and chips. Reserving a heaping cup, press the dough into the skillet. Set aside.
  3. In a small microwave safe bowl, melt peanut butter til runny. (Approximately 30 seconds.) Pour peanut butter over the pressed dough. Drop tablespoon-sized chunks of the reserved dough into the skillet.
  4. Bake for 20-25 minutes, or until edges begin to barely crisp up and most of the top surface of the cookie has set. The center may not be completely set. Careful not to overbake! 

Yield/Time
12-16 servings
45 minutes
Nutrition Facts *I calculate nutrition facts for reference only, this is not done scientifically

471 (12 servings)/354 (16 servings)


Source (for original): Picky Palate & Averie Cooks

Monday, January 2, 2017

Berry (or Fruit!) Crumble Bars

I know, I know. I live in Michigan.

It's not berry season. Or fruit season. It's cold, and everything is covered in inches (or feet, for the unlucky) of snow.

But let's be real: after the holidays, we all need something that makes us feel good about eating it. Even if it's not really healthy, we can at least pretend.

Well, I'm pretending this morning. (And my little pregnant self thought it sounded good.) 

This is really similar to most other crumble recipes, but I think it's my favorite now. I used it a bit this summer, and it's definitely wonderful. I've only ever used it with berries, but I think it would be awesome with peaches. (Which is going to be my next attempt!)

This is something that, regardless of the weather, will make you feel like summer! 

Remember, comments are loved! What's your favorite reminiscent-of-summer recipe?

Printable Recipe
 
Berry (Or Fruit) Crumble Bars


Ingredients
Crust and Topping


  • ½ cup butter, melted
  • 1 cup all-purpose flour
  • ¾ cup old-fashioned oats
  • ½ cup light brown sugar, packed

Berry Layer


  • 2 cups berries
  • ⅓ cup granulated sugar
  • 2 tablespoons lemon juice
  • 2 teaspoons cornstarch
Directions
  1. Preheat oven to 350°. Spray an 8” square pan with cooking spray; set aside. 
  2. Combine all ingredients for crust; mix well. Set aside 1 heaping cup for topping. Press remainder evenly into prepared pan. Set aside.
  3. In a large bowl, toss together all ingredients for berry layer. Evenly distribute over the crust.
  4. Sprinkle the reserved crumble over berry layer. 
  5. Bake for about 45-60 minutes, or until edges are set and crumble is a golden brown. Remove from oven and allow to cool for 30 minutes before serving.

Yield/Time
16 pieces
1 ½ hours + cooling
Nutrition Facts
140 (using a mixture of blueberries & strawberries)


Source (for original): Averie Cooks

Friday, December 23, 2016

Spanish Rice

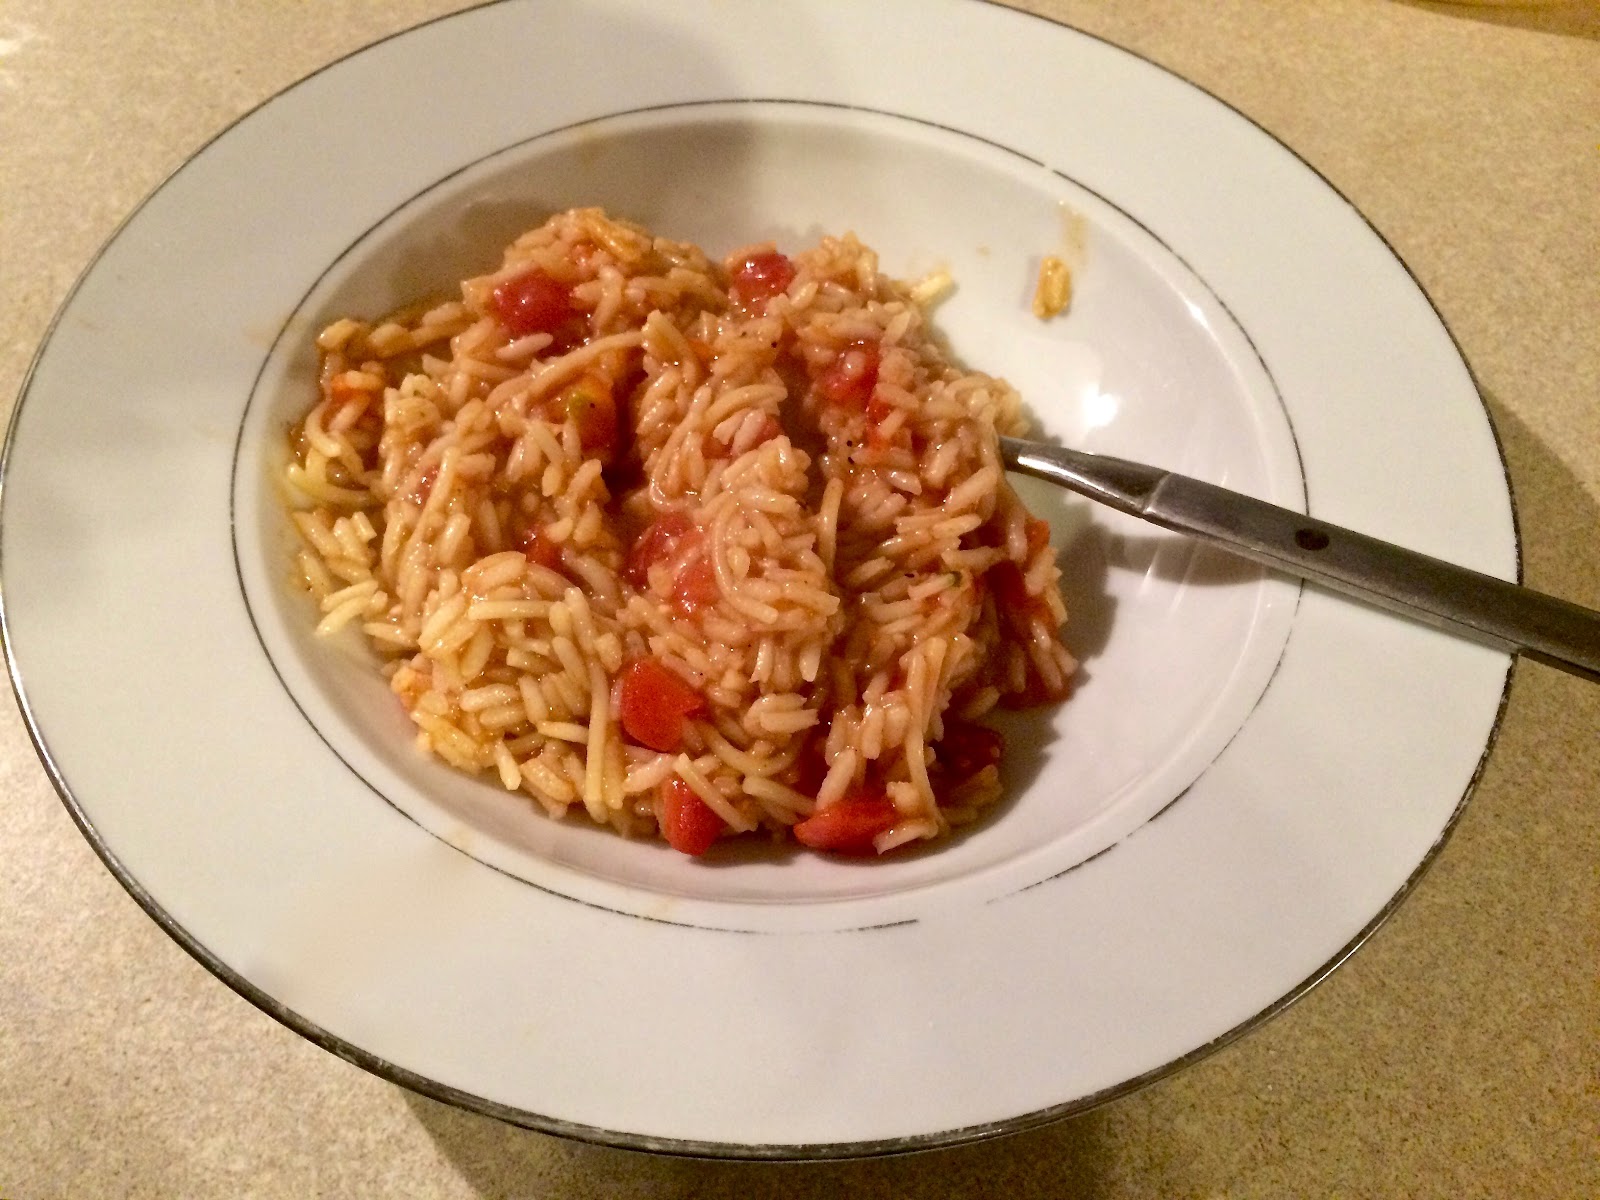
I know it's two days before Christmas, and you are probably expecting more Christmas recipes, but I couldn't wait to share this! This is a great, easy recipe to make with very little effort: perfect for one of the days before Christmas, when you don't have much time!

I've talked before about my not-love of processed foods, but I will admit I love the box mix of Spanish rice. Just to eat, and in my empandas. (Which I just realized I never shared the recipe for... that will come soon!) I kept promising myself that I would try to make it myself, and I finally did!

Overall, if you like the box mix, I think you'll like this! It would be easy to adjust seasonings based on your household's tastes. I started with 1 tablespoon of taco seasoning, because my little boys don't like too much spice. However, next time, I will definitely add more! 1 tablespoon is fairly light.

I added some cooked, shredded turkey and some cheese to make this a meal!

Enjoy, and have a very merry & blessed Christmas!

Spanish Rice

Ingredients
  • 1 cup white rice
  • ½ cup vermicelli, broken into small pieces
  • 2 tablespoons butter or margarine
  • 2-3 cups chicken broth, divided
  • 15 ounces canned tomatoes (undrained)
  • 1-2 tablespoon taco or fiesta seasoning

Directions
  1. In a large saucepan or deep skillet, saute rice and vermicelli in butter until golden brown. Stir frequently.
  2. Add 2 cups chicken broth, tomatoes, and seasoning. Bring to a boil, then reduce heat to low and simmer for 15-20 minutes, or until rice is done. Add more chicken broth as needed.
  3. Serve immediately. 

Yield/Time
8 servings
30 minutes
Nutrition Facts
130

Source (for original): n/a

Monday, December 19, 2016

Breadsticks

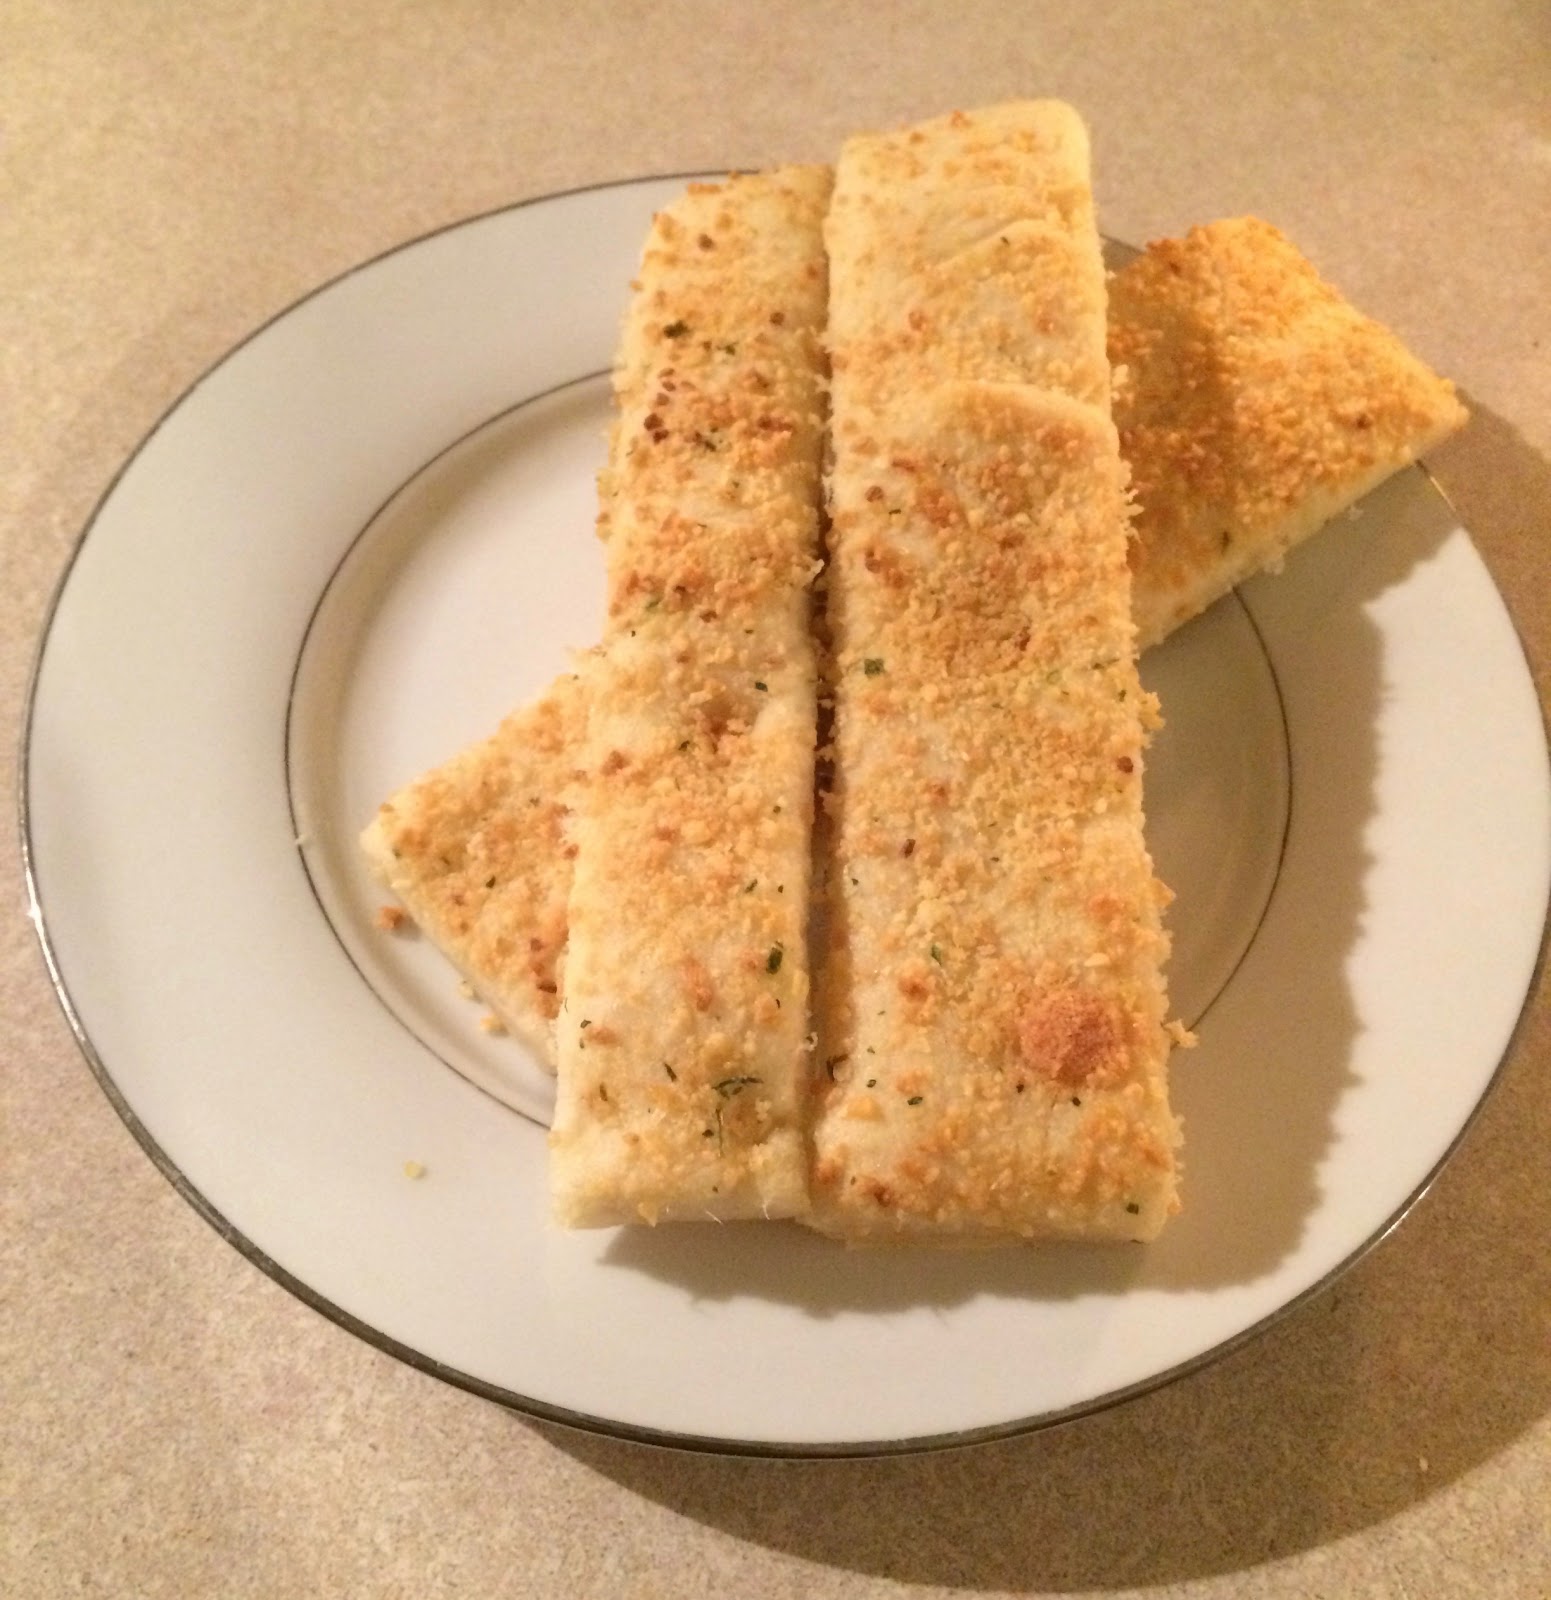
So, I have a recipe to share today that I didn't actually make. My husband did! He's pretty awesome. ;) Nerdy, handsome, makes cute babies, and he can cook/bake. (When I let him in my kitchen.) He's quite the catch. 

And... He loves bread. Loves it. And, let's be honest...as much as I love it too, I don't make it enough. Especially this time of year, when I am making sweets about daily. So, I am learning to relinquish control of the kitchen (which is hard) and stay out of the way when he occasionally wants to make it. He loves breadsticks too, and between him and I we put these together awhile ago. (Mostly him, to be honest, but since I'm the baker he did ask for my advice.) Last night I finally remembered to take a picture of them! 

These are awesome. This is, truthfully, a basic recipe. We always put garlic, butter, and parmesan on them, but you can do whatever you want. Onion, etc. 

Remember, comments are loved! Tell me what you try, and what your favorite toppings are! 

Printable Recipe
Breadsticks

Ingredients
  • 2 ¼ - 3 cups flour
  • 2 ¼ teaspoon active  dry yeast
  • ¾ teaspoon salt
  • 1 cup warm water (120°-130°)
  • 2 tablespoons butter, melted *Nate usually adds more
  • 2 tablespoons Garlic Garlic (or any other seasoning)
  • ½ cup parmesan

Directions
  1. In a large mixing bowl, stir together 1 cup flour, yeast, and salt. Add warm water to the flour mixture. Beat with an electric mixer on low to medium speed for 30 seconds. Beat on high speed for 3 minutes. Using a wooden spoon, stir in as much of the remaining flour as you can. Turn dough out onto a lightly floured surface. Knead in enough remaining flour to make a stiff dough that is smooth and elastic (8-10 min). Shape dough into a ball. Place in a lightly greased bowl, turning to grease surface. Cover; let rise in a warm place until double in size (1 hour).
  2. Preheat oven to 375°. Punch dough down. Turn dough out onto a lightly floured surface. Cover; let rest 10 min. Meanwhile, lightly grease a baking sheet.
  3. Roll the dough into a 15”x10” rectangle. Using pizza cutter, slice into 1” strips. Spread butter on top, adding more as needed, and sprinkle with garlic garlic and/or parmesan as desired. 
  4. Bake for 15-20 minutes or until golden brown.

Yield/Time
Yields: 10-14 pieces
Total Time: 2 hours

Nutrition Facts *I calculate nutrition facts for reference only, this is not done scientifically
139 calories/14 pieces

Source (for original): Better Homes & Gardens (french bread recipe, adapted)
Tastefully Simple info: If you are interested in making a purchase, you can purchase through my page, or just search and select "Serena Lee" as your consultant. Obviously, if you are not local and already have a consultant.... purchase through them online, or contact them! Shop local, as always! Disclaimer: I am paid a small amount with each purchase, based on sales, made through myself as a consultant. You are helping to support my baking addiction, thank you! ;)