PinIt!

Showing posts with label basil. Show all posts

Wednesday, September 28, 2016

Herbed Wheat Muffins

My husband, Nate, doesn't have nearly as much of a sweet tooth as I do. Sometimes that's disappointing, sometimes it's just a fun challenge! I stumbled across this recipe when we were engaged, when he had a rough day and I wanted to show him how great of a wife I would be. ;)

I've made it quite a few times since then, but much more often in the last year. That is largely due to the fact that I acquired a tarragon plant at the farmer's market--this is one herb that's pretty expensive, and I'm too cheap to buy that very often. Now we always have plenty! (And usually have some to give away, if I'm keeping up on drying it! So, local readers... let me know if you need some!)

I will admit, this is a very healthy-tasting muffin. (So.... not my favorite.) Nate loves them, and so does my mom. The boys are touch and go--sometimes they will devour the batch, sometimes they hardly touch them. If you are looking for a good, healthy, breakfast or snack--try these!!
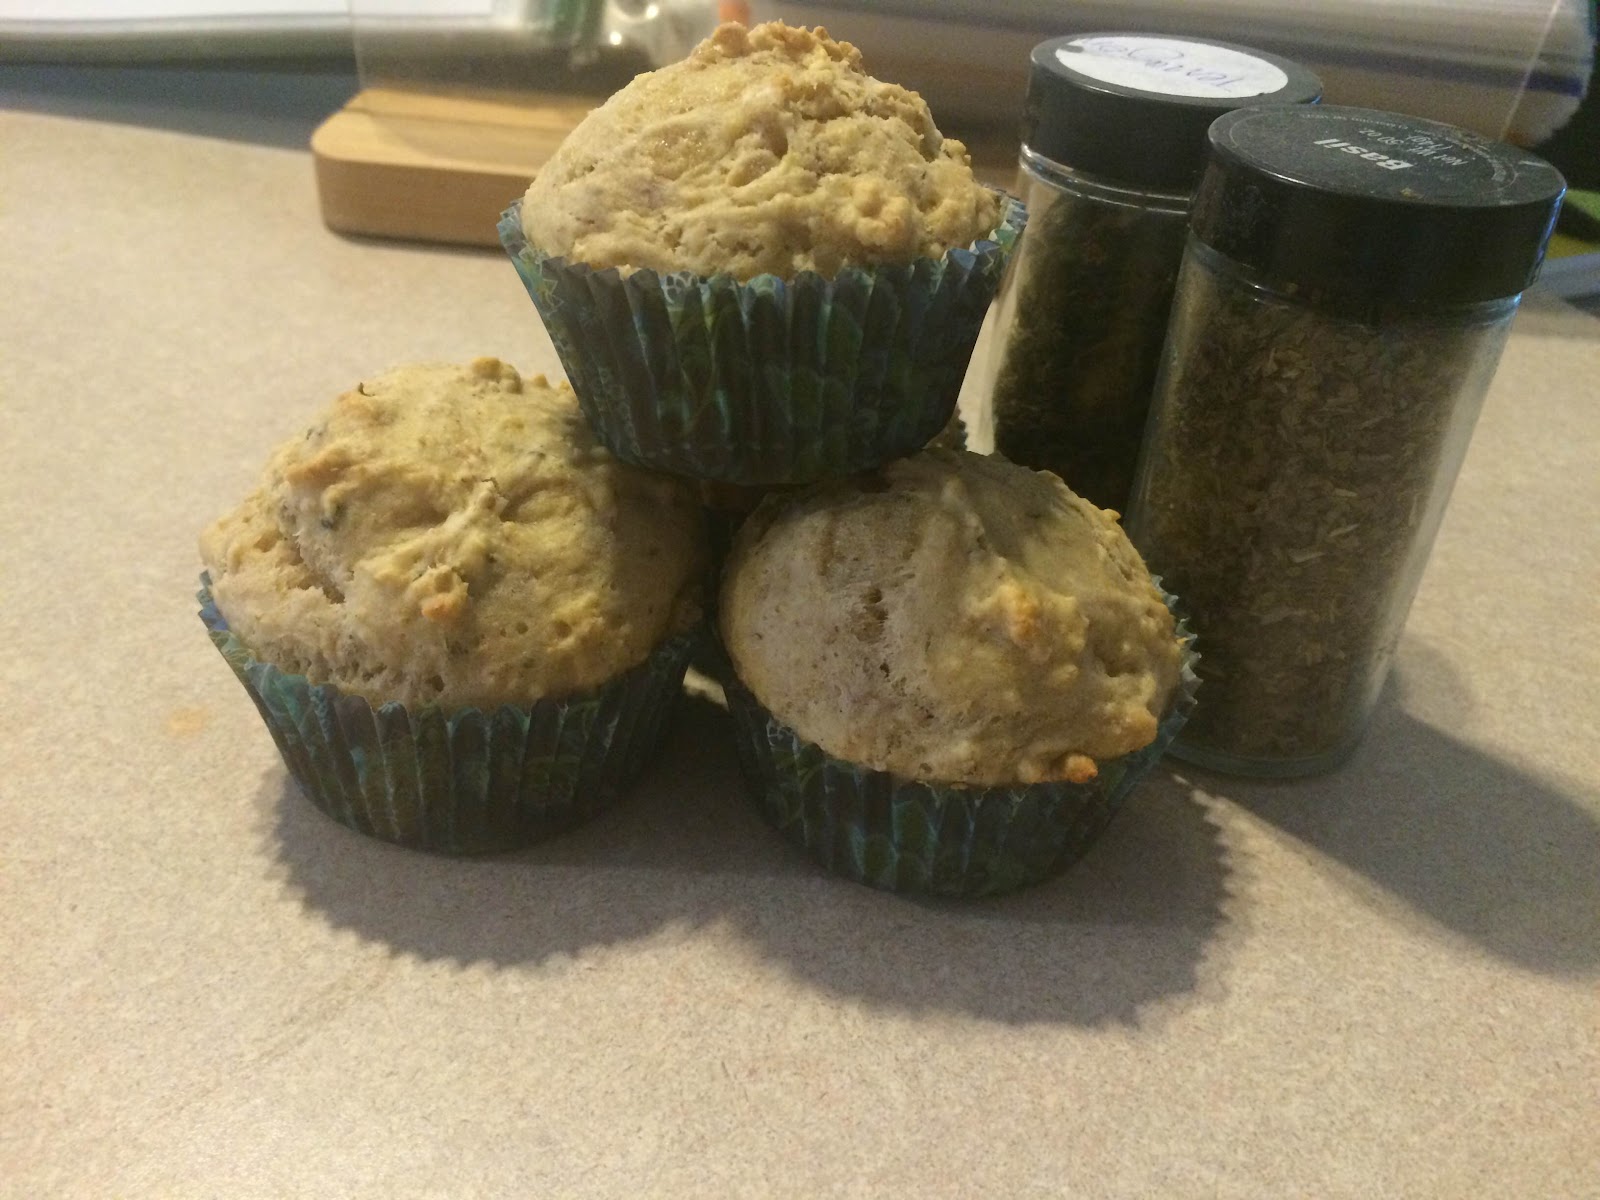
Herbed Wheat Muffins


Ingredients
  • ¾ cup whole wheat flour
  • ⅔ cup all-Purpose flour
  • ¼ cup wheat germ *or cornmeal
  • 1 teaspoon baking powder
  • ¼ Teaspoon Salt
  • ¼ Teaspoon baking soda
  • 1 egg, beaten
  • ⅔ Cup buttermilk 
  • ¼ cup honey
  • ½ Teaspoon dried basil
  • ½ Teaspoon dried tarragon
  • 2 Tablespoon butter, melted


Directions
  1. Preheat oven to 350°. Coat muffin cups with cooking spray (or use muffin liners).
  2. In a small bowl, combine the flours, wheat germ, baking powder, salt, and baking soda.
  3. Combine the egg, buttermilk, honey, and butter; stir into dry ingredients until just moist. Fold in basil & tarragon.
  4. Fill prepared tins ¾ full with batter. Bake for 15-20 minutes or until a toothpick inserted comes out clean. Cool for 5 minutes before removing from pan to a wire rack. Serve warm.

Yield/Time
Yields: 8
Prep Time: 15 Cook Time: 20
Nutrition Facts
162 (using buttermilk sub)


Source (for original): Cooking for Two
Remember, comments are loved! What's your favorite healthy muffin?

Thursday, August 18, 2016

Cream Of Soup Mix

I've shared before of my dislike of processed foods, and convenience foods. Part of it's taste, part of it's the ingredient list, part of it's the whole "grow your own" revolution. (Hello, farm fresh eggs!) 

There are some things, though, that I was/am sure I can't give up. (We are not going to discuss my caffeine addiction. Really guys, it's gotten better!) My cans of cream of chicken/mushroom soups were definitely on that list. While I was moderately disgusted by them, I was sure that:
#1 I don't want to mess with a liquid in the fridge that will go bad, or something in the freezer I'm going to have to remember to thaw.
#2 It wasn't going to be nearly as convenient. 
#3 It was going to ruin all of my favorite recipes. (Like my Cheesy Chicken & Tortillas!) 

After some recipe searching and contemplating, I determined I could work past #1. I found a few recipes I was willing to try, that stayed in powder form. (Then you add liquid right before use.)

I was right in the aspect of #2, kinda. Making it in the moment is not convenient. But, most thinks like this aren't meant to be made in the moment. My taco seasoning I certainly don't--I make a big batch all at once. This makes a decent sized batch, so after the first time I made it I had a bit to use up, and play with. After making a few things with it and realizing that I was wrong about #3, I made a big batch. I think I multiplied the recipe by 4...

And truthfully? Haven't looked back since. (There are actually a couple cans of the other stuff that need to make their way to the food pantry before they expire...)

In all the recipes I've made with this, which is everything that calls for a cream-of soup since last winter, I haven't had any real issues. I have learned that you sometimes need to decrease the liquid, if adding it to something with a lot of liquid already, but that's about it. 

So, go on. Join the mini-revolution. Have fun, we have all kinds of goodies here. 

Printable Recipe
Cream of Soup
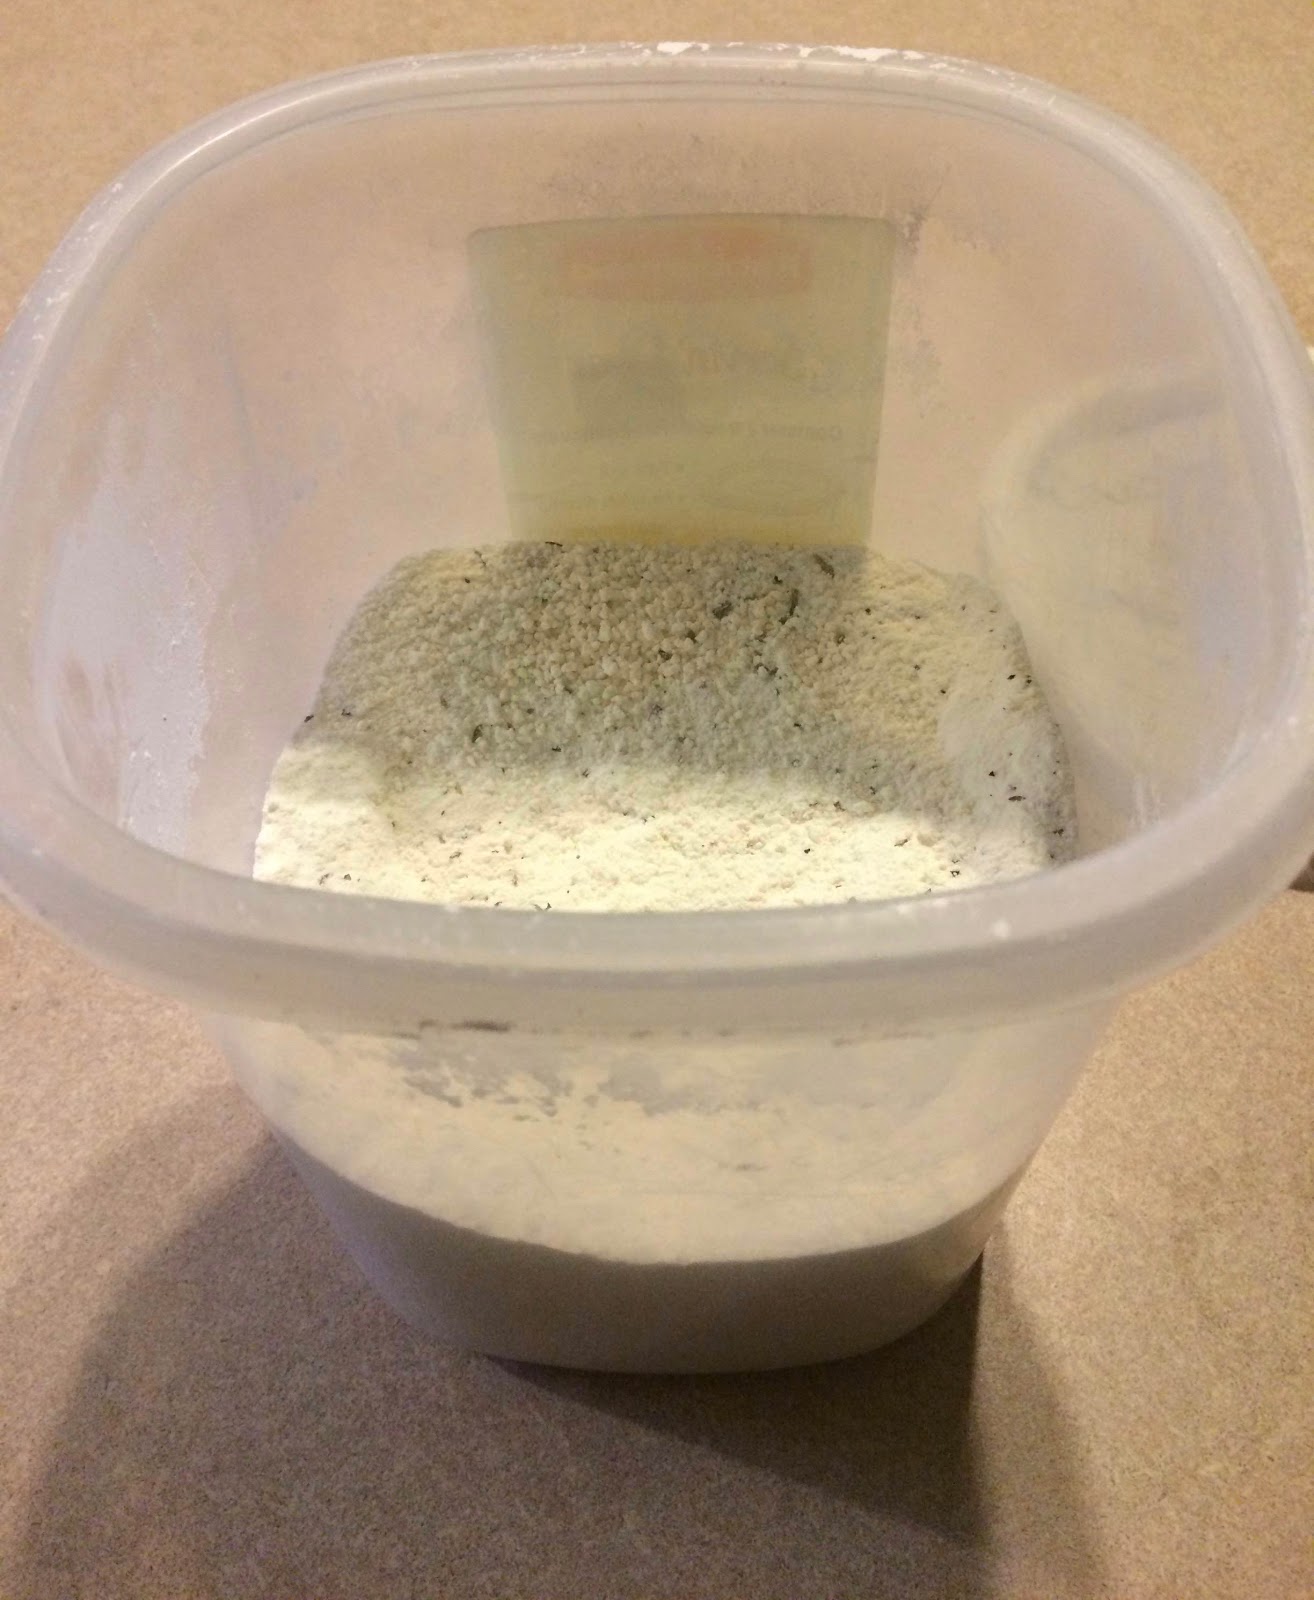
(Yes, the picture is mediocre, but what else am I supposed to take a picture of? It's not any prettier when you add the water. Just better than the canned stuff.)


Ingredients

  • 2 cups dry milk powder
  • 3/4 cup cornstarch
  • 1 teaspoon onion flakes (I use Onion Onion)
  • 1/2 teaspoon garlic powder (I use Garlic Garlic)
  • 1/2 teaspoon dried thyme
  • 1/2 teaspoon dried basil
  • 1/2 teaspoon dried parsley
  • 1/4 teaspoon black pepper


Directions

  1. Mix all ingredients together with a whisk. Store in an airtight container.
  2. To make into soup: Combine 1/3 cup dry mix with 1 1/4 cups water in a small saucepan. Whisk until smooth. On medium heat, bring to a boil. Cook for 2 minutes or until desired consistency. (Cooking not necessary if adding to a recipe, just whisk and add instead of cream of soup. Do not skip the whisking!)
  3. If making cream of chicken soup, add 1 crushed bouillon cube to the 1/3 cup dry mix.
Yield/Time
8 servings
<5 minutes
Nutrition Facts
76 calories per serving *I calculate nutrition facts for my use only, this is not done scientifically


Source (for original): Humorous Homemaking

Remember, comments are love! What convenience foods have you stopped using, or want to?

Tastefully Simple info: If you are interested in making a purchase, you can purchase through my page, or just search and select "Serena Lee" as your consultant. Obviously, if you are not local and already have a consultant.... purchase through them online, or contact them! Shop local, as always! Disclaimer: I am paid a small amount with each purchase, based on sales, made through myself as a consultant. You are helping to support my baking addiction, thank you! ;)

Monday, March 17, 2014

Chicken & Spinach Pasta

Our oven died a couple weeks ago, when our menu plan was filled with things that needed to be baked. Thankfully, we've gotten it fixed since, but of the handful of things left on my plan, not ONE of them was crock pot or stove top only. We had pizza the first night I realized it was completely dead (that's also the day I dropped a wooden shelf on my head.... so we probably would've had pizza anyways), and I came up with some alternate meals. 

This Chicken & Spinach Pasta is actually something that was on the original menu, but originally required baking. With some slight adaptation to make it stove top (and a decent amount of adaptation simply because I wanted to), it worked. 

It's actually a pretty basic dish, but I really like adding the cream cheese/sour cream for some extra creaminess. 

The cutest thing about this was Gabriel's reaction to the spinach/tomato in it. It isn't unusual for me to put (small) pieces of tomato in things, but for some reason he said "icky" when he found a piece at the edge of his plate. I explained that it was tomato & it was yummy, then showed him the spinach & said that was yummy too. So he picked up a piece of spinach, told me "spinach yummy!" then promptly ate it. When we had leftovers the next day, he ate all of the spinach before even touching the pasta. :)


Chicken & Spinach Pasta


Ingredients
  • 16 ounces dry small pasta
  • 2 tablespoons butter
  • 1/2 onion, chopped
  • 2 cloves garlic, minced
  • 8 ounces cream cheese
  • 1/2 cup sour cream
  • 1-2 cups milk
  • 1/2 cup grated Parmesan cheese
  • 1 1/2 cups shredded mozzarella cheese
  • 1/2 teaspoon salt
  • 1/2 teaspoon black pepper
  • 1/4 teaspoon crushed red pepper flakes
  • 2 cups chopped fresh spinach
  • 2 cups cooked chicken, diced
  • 1 cup diced tomatoes
  • Fresh basil or parsley, for garnish
Directions
  1. Preheat oven to 400°, if desired. (Baking is not necessary.) Spray a 9”x13” baking pan with non-stick spray.
  2. Cook pasta; drain and set aside.
  3. While pasta is cooking, heat butter in a large saute pan set to medium heat. Add in the onion and garlic. Saute for 3 - 4 minutes to slightly soften; do not brown.
  4. Add in cream cheese; stir to melt. Reduce heat to low. Stir in sour cream, milk, Parmesan cheese, 1 cup of mozzarella cheese, salt, pepper and red pepper flakes. Stir until everything is well combined and bubbling. Add pasta, chicken, spinach and tomatoes. Add more milk as needed to obtain desired consistency.
  5. If baking, stir to coat and immediately transfer to baking dish. Add remaining cheese and bake, uncovered, for 20-25 minutes.  
  6. If not baking, add remaining cheese and heat thoroughly.
  7. Top with basil or parsley for garnish.
Yield/Time
8 servings
20-45 minutes

Source (for original): Inspired Dreamer

Saturday, September 28, 2013

Shrimp Alfredo: My little brother's birthday

  
 My brothers & I don't do birthday presents for each other any more, but I wanted to do something nice for them. Jonah lives a few hours away, so inviting him up for dinner isn't really feasible. Especially considering that, when he is up here, he is spending all his time hunting, fishing, or both. He's getting a to-be-determined treat when he comes up next week. (And, since he's giving me no ideas on what he would like, I really have no idea what I am going to make for him.) 

Kyle, however, has no qualms about telling me what he would like. Since he lives so close, he also was able to come over for dinner. (And dessert, which I already posted about.) It was quite the party, too. 


Sometimes, there is a certain little boy who isn't quite sure of his Uncle Kyle....


Anyways, for dinner he requested crab alfredo. When I told him I would be using imitation crab he changed his mind and wanted shrimp alfredo. Which I've never made before. So, I got on Google and found a copycat recipe for Red Lobster's Shrimp Alfredo. 

The recipe I decided to follow was on food.com, and there were a lot of comments. Quite a few of the comments stated that it was too thin, so I added some cream cheese. I think it turned out great! Kyle & Gabriel did too. (Poor husband, he works second shift so he couldn't be there.)


Shrimp Alfredo


Ingredients
  • ⅓ cup extra virgin olive oil
  • 3 garlic cloves
  • 1 pound shrimp, peeled, deveined and tails removed
  • ⅔ cup clam juice (or chicken broth)
  • ⅓ cup white wine (or chicken broth)
  • 1 cup heavy cream
  • 1 ounce cream cheese, cubed
  • ½ cup grated parmesan cheese
  • ¼ teaspoon dried basil
  • ¼ teaspoon dried oregano
  • 8 ounces pasta, cooked and drained

Directions
  1. Heat oil in large skillet over medium heat. Add garlic; reduce heat to low. Simmer until garlic is tender.
  2. Add shrimp and cook over medium-low heat until opaque. Remove, reserve liquid in pan.
  3. Add clam juice (or chicken broth) and bring to a boil. Add wine (or chicken broth); cook over medium high heat for three minutes, stirring constantly.
  4. Reduce heat to low; add cream and cream cheese, stirring constantly and continue until cheese is mostly melted. Add Parmesan, stirring until smooth. Cook until thickened.
  5. Add shrimp back into sauce. Heat thoroughly. Add remaining ingredients except pasta.
  6. Put pasta in a large bowl and pour sauce over pasta; toss gently to coat.
  7. Serve with additional grated parmesan cheese.
Yield/Time
5-6 servings
20 minutes

Source (for original): Food


Now, I added pre-cooked shrimp (it was on sale, and honestly I can only go so far out of my box--cooking shrimp sounded intimidating), so I skipped the step of cooking the shrimp and cut down on oil.

I think that, next time, I would cut down on the shrimp (that's a lot of shrimp for each serving) and probably would add a bit more garlic. However, I have a serious love for garlic, so you should probably start with 3 cloves and go from there.