PinIt!

Friday, September 16, 2016

Peanut Butter, Chocolate, & Cranberry Cereal Bars

I always love easy recipes, especially when I have a thousand other things going on. (Most of the time that's by choice, but that's OK.) I also love recipes that are guaranteed to please those sweet small children in my house.... and their parents.

This is definitely one of those. Easy (hello, no bake!), tasty, sweet, and a crowd pleaser! It actually is encouraging me to try my cereal cookies a slightly different way, too! Most no-bake cereal recipes I've seen call for karo syrup. While I truthfully don't have any objections to karo syrup, especially since it's required for the bucketful of hard candy I make at Christmas time, I like the idea of using honey instead. And, while I am not a huge fan of honey (please don't judge me), it's honestly not noticeable here. It might be SLIGHTLY overpowered by the Reese's Pieces and chocolate chips... but who know, it might just be a light taste here. ;) 

Oh, and for the picky eaters: don't skip the cranberry. Really. It adds just a bit of fun to some bites, but definitely isn't overpowering. 
(Side note, I discovered that my boys really like dried cranberries. I don't usually buy it, I honestly just bought it for this... but I will buy it more often. They both devoured the handfuls I gave them when I was making these!)

Printable Recipe
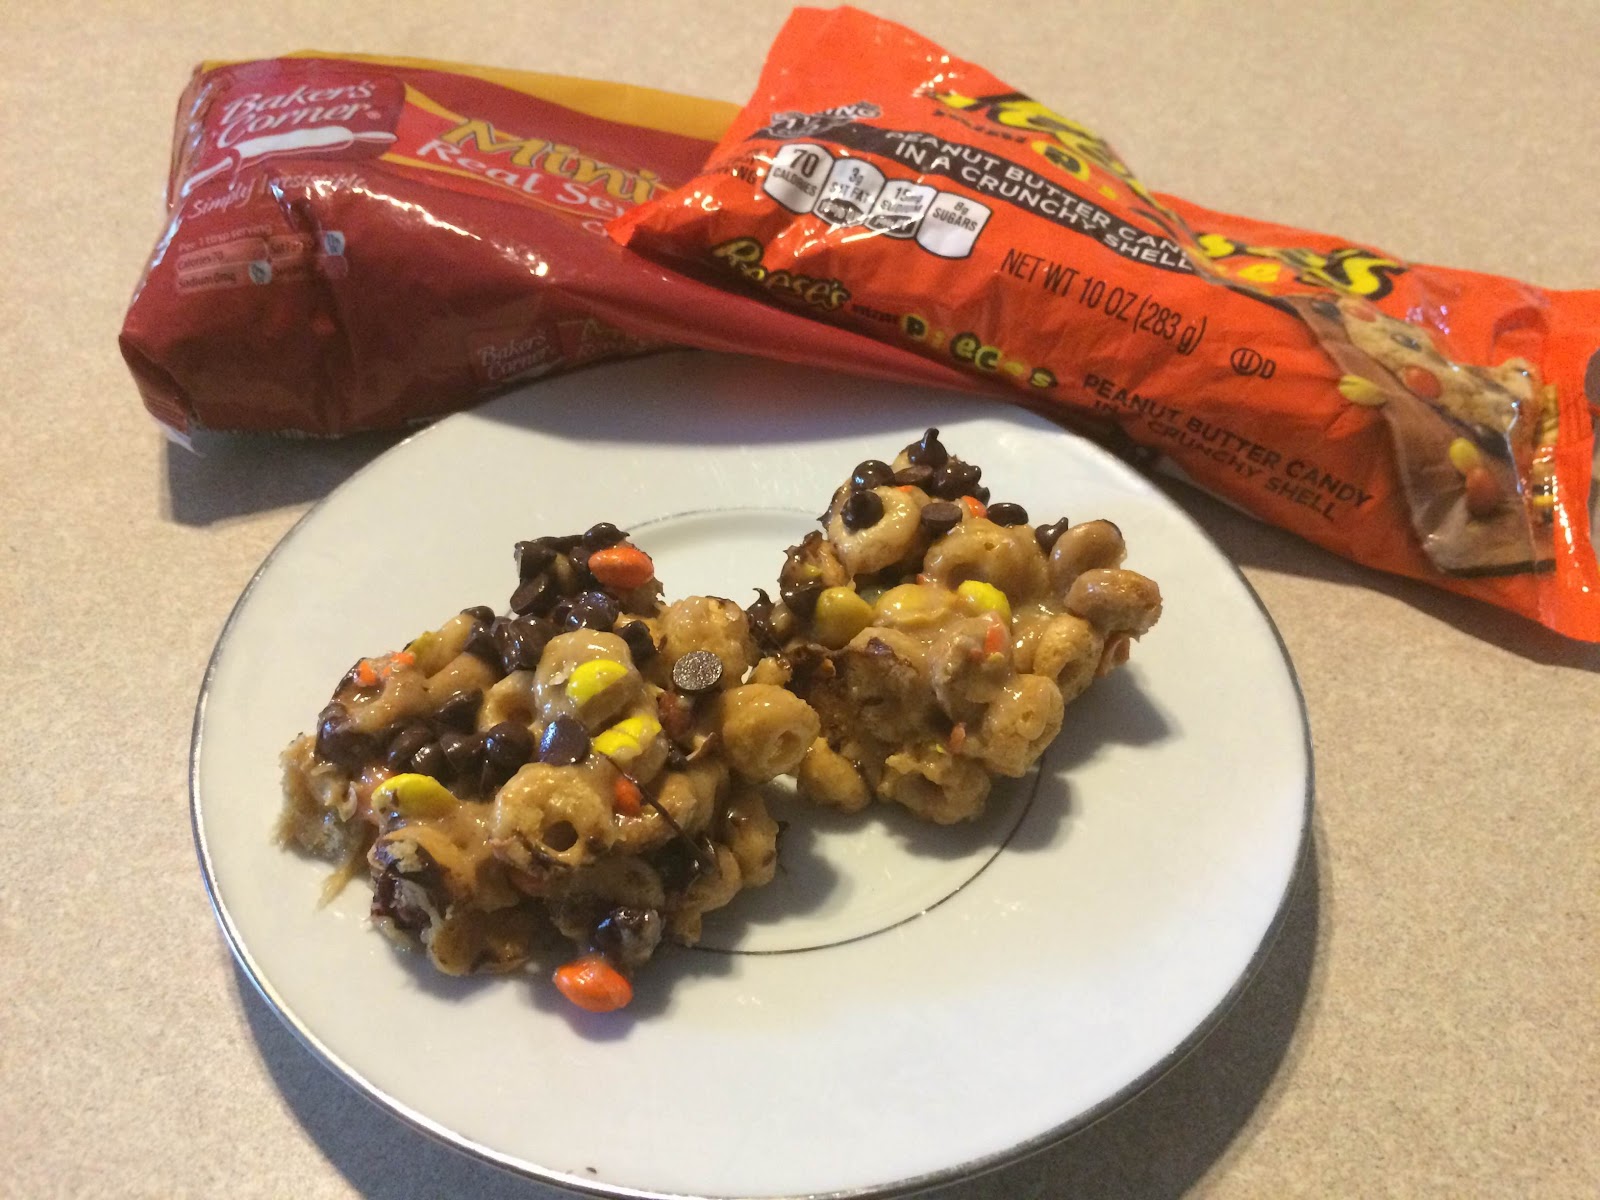
Peanut Butter, Chocolate, & Cranberry Cereal Bars


Ingredients
  • ½ cup granulated sugar
  • ½ cup honey
  • ½ cup peanut butter
  • 3 cups Cheerios cereal
  • ¾ cup mini Reese’s Pieces
  • ¼ cup mini semi-sweet chocolate chips
  • ½ cup dried cranberries

Directions
  1. Spray a 9"x9” baking dish with cooking spray; set aside.
  2. In a large saucepan, heat sugar and honey over medium heat almost to boiling, stirring frequently. Remove from heat.
  3. Stir in peanut butter until smooth. Stir in cereal, mini Reese’s Pieces, and cranberries until evenly coated. Press evenly into prepared pan using a spatula. Sprinkle with chocolate chips. Let cool for at least 30 minutes before serving.
  4. Cut into squares and serve.

Yield/Time
16 servings
10 minutes + cooling
Nutrition Facts *I calculate nutrition facts for reference only, this is not done scientifically
213/bar


Source (for original): Simply Being Mommy
Remember, comments are loved! What's your favorite no bake recipe--bar, or cookie?

Wednesday, September 14, 2016

Double Chocolate Oatmeal Chocolate Chip Cookies

OK, you guys should realize by now that I have a serious love for cookies. I could've named this blog "Don't Judge Me for My Massive Cookie Recipe Collection" and it would be pretty accurate. (I refuse to show the size of the "desserts" collection of my recipe book here; you have to see it in person. I don't need photographic evidence for people to laugh at.)

If it's a cookie recipe, I'm probably willing to try it. OK, scratch that, unless it calls for ingredients I know I don't like, I'm definitely willing to try it. And even if it calls for things I don't like... I'll probably just make it to give to someone else. (Hello, anything with coffee.)

So, it's no surprise that I have tried quite a few variations of oatmeal chocolate chip cookies.

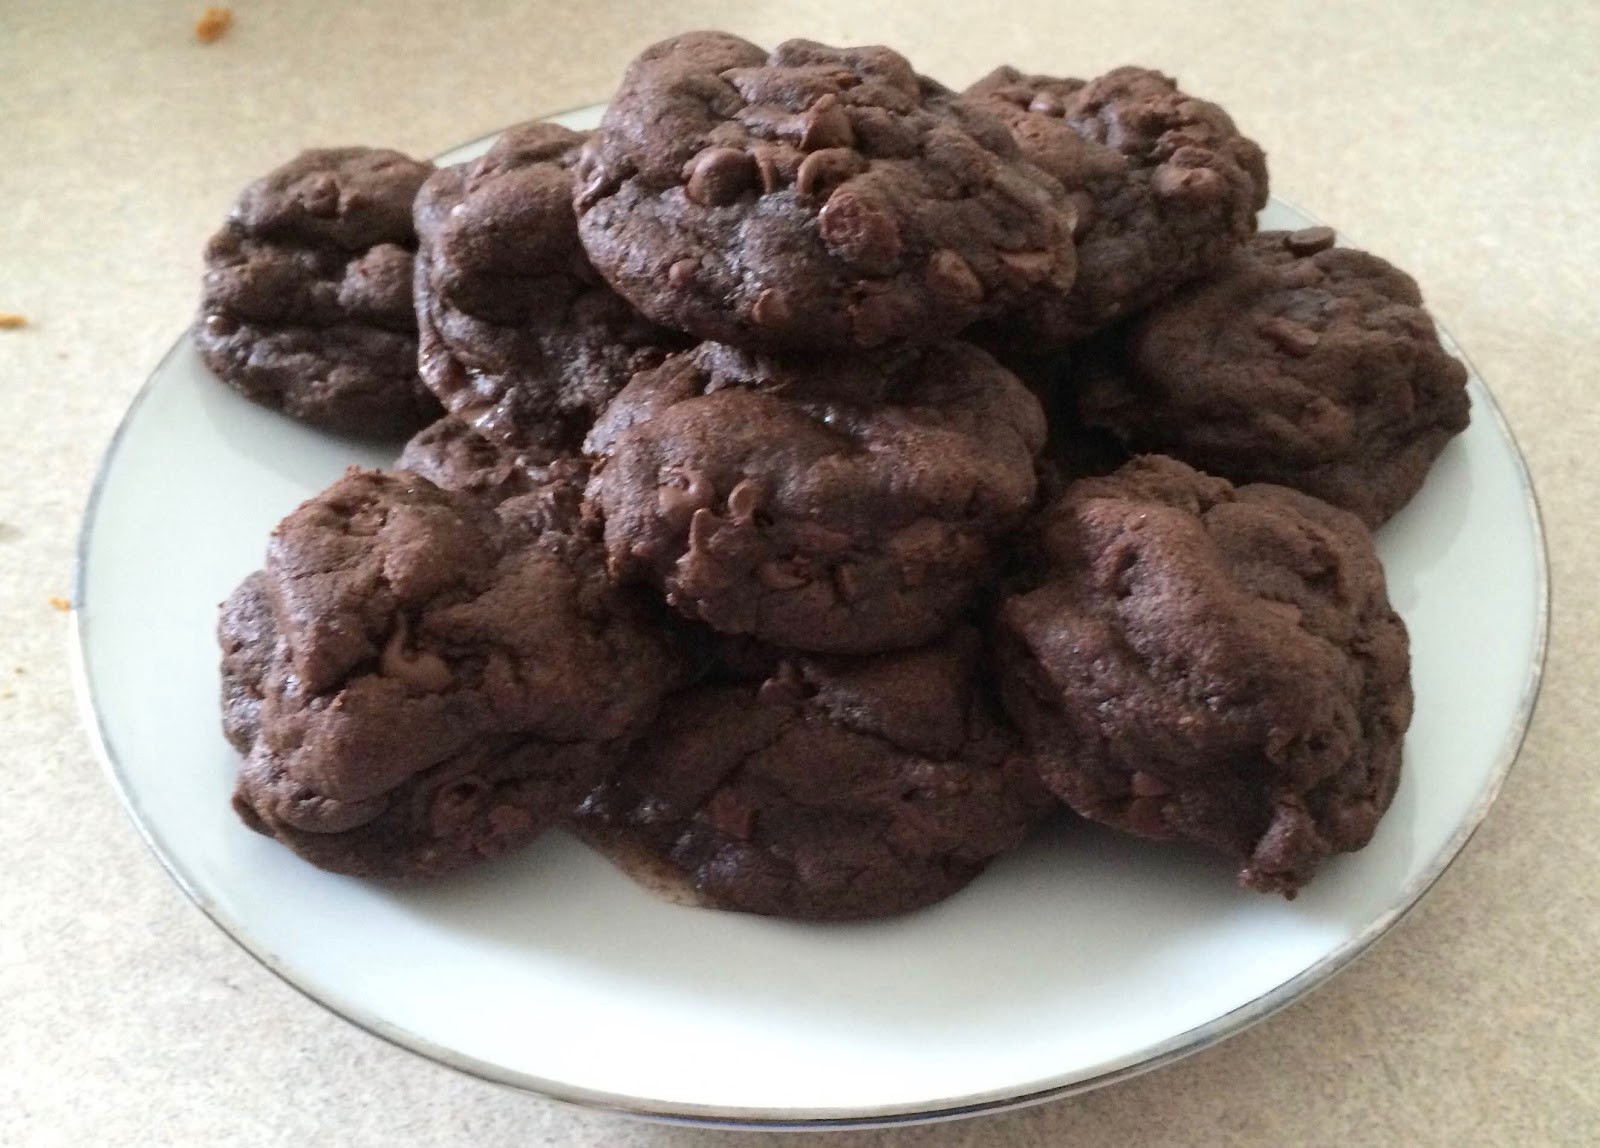
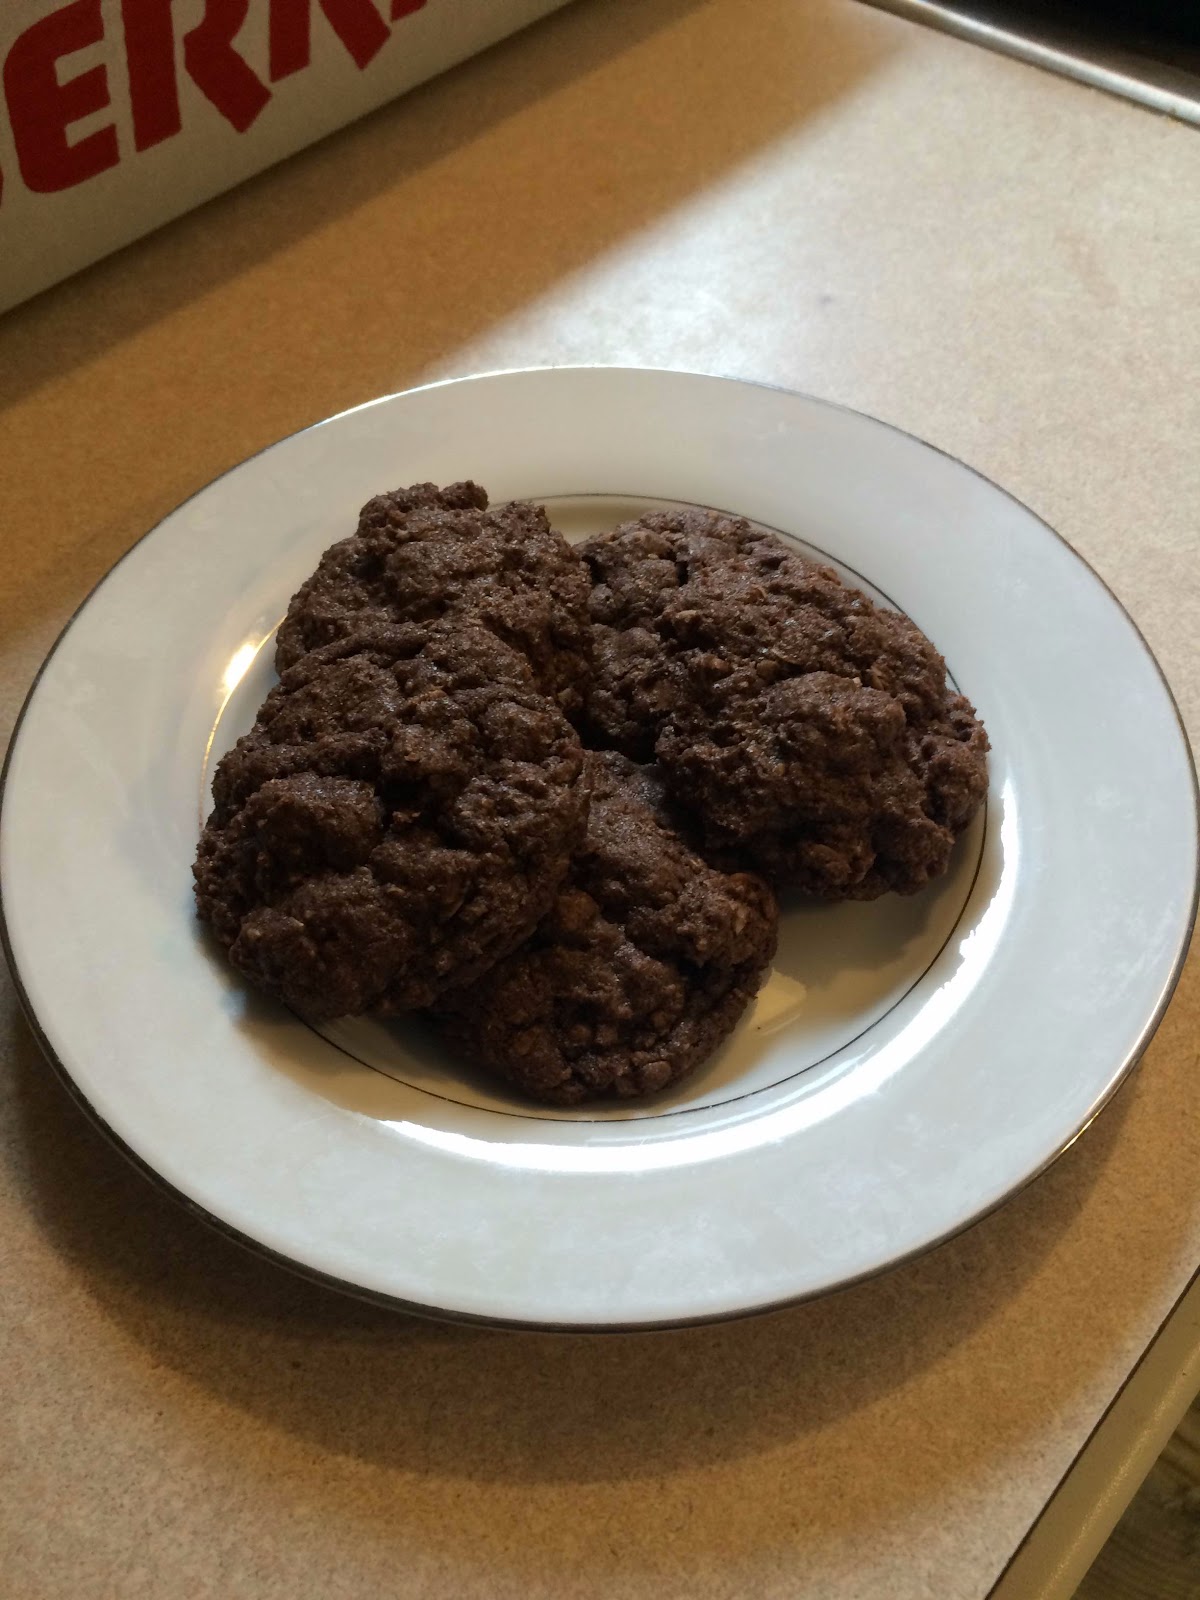
Of all the ones I've tried, this is my favorite. Try it, and it will be yours too. These cookies (that I have a bad picture of, sorry) are A.M.A.Z.I.N.G. They were the perfect consistency for oatmeal cookies. I'm guessing it's the combo of regular oats and quick oats, which I will be trying with any other oatmeal cookie recipes, assuming I ever remember.

Oh, and before I get questions on a regular oatmeal chocolate chip recipe... I actually don't have one that I think it satisfactory. I have a patient that sometimes brings in oatmeal chocolate chip cookies for us, and I haven't found any that compare. I've mentioned that I need the recipe, but no luck so far. (And FYI, patients that bake and bring goodies in are kinda my favorites. I work in a small town, and I really truly love all my patients, but if you've ever brought my cookies... I love you a little more. That goes for any of my friends/family, though. Food is love. I love you more if you feed me. I won't treat you any different, but I will love you more. For what that's worth.)

Double Chocolate Oatmeal Chocolate Chip Cookies

Ingredients


  • 1 cup butter, softened to room temperature *I almost exclusively use Crisco vs. butter, but for some reason I actually used butter here... and it turned out great. So, sticking with butter.
  • 1 cup packed light brown sugar
  • ½ cup granulated sugar
  • 1 teaspoon vanilla extract
  • 2 large eggs
  • 1 ¼ cups all-purpose flour
  • ½ cup unsweetened cocoa powder
  • 1 teaspoon baking powder
  • 1 teaspoon baking soda
  • ½ teaspoon salt
  • 1 cup old-fashioned oats
  • 1 cup quick oats
  • ¾ cup semisweet chocolate chips
  • 1 ¼ cup milk chocolate chips

Directions
  1. Preheat oven to 350°. Line four large, rimmed baking sheets with parchment paper.
  2. In the large bowl of a stand mixer fitted with the paddle attachment, whip together the butter, brown sugar, and granulated sugar until light and fluffy, 1-2 minutes. Add the vanilla and eggs and beat until creamy and light in color, 2-3 minutes.
  3. In a separate medium bowl, whisk together the flour, cocoa powder, baking powder, baking soda, salt, and both kinds of oats.
  4. Add the dry ingredients to the batter and mix until a few dry streaks remain. Add the chocolate chips and mix until everything is just combined.
  5. Drop the batter by heaping tablespoon-sized scoops, or roll into balls, about 2” apart.
  6. Bake for 10-11 minutes until the edges are just set but the middles are still soft. Transfer to a cooling rack to cool completely. Repeat scooping and baking with remaining cookie dough.

Yield/Time
Approx 44 cookies
1 hour
Nutrition Facts *I calculate nutrition facts for reference only, this is not done scientifically
145/cookie


Source (for original): Mel’s Kitchen Cafe

Remember, comments are loved! What's your favorite oatmeal cookie recipe?

Monday, September 12, 2016

Seasoned Chicken Fingers

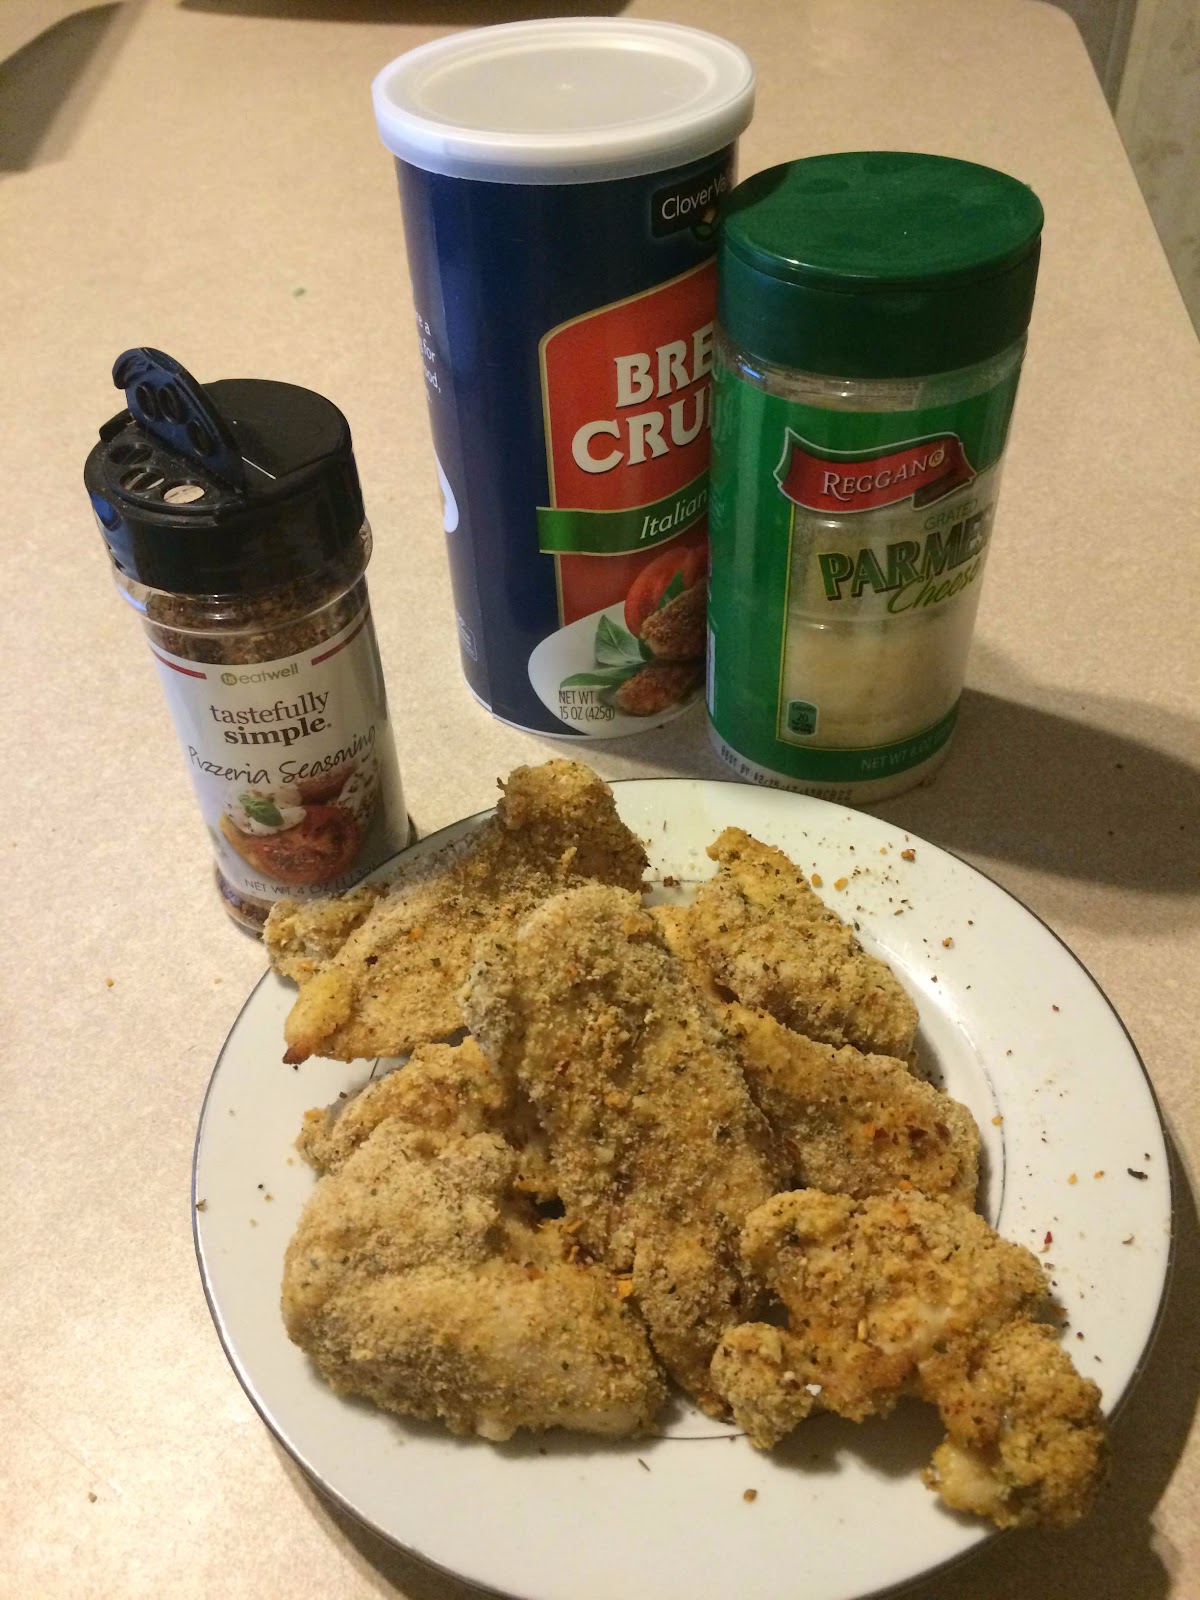
I love easy dinners. I get out of work fairly late, so on the nights I work we either need things that have been prepped before (hello, freezer meals!) or things that are easy to make. I stumbled across this on the Tastefully Simple website, and it is a definite hit! It's just a basic breading recipe, but the addition of the different seasonings makes a huge difference in it.

You can use any of your favorite seasonings--I've tried three different TS seasonings so far, because I always have them on hand, but use whatever seasonings you like. If you don't have any on hand, I definitely recommend using something with garlic, and some type of Italian seasoning.

I love making dinners like this. Add some veggies, and you're good. And, best thing: my boys love chicken tenders! I honestly don't make them very often, casseroles are my go-to more often than not, but these are always a hit. Nate prefers the garlic, and boys don't seem to have any preference.

Want to make something like this, but can't decide what flavors to do? Do two! Most recently when I made this, I split the bread crumbs & parmesan in two separate bags. Then, I just added 1 tablespoon of one seasoning to one bag, and the other to the second bag. Once that was done, I just made sure to keep them separated on the pan. (There really wasn't a lot of color difference between the two, so keeping them separated made it easier.)

If you are looking for an easy dinner recipe--enjoy!

Seasoned Chicken Fingers


Ingredients
Chicken:
  • 1 cup bread crumbs
  • ½ cup grated Parmesan cheese
  • 2 tablespoons Pizzeria, Garlic Garlic, Fiesta Party, or other seasoning
  • 2 large eggs, beaten
  • 2 pounds boneless skinless chicken breasts, cut into strips

Dip (optional):

Directions
  1. Preheat oven to 425°.
  2. Place bread crumbs, parmesan, and 1-2 tablespoons seasoning in a gallon resealable bag. Place beaten eggs in shallow dish.
  3. In batches, coat chicken strips with egg and place in bread crumbs; shake to coat. Place on a large greased baking sheet.
  4. Bake 15-25 minutes or until internal temperature of chicken reaches 170°. (This will depend on size of strips.)
  5. Meanwhile, if desired, combine sour cream, mayonnaise and 1 tablespoon seasoning in a small bowl; serve with chicken fingers.
Yield/Time
8 servings, ¼ of large breast each
40 minutes
Nutrition Facts *I calculate nutrition facts for reference only, this is not done scientifically
170/serving + 60/Tablespoon dip


Source (for original): Tastefully Simple


Remember, comments are loved! What's your favorite way to have chicken?


Tastefully Simple info: If you are interested in making a purchase, you can purchase through my page, or just search and select "Serena Lee" as your consultant. Obviously, if you are not local and already have a consultant.... purchase through them online, or contact them! Shop local, as always! Disclaimer: I am paid a small amount with each purchase, based on sales, made through myself as a consultant. You are helping to support my baking addiction, thank you! ;)

Friday, September 9, 2016

Double Chocolate Junior Mint Cookies

I love Junior Mints. I could eat an entire box in one sitting, and be quite happy about it. (And have nice breath! See, if they give you good breath, it's a health food! .... right? No?) 

Anyways... I am always up for chocolate, and I am always up for Junior Mints. So once I saw this recipe, there was no going back. It's full of chocolate, with surprise bites of Junior Mints scattered throughout. You can't possibly go wrong! Unless, of course, you're one of the few people who are not big fans of Junior Mints.... like my husband. His reaction was pretty much "meh." Not a dislike, but he would never request that I make these.

However, my mama, who I inherited my massive love of Junior Mints from, absolutely loved these. I made these for her birthday a few years ago, and I think it completely made her day. It certainly made mine! 

My siblings & I don't do birthday presents for each other anymore, we haven't for quite awhile. (Now that we're all officially grown ups, at least in age.) The same goes for my mama, most of the time. She doesn't want presents, but she never turns down cookies. ;) Actually, her birthday is coming up next month, so maybe I'll make her another batch of these... we'll see what I find on Pinterest in the meantime! 

Note on the recipe itself: I've said this before, but freezing cookie dough is my new favorite thing. It makes a huge difference, especially with a recipe like this, with the crushed Junior Mints. It is a must for this, and you should definitely try it with some of your other cookie recipes!

Printable Recipe
Double Chocolate Junior Mint Cookies


Ingredients
  • ½ cup butter flavored Crisco
  • ½ cup sugar
  • ½ cup light brown sugar, packed
  • 2 large eggs
  • ½ teaspoon pure vanilla extract
  • 1 ½ cups all purpose flour
  • ½ cup cocoa powder
  • ½ teaspoon baking soda
  • ¼ teaspoon salt
  • 1 cup mini chocolate chips
  • 4 ounce box Junior Mints

Directions
  1. In a large mixing bowl, beat the Crisco and sugars until well combined. Add eggs and vanilla, mixing to combine. Add flour, cocoa powder, baking soda and salt, mixing to combine.
  2. Stir in chocolate chips then smash in Junior Mints. All mints need to be completely smashed into the dough. Chill dough for a couple hours or overnight.
  3. Preheat oven to 350°, and line 2-3 large baking sheets with parchment paper.
  4. Form cookies into small balls, or drop by tablespoonful onto prepared cookie sheets, 1” apart.
  5. Bake for 10-12 minutes, until baked through. (8-10 minutes for smaller cookies). If mints ooze out of cookies, use a butter knife to form cookies back to round shape right out of the oven when hot. Let cool for 5 minutes before transferring to cooling rack.

Yield/Time
2 dozen regular, 3 dozen small
1 hour + chilling time
Nutrition Facts *I calculate nutrition facts for reference only, this is not done scientifically
158 (26 ct), 105 (39 ct)


Source (for original): Picky Palate

Remember, comments are loved! What your favorite cookie to give?

Wednesday, September 7, 2016

Buttermilk Bread

My Grandma is one of my favorite people in the world. Partly because she taught me most of what I know, partly because she's just amazing, and partly because she shares recipes with me.

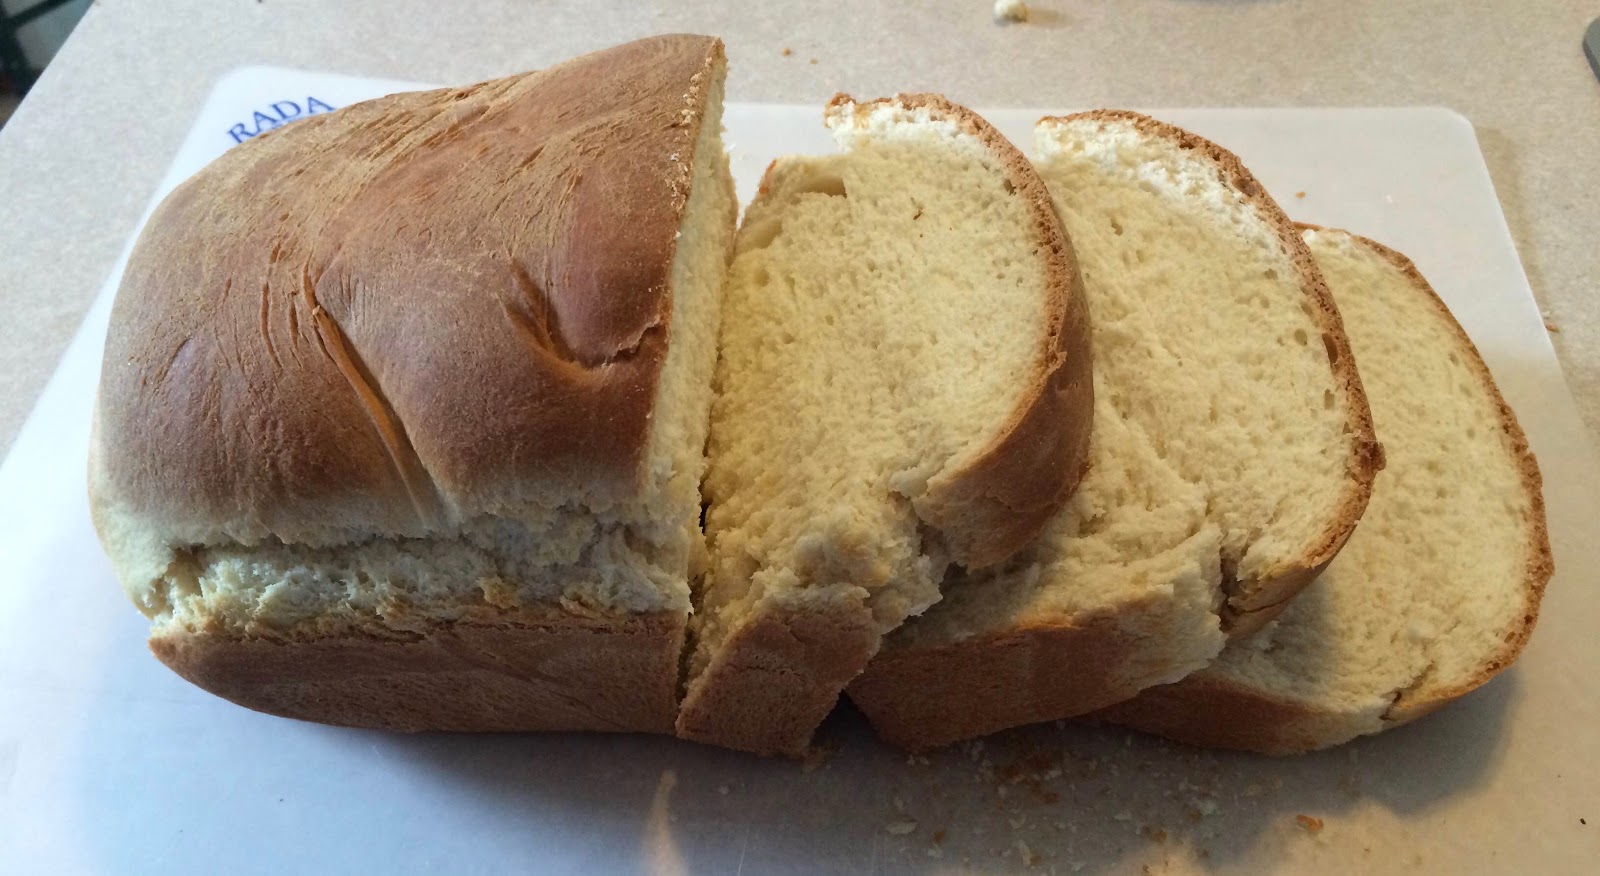
Like this one. I have no idea where she got it, but she shared it with me, and that's the important part. I have a few plain bread recipes, but this is by far my favorite. Close your eyes, and imagine biting into warm, fresh homemade bread. The best warm, fresh, homemade bread you've ever had.

It's not as good as this. Promise.

There is something about the buttermilk in this recipe that makes it amazing. I'm sure it's a combination of everything, but I am giving a lot of the credit to the buttermilk. (Unless you have fresh goat's milk! Then use that! I've done that whenever we had goat milk, and had enough extra that my husband wouldn't divorce me for using it in my baking. He tends to hoard the stuff when we have it.) The taste and texture of this are perfect.

Yes, in the picture I cut the slices really thick. Try this bread, and tell me you wouldn't do the same. You don't even need to butter it. Just eat it warm, fresh, and perfect.

Buttermilk Bread


Ingredients
  • pinch of ginger
  • 1 teaspoon sugar
  • 1 tablespoon yeast
  • ¼ cup warm water
  • 2 cups warm buttermilk (or goat's milk!)
  • ⅓ cup honey
  • 1 teaspoon salt
  • ¾ teaspoon baking soda
  • 6 cups flour, divided
  • ¼ cup butter, melted, cooled until only warm to the touch + extra

Directions
  1. Mix the ginger, sugar, yeast, and water; set aside for five minutes. Add buttermilk, honey, salt and baking soda with the yeast mixture. Add 3 cups flour and mix with electric mixer about 5 minutes on low speed, til smooth. Mix in butter until it is totally incorporated into batter.  Add remaining flour, one cup at a time, keeping mixer on low. When dough pulls away from sides of bowl remove from bowl to floured surface and knead until smooth and elastic. (Can continue to knead in mixer.)
  2. Place in greased bowl and let rise 1 - 1 ½ hours. Meanwhile, grease 2 loaf pans.
  3. Punch down and roll out/form into 2 loaves and place into prepared pans. Let rise 30-45 minutes.
  4. Preheat oven to 400°.
  5. Bake in preheated oven for 25-30 minutes.  Remove from oven and brush with melted butter (optional). Cool in pans for 10 minutes. Turn out and cool on rack.  

Yield/Time
2 loaves, 12 slices each
3 hours
Nutrition Facts
146/slice


Source (for original): my amazing grandma
Remember, comments are loved! What's your favorite bread recipe?

Monday, September 5, 2016

Cheesy Garlic Zucchini Bread

It's Monday morning, of a holiday weekend, and I'm sharing something fairly healthy. I know, I know. Don't get mad yet though, just trust me.

Imagine a cheddar bay biscuit.... in bread form. With barely noticeable shredded zucchini in it. That's what I am sharing with you today. I know, everyone is probably getting tired of the zucchini recipes. I know we're nearing the end of the season, but I wanted to share one more! (No promises that it's the last one, though.) I am a firm believer that you can't have too many zucchini recipes. Especially this time of year-- we've had it all summer, now some people are getting sick of it and need something different to do with it. Well, this is perfect! 

Because, really, who doesn't love cheddar bay biscuits?? I know we do. From Red Lobster or homemade, doesn't matter, I could eat them all day long. Same thing with this bread! (And I think Adrian could too; he devours every piece I give him!) Since it's made in bread form vs. biscuit form, it's slightly easier to make, too. The applesauce & zucchini in it make it slightly healthier, too. It's not GREAT for you, but you can eat least feel good about eating it.
Cheesy Garlic Zucchini Bread

Ingredients
  • 3 cups all purpose flour
  • 1 tablespoon baking powder
  • 1 teaspoon salt
  • ½ teaspoon baking soda
  • 1 teaspoon Garlic Garlic (or garlic powder)
  • 3 cups shredded zucchini, drained
  • 1 cup shredded cheddar cheese
  • 2 large eggs
  • 1 cup milk
  • ¼ cup applesauce
  • 1 ½ tablespoons vegetable oil *if you don't want to use applesauce, just use 1/4 cup oil. However, I have not tried it this way.
Directions
  1. Preheat oven to 350°. Grease a 9”x5” loaf pan.
  2. In a large bowl combine the flour, baking powder, salt, baking soda, and Garlic Garlic. Add the zucchini, and cheddar; stir to combine.
  3. In separate small bowl, combine the eggs, milk, applesauce, and oil. Pour the wet ingredients into the dry ingredients. Gently stir together just until moistened.
  4. Pour into loaf pan and bake for 40-50 minutes, or until a toothpick inserted comes out clean. Let cool for 10 minutes. Remove from pan to cool. Serve warm.
Yield/Time
10 slices
1 hour 15 minutes
Nutrition Facts *I calculate nutrition facts for reference only, this is not done scientifically
182/slice


Source (for original): Gather for Bread
Remember, comments are loved! Share your zucchini recipes!
Tastefully Simple info: If you are interested in making a purchase, you can purchase through my page, or just search and select "Serena Lee" as your consultant. Obviously, if you are not local and already have a consultant.... purchase through them online, or contact them! Shop local, as always! Disclaimer: I am paid a small amount with each purchase, based on sales, made through myself as a consultant. You are helping to support my baking addiction, thank you! ;)

Friday, September 2, 2016

Cherry Kuchen Bars

Growing up in northern Michigan, and being a huge fan of Traverse City, you would think I would love cherries. Everyone else does, but me.... not so much. I like cherry flavored things, but to just eat cherries or eat things with chunks of cherries in them--I'll pass. 

However, since everyone else likes cherries and I am the only exception: I still occasionally make yummy cherry things! I just need everyone else's input on the recipe. Which, since everyone else likes cherries, is pretty easy to get. 

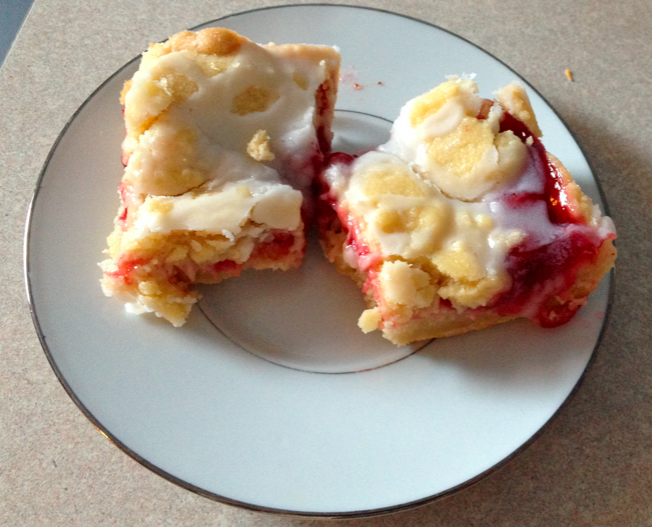
These were originally a present for my mama. I'm always looking for fun ideas of things to make for her, since she does so much for us. I saw these, and knew I had to make them! I've made these quite a few times, and they are always a hit--with her, and everyone! 

Printable Recipe
Cherry Kuchen Bars

Ingredients
  • 1 cup butter-flavored Crisco
  • 1 ¾ cups sugar
  • 1 ½ teaspoons baking powder
  • ½ teaspoon salt
  • 3 eggs
  • 1 ¼ teaspoon vanilla, divided
  • 3 cups all purpose flour
  • 21 ounces cherry pie filling
  • 1 ½ cups powdered sugar
  • 3-6 tablespoons milk

Directions
  1. Preheat oven to 350°.
  2. In a large bowl, beat shortening, sugar, baking powder, and salt until combined, scraping side of bowl occasionally. Beat in eggs and 1 teaspoon vanilla. Beat in as much of the flour as possible with the mixer. Using a wooden spoon, stir in any remaining flour. Press dough on to the bottom of an ungreased 9”x13” baking pan, reserving 1 ½ cups.
  3. Bake for 12-18 minutes. Remove from oven and spread pie filling over crust. Spoon reserved dough into small mounds over pie filling, pressing down lightly if needed.
  4. Bake an additional 30-40 minutes or until top is light brown.
  5. Meanwhile, combine ¼ teaspoon vanilla, powdered sugar, and milk to make icing. Use enough milk to make into a drizzling consistency.
  6. Remove pan from oven; cool on a wire rack for 10 minutes. Drizzle with icing.

Yield/Time
32 pieces
1 ½ hours
Nutrition Facts *I calculate nutrition facts for reference only, this is not done scientifically
180/bar

Source (for original): Dear Crissy

Remember, comments are loved! What's your favorite cherry dish?