PinIt!

Showing posts with label vegetables. Show all posts

Monday, February 6, 2017

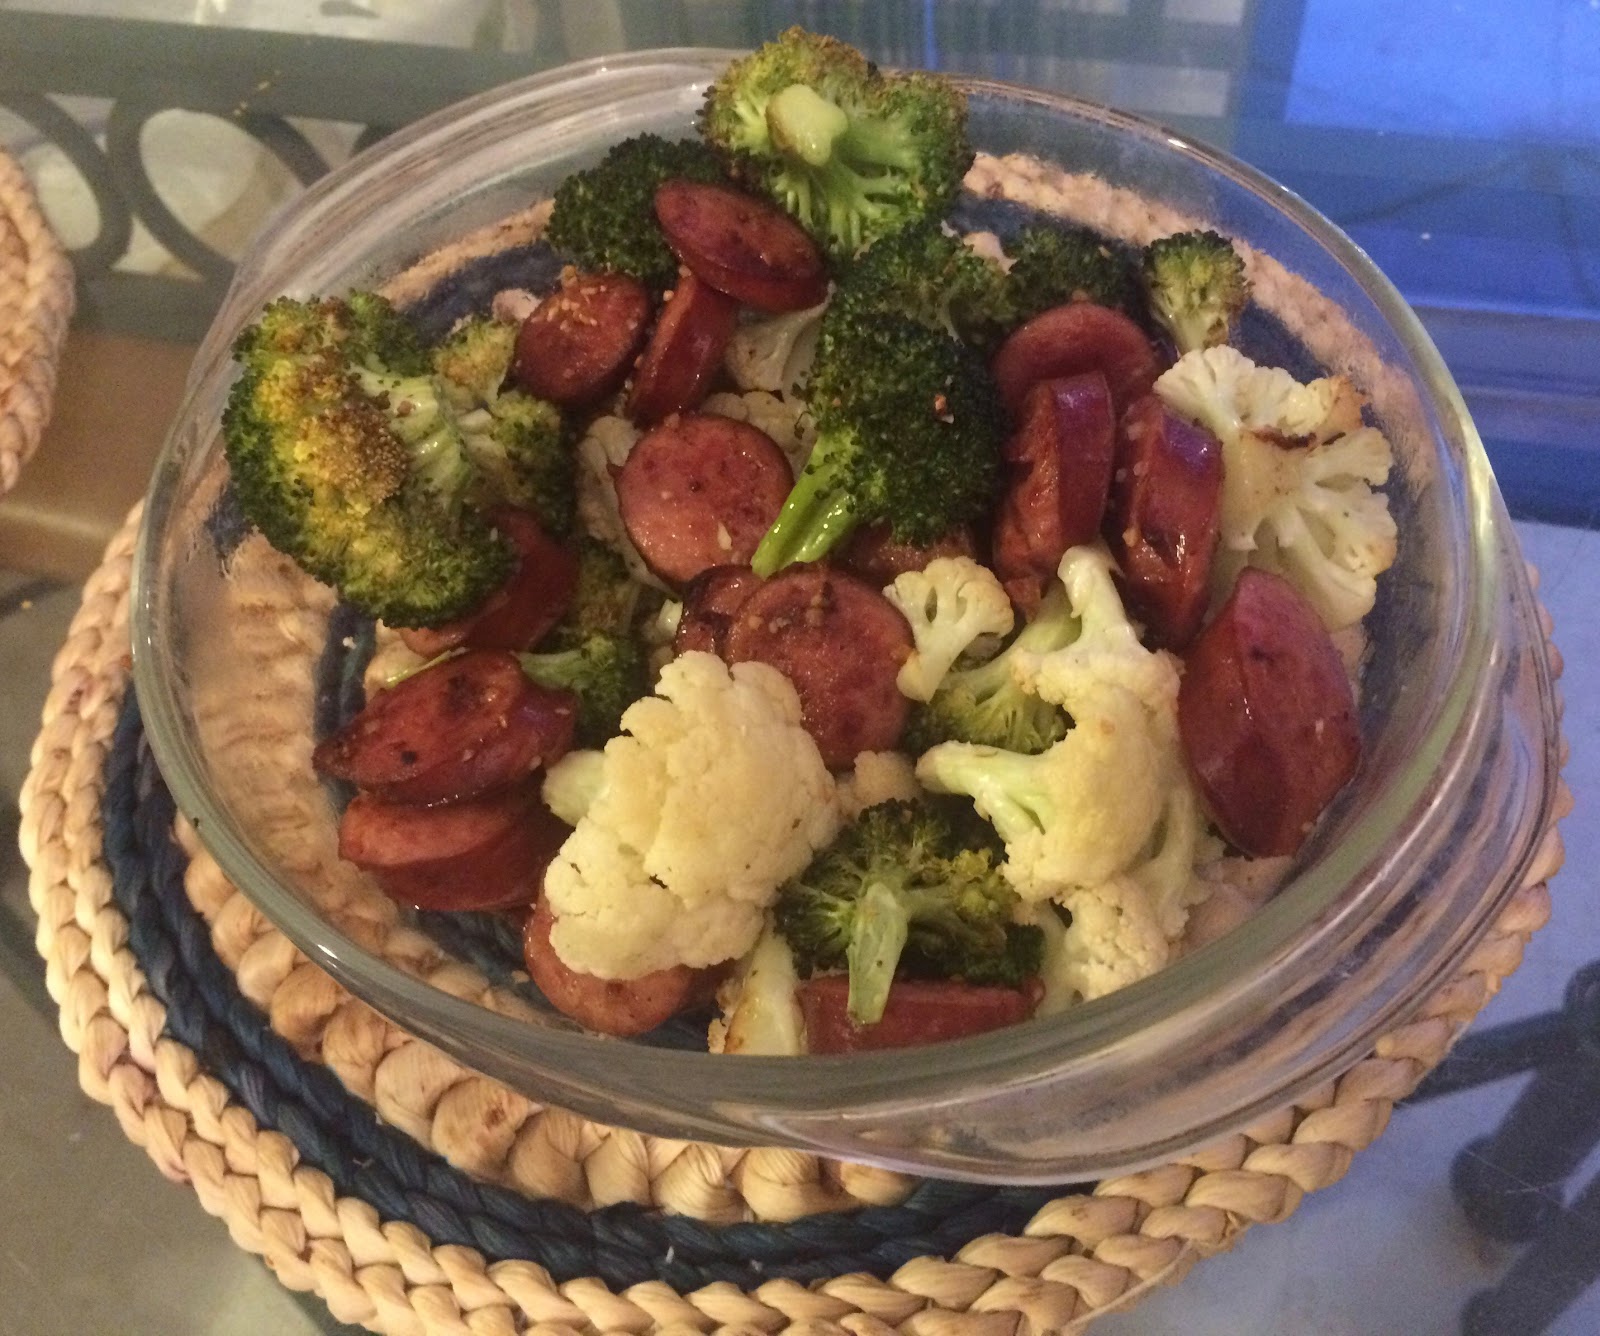
Roasted Kielbasa & Veggies

This recipe is more of a... general instruction. I saw the idea on pinterest, and then just did what I wanted for it. ;) None of this is precise-- use whatever veggies you want, and whatever seasonings you want! I love the combo of cauliflower and broccoli. I'm not a big cauliflower fan (except deep fried!), but I loved it here. Roasted is great!

This dish was enough for both my 4yo & my 2yo to announce "cauliflower is my favorite veggie!" And really, that should be enough of a reason for everyone to try something similar. ;)

This is definitely something I'll be making fairly often, with varying veggies! I'll probably leave out the kielbasa a lot, and use it purely as a side dish.

Remember, comments are loved! What's your kiddos and/or your favorite way to cook veggies?
Roasted Veggies & Kielbasa

Ingredients
  • 1 pound kielbasa or other similar sausage, cut into 1” pieces
  • 2 cups broccoli, cut into florets
  • 2 cups cauliflower, cut into florets
  • 1 tablespoon Garlic Garlic
  • 2 teaspoons Seasoned Salt

Directions
  1. Preheat oven to 400°. Prepare a large baking pan with a silicon mat, or cooking spray.
  2. In a large saute pan,  cook the kielbasa over medium-high heat, turning frequently. When at the desired brownness, remove from heat.
  3. Spread kielbasa, broccoli, and cauliflower evenly throughout the baking pan. Sprinkle with Garlic Garlic and Seasoned Salt.
  4. Bake for 20-25 minutes. Serve immediately.

Yield/Time
6 servings
45 minutes
Nutrition Facts *I calculate nutrition facts for reference only, this is not done scientifically
201

Source (for original): unknown

Tastefully Simple info: If you are interested in making a purchase, you can purchase through my page, or just search and select "Serena Lee" as your consultant. Obviously, if you are not local and already have a consultant.... purchase through them online, or contact them! Shop local, as always! Disclaimer: I am paid a small amount with each purchase, based on sales, made through myself as a consultant. You are helping to support my baking addiction, thank you! ;)

Sunday, August 7, 2016

Creamy Artichoke & Spinach Chicken

There are two things that are important to me when I am cooking: I want the recipe to be fairly easy (no 30-stop process here!), and I want it to taste great. I love to cook from scratch, but again: no 30-step process. I've been known to make my own spinach tortillas (hint: they are amazing!), cheez-its, oatmeal cream pies, etc. However... I like the easy route, too. Especially if I can do a little something that adds a lot of flavor to my meals. Which is one of the many, many reasons I love Tastefully Simple. We have a lot of great products that make my mealtimes easier--and tastier! 

When I decided to start blogging again, I wasn't sure how much of my TS stuff I wanted to post. I certainly don't want to be pushing anything onto anyone, but I would be remiss if I didn't share awesome recipes with you lovely readers--regardless of the ingredients. I wouldn't keep from posting a Nutella recipe just to make sure no one thought I was pressuring them into buying Nutella. If you are interested, there is a link at the bottom to purchase things through me, or you can just message me. (Disclaimer: clearly, if you make a purchase through me as a consultant, I am paid a small amount, based on the sale. That's the deal with being a consultant.) If not, no worries! I will be sharing plenty of recipes, and they certainly aren't all TS based!

On to the recipe itself....

I have been (kinda) trying to do more with rice. When I first got married and started cooking more, we ate a lot of pasta. Two reasons: 1, it's easy, and 2, I really love pasta. But the last few years I've been trying to do more with rice. Partially per my husband's request--he doesn't complain much about anything I make, but he gets tired of pasta much faster than I do. Partially to branch out--rice is great, pretty versatile, and is simply different than using pasta.

It's not that rice is hard to work with,  or cook. It's just that I don't think about it--I just toss pasta into a dish and call it good. This recipe is really pretty basic (read: easy), but sooo tasty. I can just toss rice into this and call it good. ;)

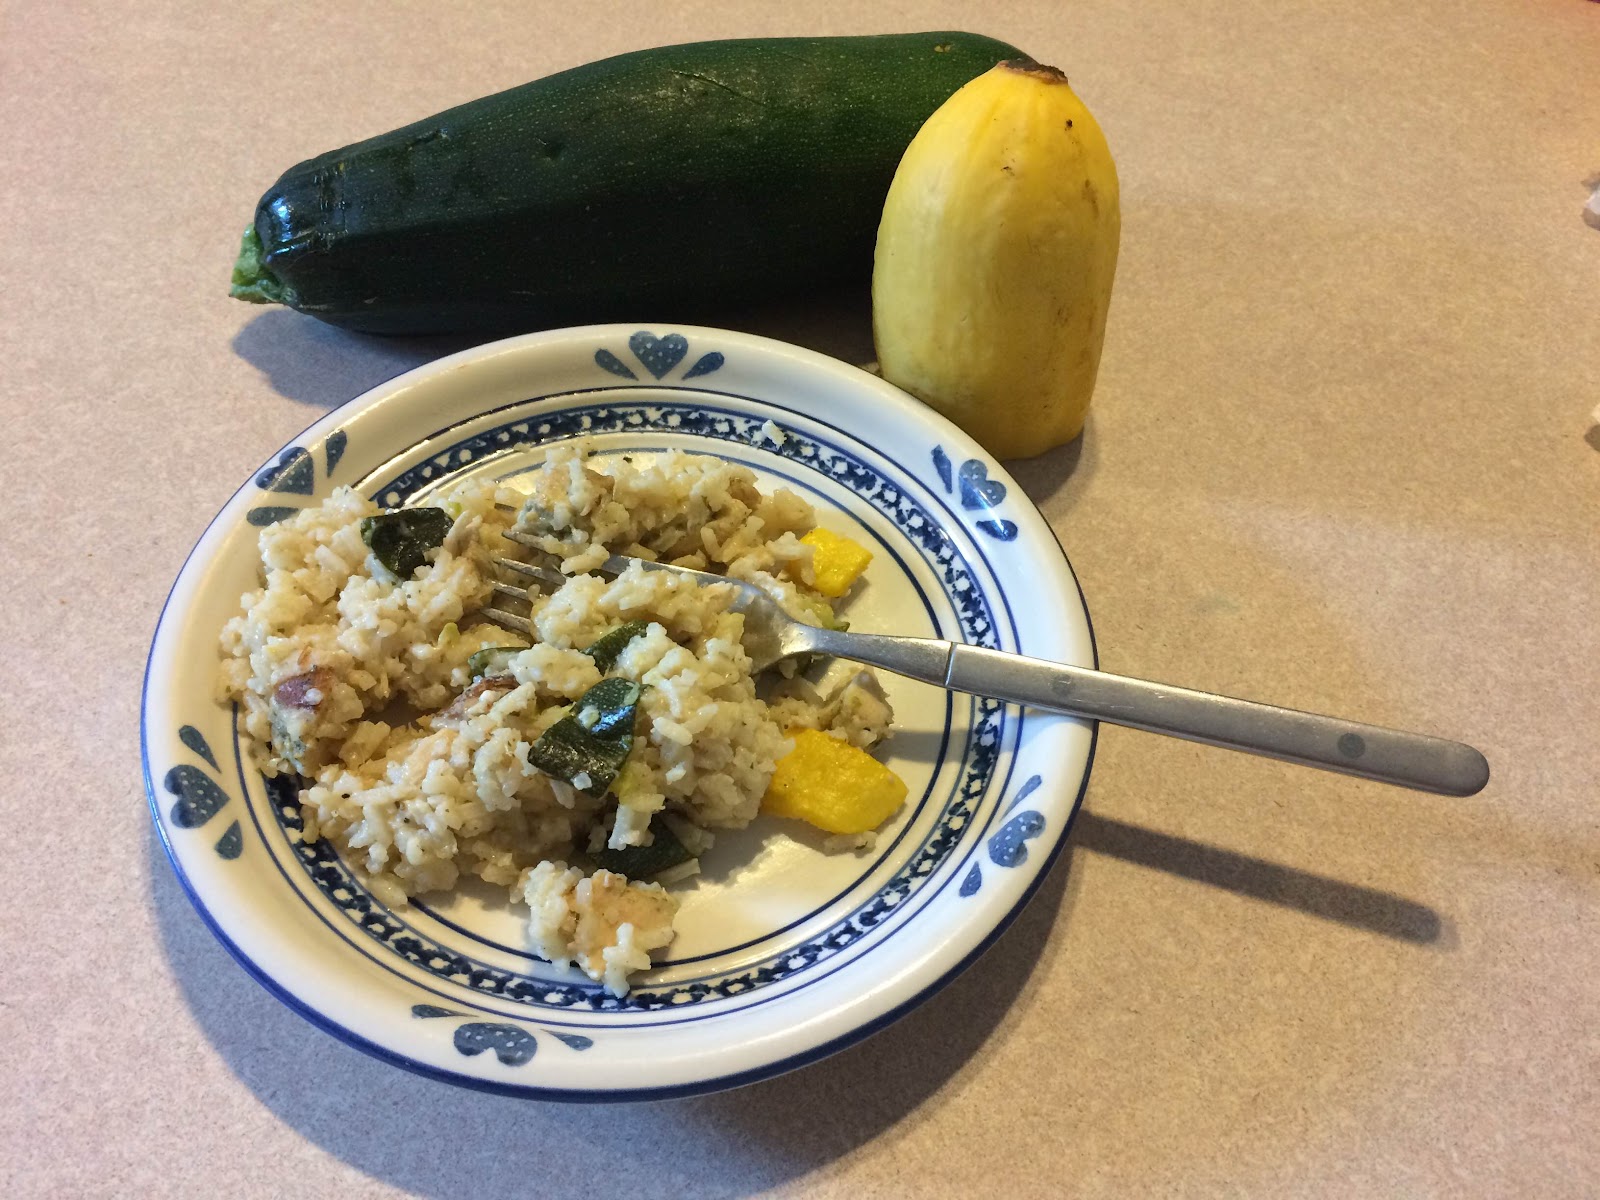
The original called for broccoli, but it's zucchini & summer squash season too. That means that, currently, I can have as many zucchini & summer squash as I want. Mom & Grandma are constantly asking me if I need/want more. They had a lot of broccoli too, but when I made this I had 3 zucchini and 2 summer squash in the fridge, so...  Sub whatever veggie is your favorite/you have an abundance of!

Printable Recipe

In this photo, I actually used a mix from a past season, but this is great with Artichoke & Spinach too!

Creamy Artichoke & Spinach Chicken
Ingredients
2 cups reduced sodium chicken broth (I use bouillon, or make my own broth when I cook a whole chicken in the crock pot)
1 packet Artichoke & Spinach Warm Dip Mix
1 tablespoon avocado or vegetable oil
1 small - medium zucchini, diced
1 small - medium summer squash, diced
1 cooked boneless skinless chicken breast, cubed
2 teaspoons Seasoned Salt
1 cup white rice
2 ounces cream cheese, cubed


Directions
In medium bowl, combine chicken broth and Artichoke & Spinach Warm Dip Mix; whisk until combined. Set aside.

In a large skillet, heat oil over medium-high heat; saute veggies until tender. (About  2-3 minutes.) Add chicken, Seasoned Salt, and rice; saute 1 minute. Add broth mixture. Bring to a boil; reduce heat and simmer 20-25 minutes or until liquid is absorbed and rice is tender, stirring occasionally. Stir in cream cheese; continue cooking until melted and smooth.
Yield/Time
8 servings
45 minutes
Nutrition Facts
174 (I calculate calories for my personal use, this is not done scientifically)

Source (for original): Tastefully Simple


Tastefully Simple info: If you are interested in making a purchase, you can purchase through my page, or just search and select "Serena Lee" as your consultant. Obviously, if you are not local and already have a consultant.... purchase through them online, or contact them! Shop local, as always! Disclaimer: again, I am paid a small amount with each purchase made through myself as a consultant. You are helping to support my baking addiction, thank you! ;)

Wednesday, November 13, 2013

Chicken Pot Pie

It's almost unheard of these days, but Nate & I don't have TV. We have a TV that's hooked up to his PS3, but we don't get any shows on it. No cable, satellite, or even local channels. The few shows that we like, we can watch on Hulu after they air. 

The downside to this is that we tend to watch the same commercials over & over.... and those Marie Callender commercials were starting to kill me. Have you seen them? It goes on about how no one has time to make fresh, from scratch chicken pot pies, but Marie Callender does! (Or something like that.) And then they try to sell you frozen chicken pot pies. 

I'm sorry, but there is no way those things, from the freezer and full of sodium, taste as good as homemade. Sure, I don't always have time to roll out a pastry shell and bake a chicken pot pie from scratch.... but after seeing that commercial a few too many times, I made the time.

So, I grabbed my pastry shell recipe, and threw together a chicken pot pie for dinner on Sunday! 


Aside from the pastry shell, I don't usually measure much when I am making chicken pot pie. (And now I've said chicken pot pie so many times it's lost it's meaning....) The only thing I ever really measure is the gravy, and that's only to make sure there isn't too little or too much. The rest of the measurements are an educated guess. You want the pie to be full-to-rounded, without having it stacked too high. I am usually careful to not make it too full; I want a good pastry shell-to-filling ratio. (Wow, that makes it sound like it's a science....)

You can see in that picture that it's full, but not mounded. It's all personal preference, really.... (Oh, and ignore the atrocious crimping job there. I was trying to make the edges look wavy, then crimp with a fork..... hahahaha. Oh well, it tasted great.)

Oh, and if you aren't sure what to do with that extra pastry shell dough? I have a really good idea for you.....


Remember, comments are love! And so is food, so go share your pie!


Chicken Pot Pie

Ingredients
  • 2 ¼ cups all-purpose flour    
  • ¾ teaspoon salt
  • ⅔ cup butter flavored shortening    
  • ¼ - 1 cup cold water
  • ½ pound chicken, cooked    
  • 1-2 cups frozen vegetables, diced if necessary
  • 1-2 potatoes, peeled & diced    
  • 1 small onion, diced
  • 2 cups chicken gravy (homemade, canned, or from the packets; whatever you want!)
  • ¼ teaspoon salt
  • ½ teaspoon pepper
 Instructions
  1. Preheat oven to 375°.
  2. In a medium bowl stir together flour and ¾ teaspoon salt. Using a pastry blender, cut in shortening until pieces are pea size. Sprinkle small amounts of the water over part of the flour mixture; gently toss with a fork. Repeat moistening flour mixture, using small amounts of the water at a time, until all the flour mixture is moistened. Form pastry into 2 balls.
  3. On a lightly floured surface, slightly flatten each pastry. Roll from center to edges into a circle about 12” in diameter. Wrap pastry circle around the rolling pin. Unroll into a 9” pie plate, without stretching it. Trim pastry to ½” beyond edge of pie plate.
  4. In a separate bowl, combine chicken, vegetables, potatoes, onion, salt, and pepper. Spread into prepared crust, cover with gravy.
  5. Cut slits in remaining pastry shell and cover pie; crimp as desired.
  6. Bake for 45-60 minutes, until pastry shell is browned and filling is steaming. (If edges appear to be getting too browned, cover edges in foil part way through baking.)
Yield/Time
8 servings
1 ½ hours

 Source (for original): Pastry shell is from my Better Homes & Gardens cookbook