PinIt!

Showing posts with label mozzarella. Show all posts

Wednesday, October 5, 2016

Chicken Alfredo Stromboli

I love pretty much anything to do with alfredo. It seems like half of the new entrees I want to try from Pinterest are variations of alfredo pasta! I already have recipes I love, so I try to not do it too often, but it's definitely one of my favorite meal ideas.

This is a recipe I found years ago, I think when Nate & I were first married. We both LOVE it, and it's always a hit with the boys too. It's pretty easy to do, especially if you use shortcuts. I almost always have shredded or grilled chicken in the freezer, so I use that instead of cooking the chicken as part of the recipe. You can use your own Italian/French bread, or you can pick some up in the deli section of your local grocery store. Whatever works for you!

Printable Recipe
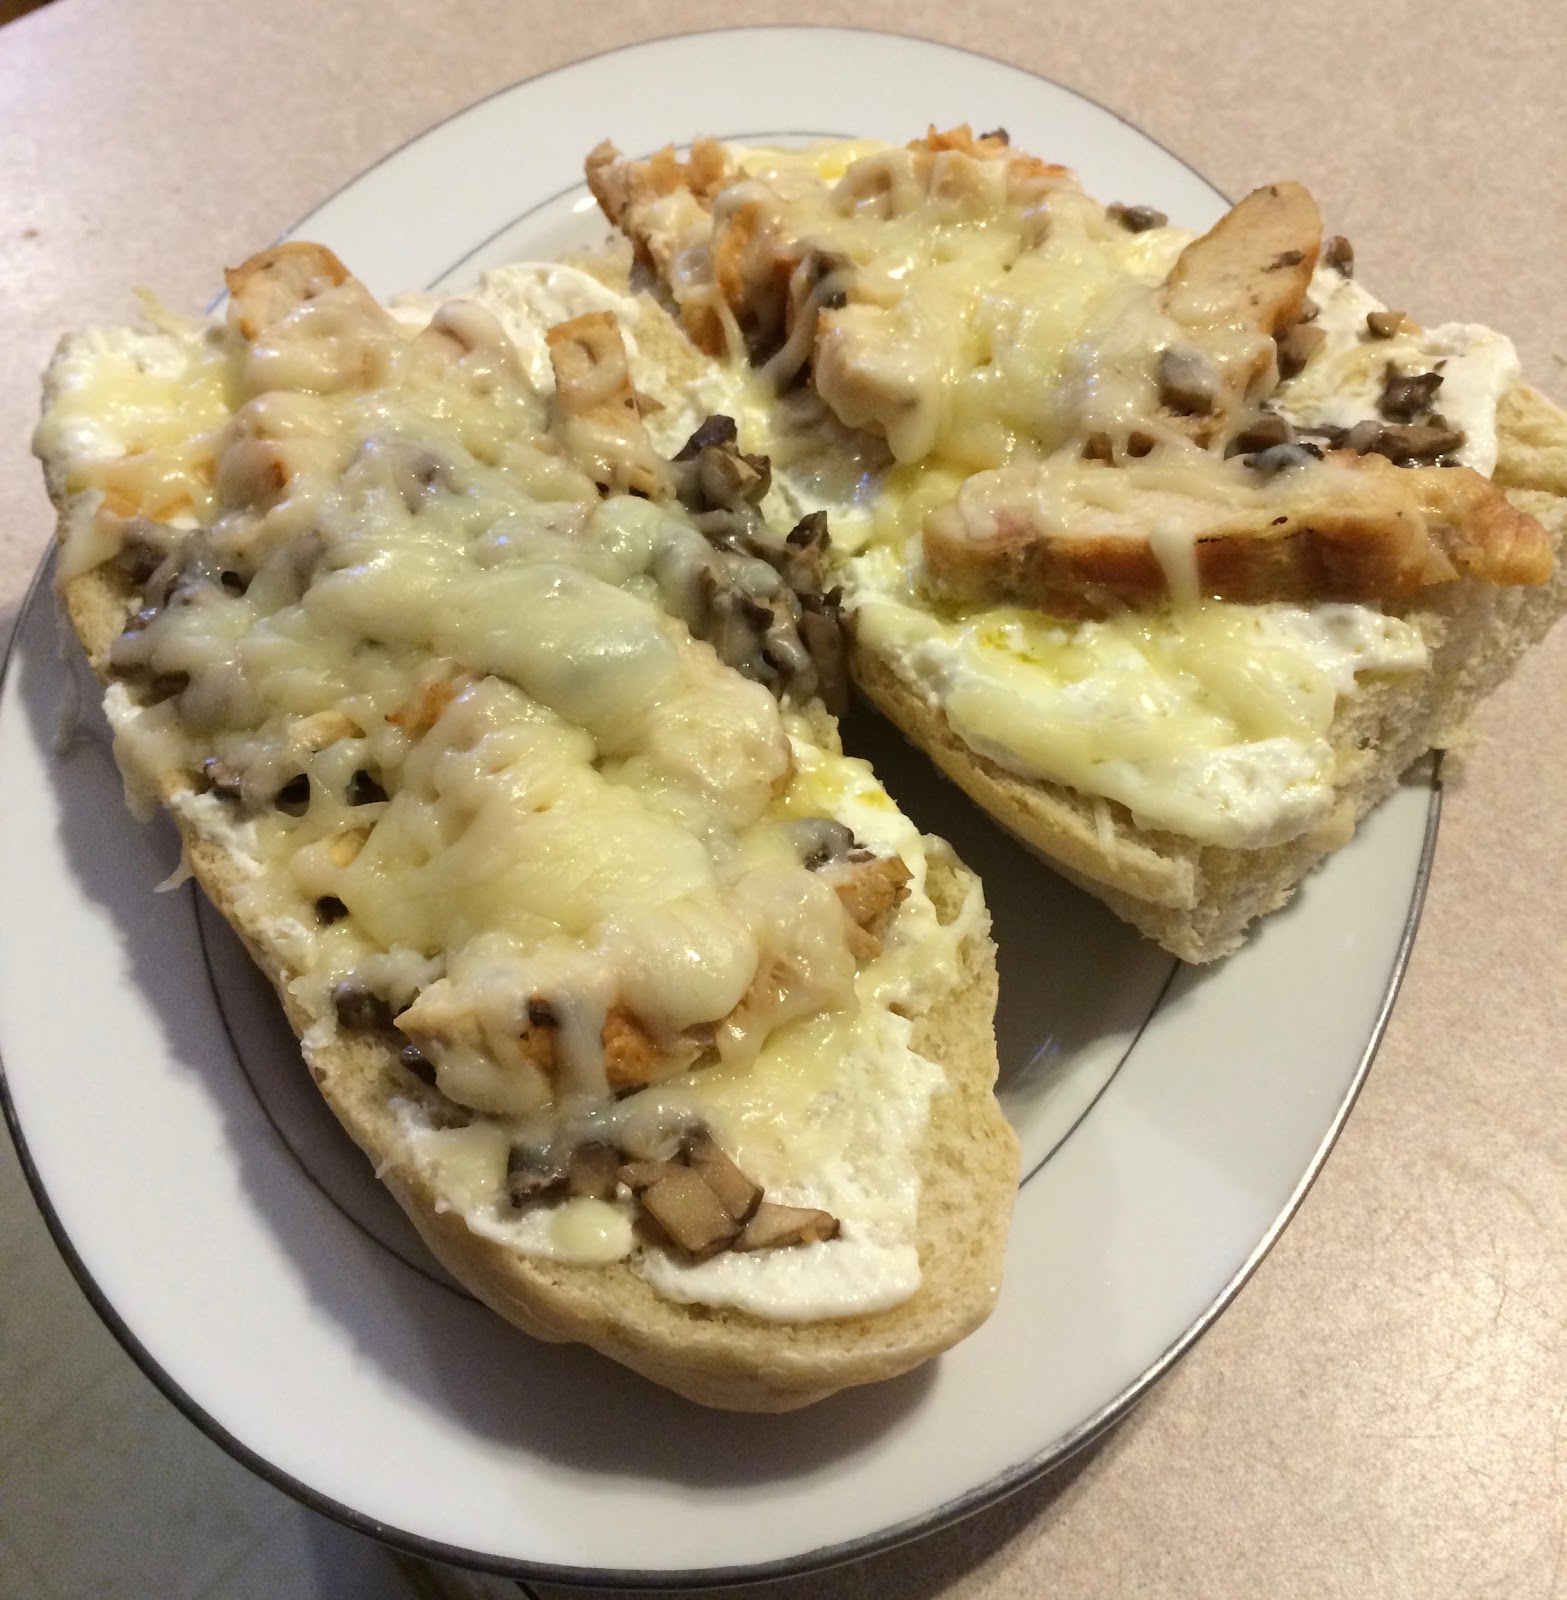
Chicken Alfredo Stromboli

Ingredients
  • ½ loaf italian or french bread
  • 6 ounces boneless skinless chicken breasts, cubed
  • 1 teaspoon olive oil
  • ½ cups mushroom stems and pieces, chopped finely
  • 1 clove Garlic, minced (or one teaspoon Garlic Garlic)
  • dash Salt
  • ¼ teaspoon Pepper
  • ¼ cup sour cream
  • ¼ cup Parmesan
  • 3 teaspoons butter, softened
  • 1 cup shredded mozzarella cheese

Directions
  1. Preheat oven to 350°.
  2. Place bread, cut side up, on an ungreased baking sheet. Bake for 2-3 minutes or until lightly toasted; set aside.
  3. In a small skillet, saute chicken in oil until juices run clear; drain. Add the mushrooms, salt, garlic, and pepper; cook for 1-2 minutes or until heated through.
  4. In a small bowl, combine the sour cream, Parmesan, and butter; spread over bread halves. Top each with ½ of the of the chicken mixture. Sprinkle with mozzarella. 
  5. Broil for 1-2 minutes or bake for 10-15 minutes (or until cheese is melted).

Yield/Time
Serves: 4
Prep/Total time: 30 minutes
Nutrition Facts *I calculate nutrition facts for reference only, this is not done scientifically
381/serving (using homemade french bread)

Source (for original): Cooking for Two
Comments are loved! What's your favorite alfredo-style dish?

Tastefully Simple info: If you are interested in making a purchase, you can purchase through my page, or just search and select "Serena Lee" as your consultant. Obviously, if you are not local and already have a consultant.... purchase through them online, or contact them! Shop local, as always! Disclaimer: I am paid a small amount with each purchase, based on sales, made through myself as a consultant. You are helping to support my baking addiction, thank you! ;)

Wednesday, August 31, 2016

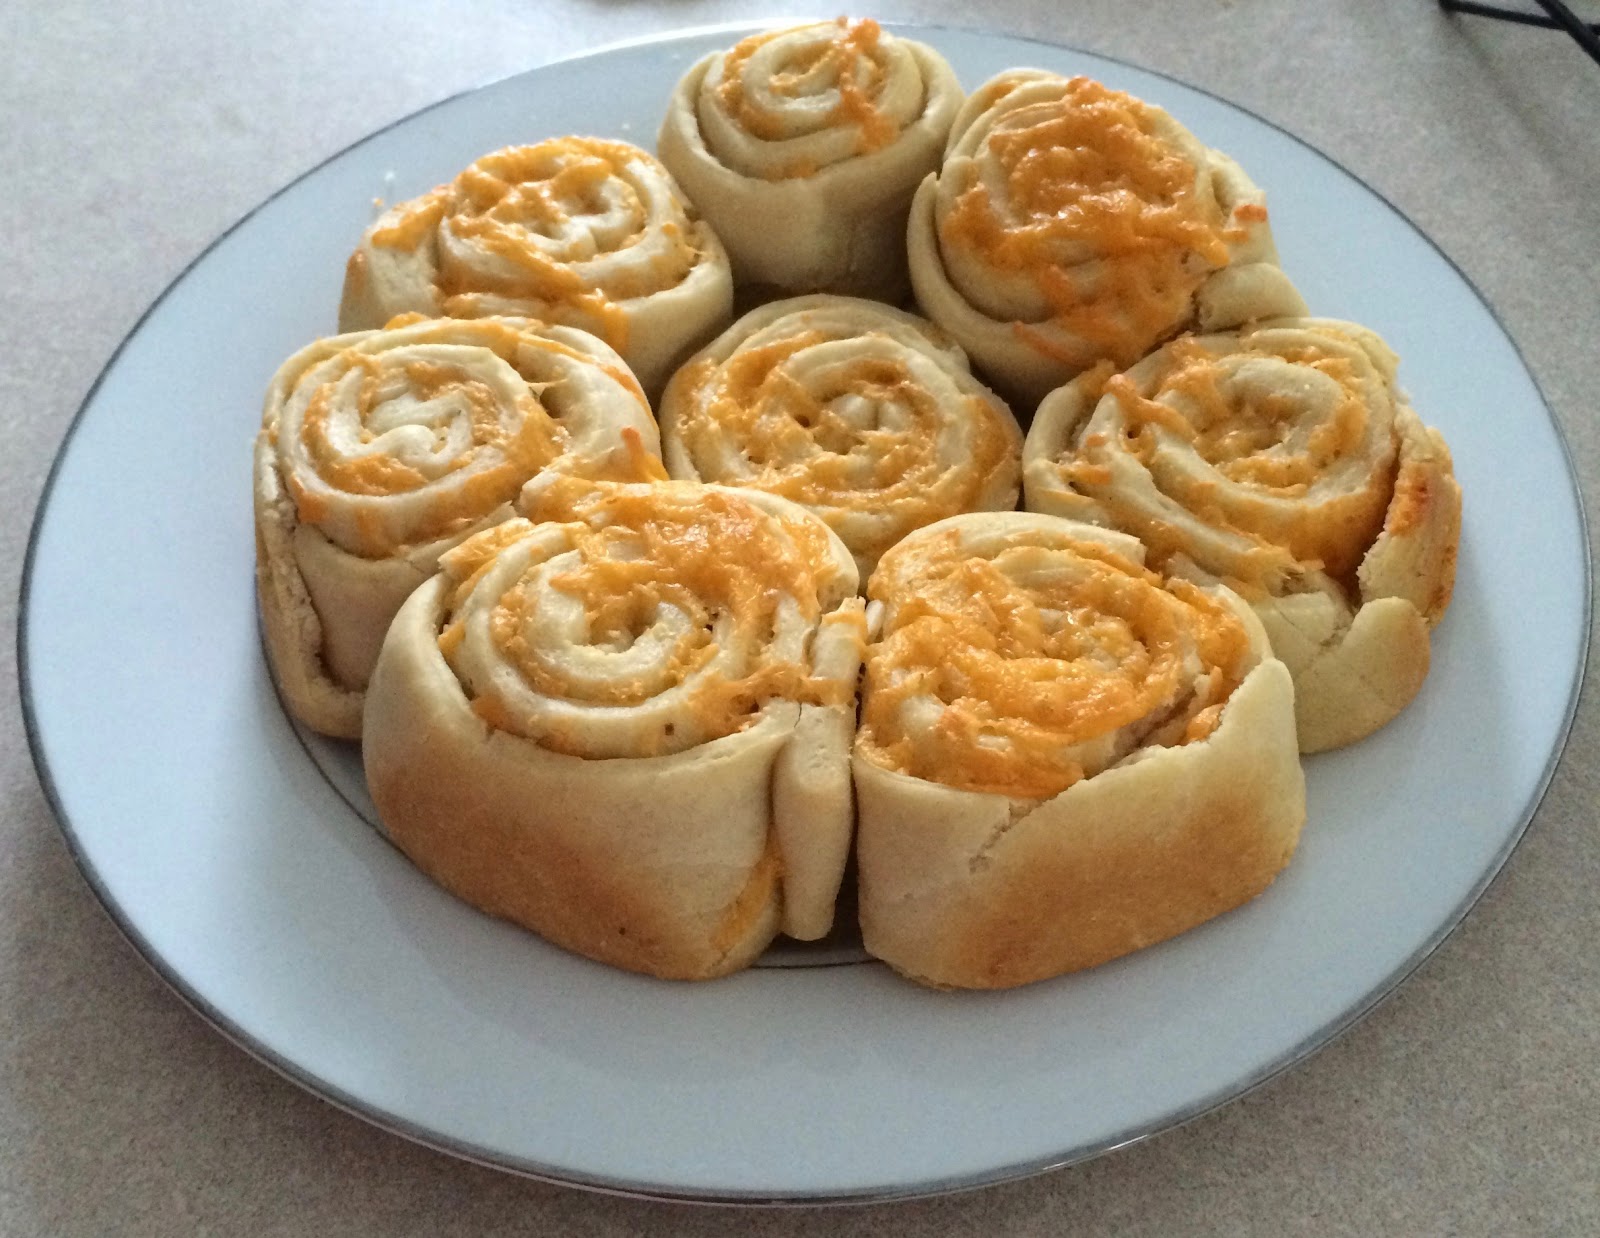
Garlic Cheese Rolls (updated)

Confession time: I am one of those people who cannot leave a recipe alone. If you know me in person, and I've ever made something for you, you probably know that about me. "Let me know what you think I should do differently!" is one of the first things I say when I give food to people. I love to tweak things until I decide they are absolutely, truly perfect.

It's not my fault though, my husband encourages me.

This is one of those recipes. I originally posted this awhile ago, when I first made it. I was so excited that it turned out so well, I had to share right away! Now it's been a couple years, and I think at this point I actually have it to my level of perfect. With minimal changes, too. We'll see though. You know me. ;)

These rolls are a perfect addition to a dinner, or great to just snack on. (Warning: they are addicting.) They are wonderfully cheesy, with just the right amount of garlic and butter. (Another warning: I really like garlic. Really, really like garlic. You may want to cut down if you are not a huge fan. Or just throw caution to the wind and try it anyways, because these rolls are amazing.) I think my favorite part is that they are actually rolls vs. a biscuit-- they are great to peel apart and eat. That just might be me though...

Garlic Cheese Rolls


Ingredients
  • 2 3/4 - 3 1/4 cups all-purpose flour
  • 2 1/4 teaspoon active dry yeast
  • 1/4 teaspoon salt
  • 1 cup warm water (120°-130°)
  • 2 tablespoons vegetable oil
  • 1/2 cup butter, softened
  • 2 teaspoons Garlic Garlic (or garlic powder)
  • Additional herbs/seasonings, optional
  • 2 1/2 cups cheese (mozzarella, cheddar, or colby jack)
Directions
  1. In a large mixing bowl, combine 1 1/4 cups flour, yeast, and salt; add water and oil. Beat on low speed for 30 seconds; then scrape bowl. Beat on high speed for 3 minutes. Knead in another 1 1/2 cups flour; adding up to 2 cups if needed. Knead for 6-8 minutes, to make a moderately stiff dough that is smooth and elastic.
  2. Cover, let rest for 10 minutes. Grease 3 8" cake pans, or 1 9"x13" pan; set aside. Note: DO NOT use metal cake pans. I've tried it multiple times, and it may just be my pans, but they stuck very badly.
  3. Meanwhile, beat together butter and garlic, adding additional seasonings as desired.
  4. Roll dough out into large rectangle (approximately 24”x12”). Spread garlic butter to within 1” of edge. Sprinkle with 2 cups desired cheese. Roll up jelly-roll style.
  5. Slice into 18-20 rolls, then place prepared pans. Sprinkle with remaining cheese. Let rise in a warm place for 30 minutes.
  6. Preheat oven to 350°.
  7. Place pan(s) on center rack, bake for 20-25 minutes or until golden brown. Remove to wire rack to cool.

Yield/Time
18-20 rolls
1 1/2 hours
Nutrition Facts *I calculate nutrition facts for reference only, this is not done scientifically
173 each/20 rolls


Source (for original): Better Homes & Gardens (dough), and the loose idea for the rolls came from a blog that no longer exists.
Remember, comments are loved! What's your favorite go-to roll?

Tastefully Simple info: If you are interested in making a purchase, you can purchase through my page, or just search and select "Serena Lee" as your consultant. Obviously, if you are not local and already have a consultant.... purchase through them online, or contact them! Shop local, as always! Disclaimer: I am paid a small amount with each purchase, based on sales, made through myself as a consultant. You are helping to support my baking addiction, thank you! ;)

Monday, March 17, 2014

Chicken & Spinach Pasta

Our oven died a couple weeks ago, when our menu plan was filled with things that needed to be baked. Thankfully, we've gotten it fixed since, but of the handful of things left on my plan, not ONE of them was crock pot or stove top only. We had pizza the first night I realized it was completely dead (that's also the day I dropped a wooden shelf on my head.... so we probably would've had pizza anyways), and I came up with some alternate meals. 

This Chicken & Spinach Pasta is actually something that was on the original menu, but originally required baking. With some slight adaptation to make it stove top (and a decent amount of adaptation simply because I wanted to), it worked. 

It's actually a pretty basic dish, but I really like adding the cream cheese/sour cream for some extra creaminess. 

The cutest thing about this was Gabriel's reaction to the spinach/tomato in it. It isn't unusual for me to put (small) pieces of tomato in things, but for some reason he said "icky" when he found a piece at the edge of his plate. I explained that it was tomato & it was yummy, then showed him the spinach & said that was yummy too. So he picked up a piece of spinach, told me "spinach yummy!" then promptly ate it. When we had leftovers the next day, he ate all of the spinach before even touching the pasta. :)


Chicken & Spinach Pasta


Ingredients
  • 16 ounces dry small pasta
  • 2 tablespoons butter
  • 1/2 onion, chopped
  • 2 cloves garlic, minced
  • 8 ounces cream cheese
  • 1/2 cup sour cream
  • 1-2 cups milk
  • 1/2 cup grated Parmesan cheese
  • 1 1/2 cups shredded mozzarella cheese
  • 1/2 teaspoon salt
  • 1/2 teaspoon black pepper
  • 1/4 teaspoon crushed red pepper flakes
  • 2 cups chopped fresh spinach
  • 2 cups cooked chicken, diced
  • 1 cup diced tomatoes
  • Fresh basil or parsley, for garnish
Directions
  1. Preheat oven to 400°, if desired. (Baking is not necessary.) Spray a 9”x13” baking pan with non-stick spray.
  2. Cook pasta; drain and set aside.
  3. While pasta is cooking, heat butter in a large saute pan set to medium heat. Add in the onion and garlic. Saute for 3 - 4 minutes to slightly soften; do not brown.
  4. Add in cream cheese; stir to melt. Reduce heat to low. Stir in sour cream, milk, Parmesan cheese, 1 cup of mozzarella cheese, salt, pepper and red pepper flakes. Stir until everything is well combined and bubbling. Add pasta, chicken, spinach and tomatoes. Add more milk as needed to obtain desired consistency.
  5. If baking, stir to coat and immediately transfer to baking dish. Add remaining cheese and bake, uncovered, for 20-25 minutes.  
  6. If not baking, add remaining cheese and heat thoroughly.
  7. Top with basil or parsley for garnish.
Yield/Time
8 servings
20-45 minutes

Source (for original): Inspired Dreamer

Sunday, September 22, 2013

Garlic Cheese Rolls (Product of my Environment)

I was blessed to be raised by an excellent cook. Not only that, but I grew up next to my grandparents, who are both excellent cooks. (Grandpa's more the fried turtle kinda cook, but still.)

That being said, I grew up thinking that good cooks could just throw things in pans without measuring and *VOILA* yummy food magically appears! I am so thankful to have a patient and encouraging husband, because it doesn't always work like that with me. (You cannot convince me that it doesn't always work like that with Mama & Grandma. Maybe by the time I am a Grandma I will have that down...) 

So, with that background, and being a product of my environment, when I saw a blog post about making Garlic Cheese Rolls with no real instructions, my response was to shrug and go "eh, I can make it work." 

I did make sure to write down everything I did--if it works out, it's no fun if you can't make it again! I will admit to being slightly surprised that it worked out as well as it did.... maybe I am actually on my way to being as amazing as Mama & Grandma.

   
Garlic Cheese Rolls


Ingredients
  • 2 ¾ - 3 ¼ cups all-purpose flour       
  • 2 ¼ teaspoon active dry yeast  
  • ¼ teaspoon salt   
  • 1 cup warm water (120°-130°)   
  • 2 tablespoons vegetable oil
  • ¾ cup butter, softened
  • 2 teaspoons garlic 
  • Additional herbs/seasonings, optional
  • 2 cups cheese (mozzarella, cheddar, or colby jack)  (I did mozzarella on the inside, with cheddar on top; ran of of mozz.)
 Instructions
  1. In a large mixing bowl, combine 1 ¼ cups flour, yeast, and salt; add water and oil. Beat on low speed for 30 seconds; then scrape bowl. Beat on high speed for 3 minutes. Knead in another 1 ½ cups flour; adding up to 2 cups if needed. Knead for 6-8 minutes, to make a moderately stiff dough that is smooth and elastic. Cover, let rest for 10 minutes.
  2. Meanwhile, beat together butter and garlic, adding additional seasonings as desired.
  3. Roll dough out into large rectangle (approximately 24”x12”). Spread garlic butter to within 1” of edge. (Distribute as evenly as possible.) Sprinkle with 1 ½ cups desired cheese. Roll up jelly-roll style.
  4. Slice into 12-14 rolls, then place in greased 9”x13” pan (or 2 8” cake pans). Sprinkle with remaining cheese. Let rise in a warm place for 30 minutes.
  5. Preheat oven to 350°.
  6. Place pan(s) on center rack, bake for 20-25 minutes or until golden brown. Remove to wire rack to cool.
Yield/Time
12-14 rolls
1 ½ hours

Nutrition Facts
294 calories (12 roll batch)


Before you go mimicking this recipe line for line, remember that this is the first time I made this, and I was basically making things up as I go. (Aside from the dough; I got that from Better Homes & Garden Cookbook.) There are most definitely changes to be made for next time.

As you can see by the picture, I made mine in 2 8" cake pans. I recommend against that; I think it would work better in a 9"x13" pan.They would probably be prettier, and easier to get out.

I added WAY too much butter as first. (As in, drain some off partway through baking. Yeah, it's gross.)  Start with 3/4 cup. For the sake of your arteries. Although, when you have that much butter, I don't know if another 1/4 cup is really going to make a difference... 

To make the garlic butter spread evenly, it may even be easier to have the butter actually melted. I am debating on if I am going to do that next time....

I also have a serious love affair with garlic. Well, I say affair, but my husband is aware and is encouraging it; does that count as an affair? However, if you aren't as much as a garlic fan as I, then you may want to decrease to 1 - 1 1/2 teaspoons.
Speaking of love affairs.... I love cheese slightly less than I love my husband. (Most days.) Take that into consideration when I suggest adding another half to one cup cheese.

I got the (rough) idea for this from Raptor Toe.

 If you try these, please please please leave a comment! I would LOVE to hear your input/variation!