PinIt!

Wednesday, December 28, 2016

Cranberry Apple Sangria

Now, I know what you're thinking: "Serena is pregnant, I hope that Sangria isn't for her!" No harm came to little baby Lee in the making of this... I made it non-alcoholic so the boys & I could enjoy it too! ;) 

 This one would be nice to try with alcohol at some point, too, but I haven't done that yet so I can't attest to how it is. It's very sweet, and warms you up, all the way down to your toes! I love the combo of the grape juice, apple cider, and cranberry juice! I make another warm punch during Christmastime, and I can't say which is my favorite! I love this type of drink, especially when we are all gathered at my mom's house for a holiday.

I made it for Thanksgiving, and we were sipping on it all day. Adrian didn't seem fond of it, but he's not really used to warm drinks yet. Gabriel loved it! 

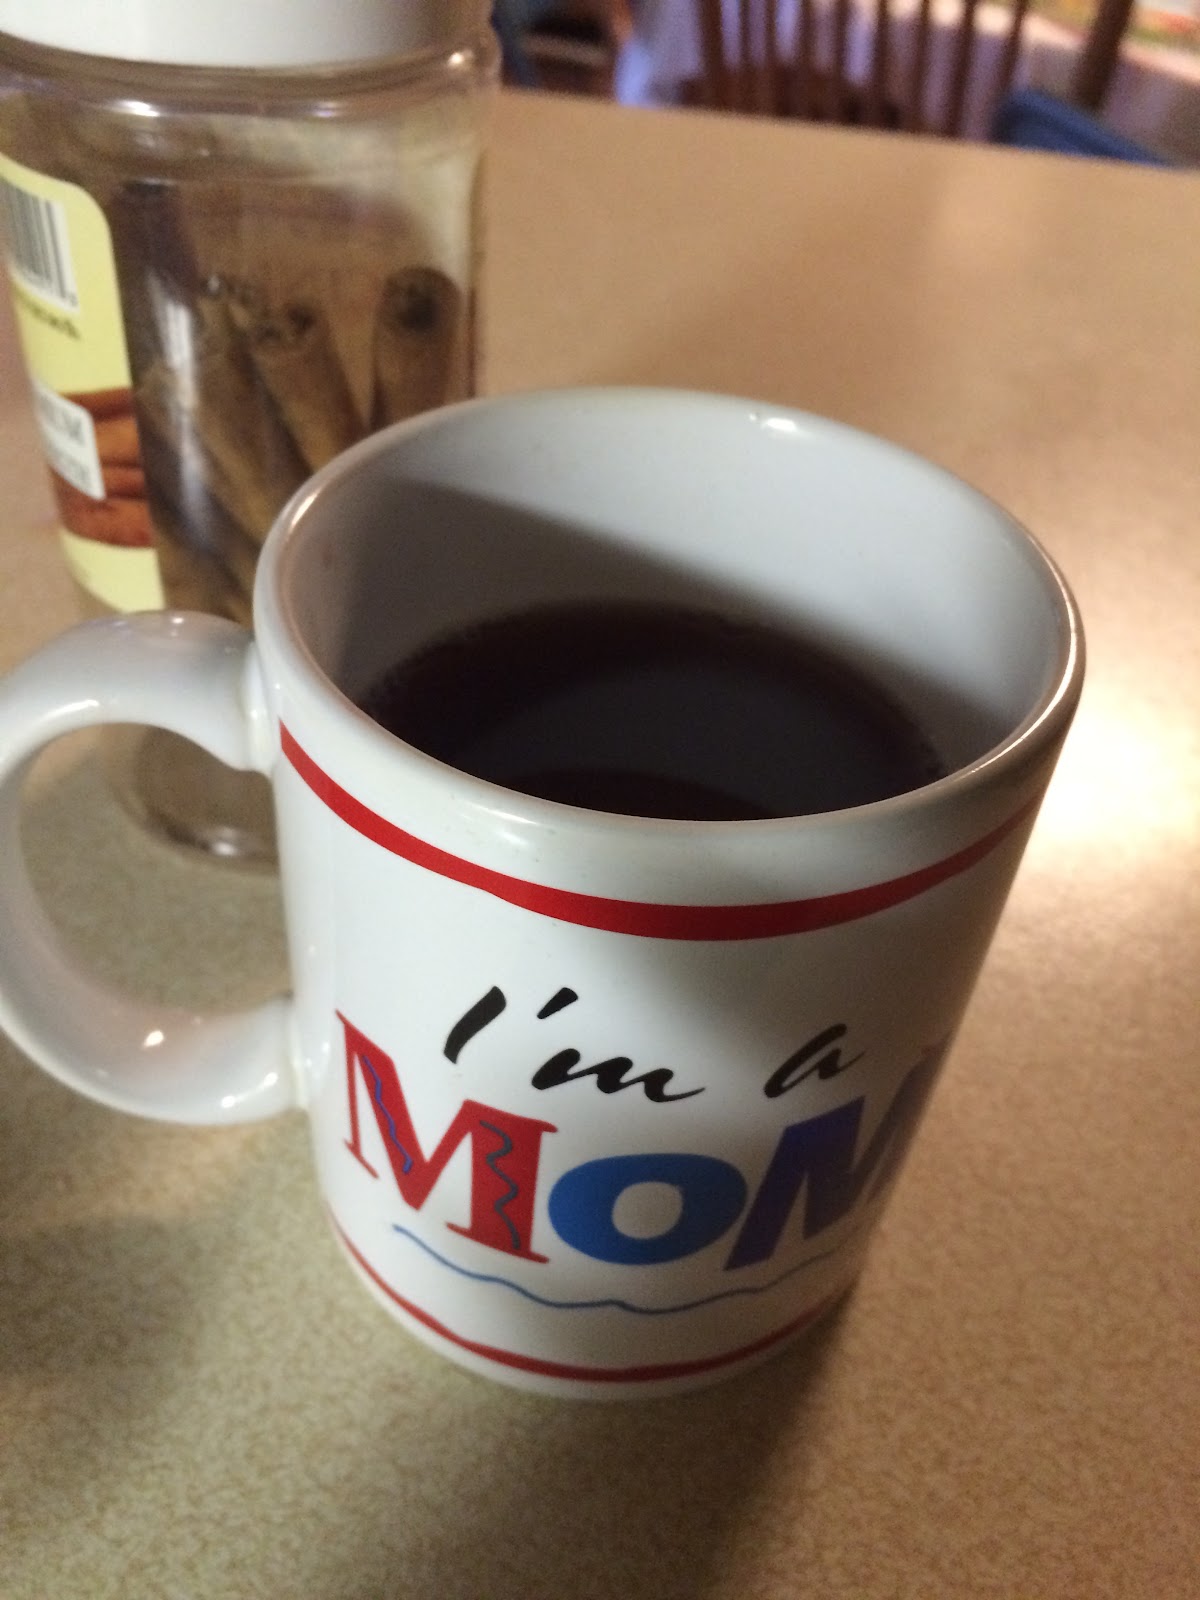
One tip: the cinnamon sticks really should be removed after a couple of hours. We didn't, and those last few cups were VERY cinnamon. Remove a little bit earlier, or put them in later, if you have people who aren't big cinnamon fans. You could always skip them completely.... but I love cinnamon, so I can't really recommend it. :) 

Remember, comments are loved! What's your favorite warm drink during the holidays?

Cranberry Apple Sangria

Ingredients
  • 1 bottle white wine/sparkling white grape juice
  • 1 bottle red wine/sparkling red grape juice
  • 3 cups apple cider
  • 3 cups cranberry juice
  • 1 cup brandy (exclude if making non-alcoholic)
  • 4 cinnamon sticks
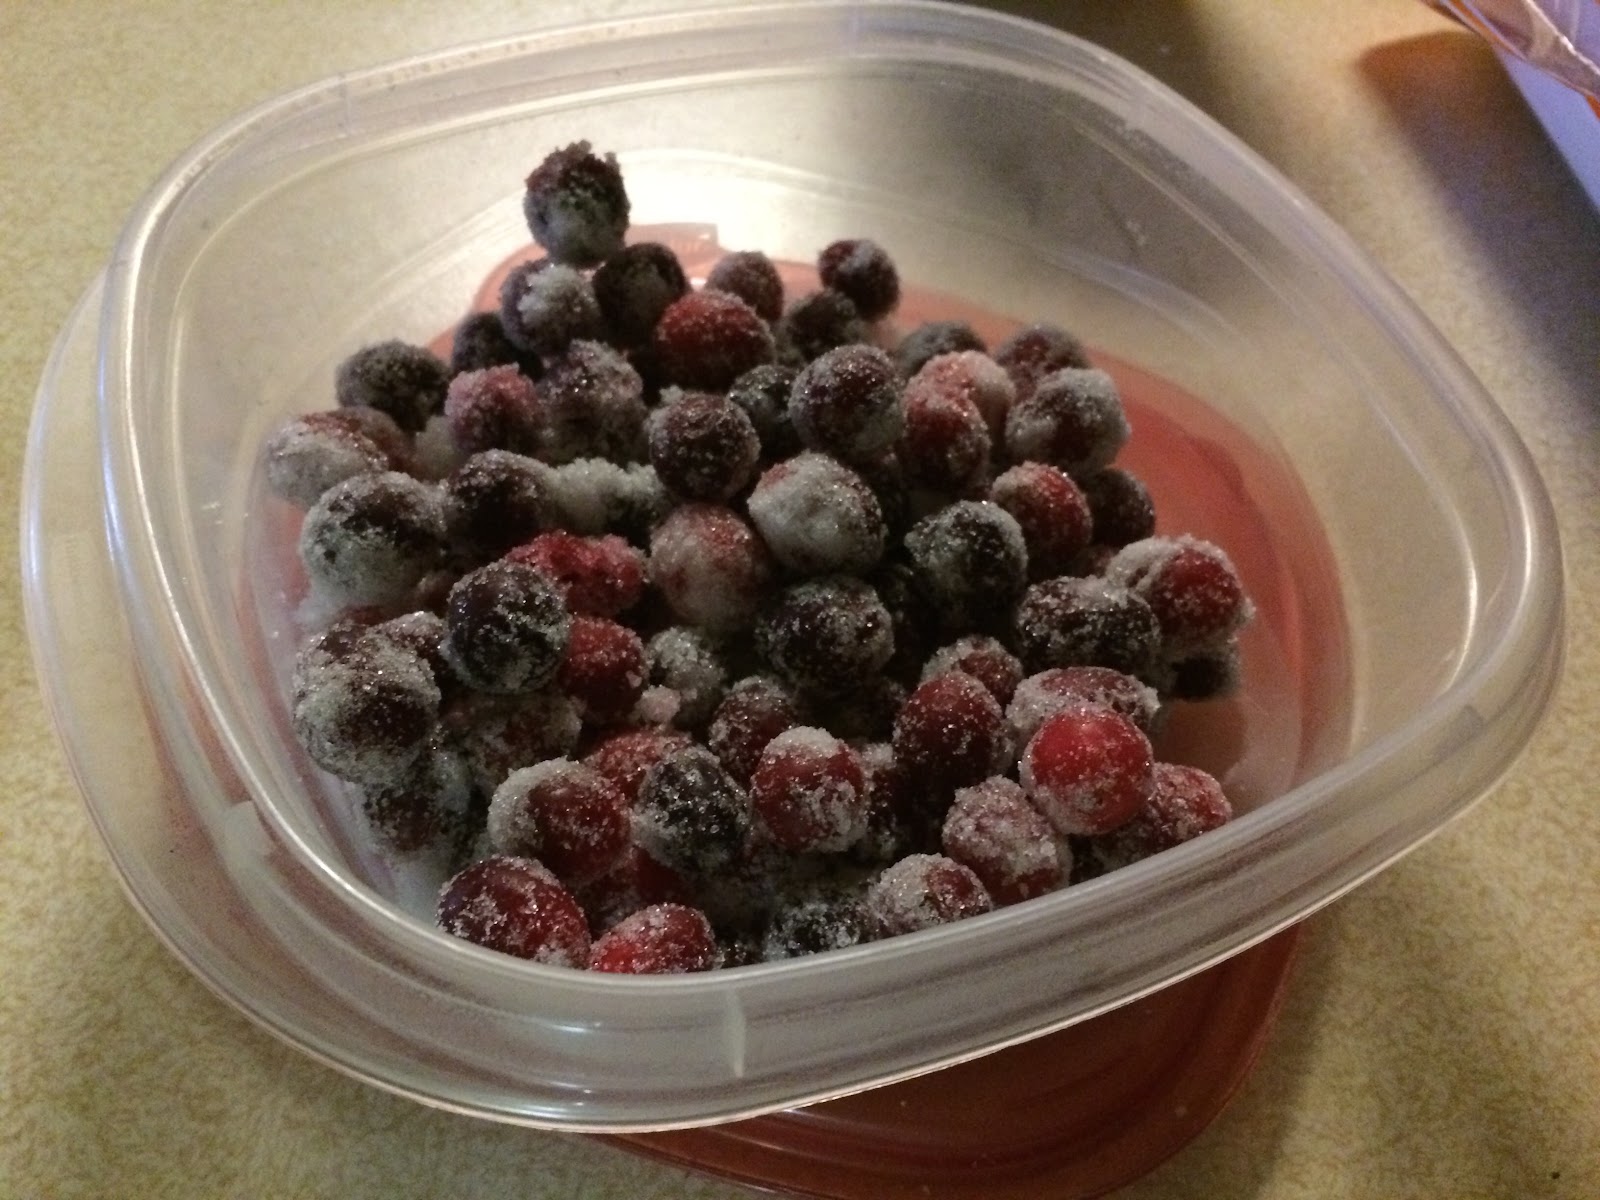
  • Sliced apples and fresh cranberries, to garnish.

Directions
  1. In a large crockpot, combine all ingredients except garnish. 
  2. Cook on low for 2-3 hours. Remove cinnamon sticks before serving. 
  3. (May also cool, then serve over ice.)

Yield/Time
3 hours
8 servings

Source (for original): Sweet C’s Designs

Friday, December 23, 2016

Spanish Rice

I know it's two days before Christmas, and you are probably expecting more Christmas recipes, but I couldn't wait to share this! This is a great, easy recipe to make with very little effort: perfect for one of the days before Christmas, when you don't have much time!

I've talked before about my not-love of processed foods, but I will admit I love the box mix of Spanish rice. Just to eat, and in my empandas. (Which I just realized I never shared the recipe for... that will come soon!) I kept promising myself that I would try to make it myself, and I finally did!

Overall, if you like the box mix, I think you'll like this! It would be easy to adjust seasonings based on your household's tastes. I started with 1 tablespoon of taco seasoning, because my little boys don't like too much spice. However, next time, I will definitely add more! 1 tablespoon is fairly light.

I added some cooked, shredded turkey and some cheese to make this a meal!

Enjoy, and have a very merry & blessed Christmas!

Spanish Rice

Ingredients
  • 1 cup white rice
  • ½ cup vermicelli, broken into small pieces
  • 2 tablespoons butter or margarine
  • 2-3 cups chicken broth, divided
  • 15 ounces canned tomatoes (undrained)
  • 1-2 tablespoon taco or fiesta seasoning

Directions
  1. In a large saucepan or deep skillet, saute rice and vermicelli in butter until golden brown. Stir frequently.
  2. Add 2 cups chicken broth, tomatoes, and seasoning. Bring to a boil, then reduce heat to low and simmer for 15-20 minutes, or until rice is done. Add more chicken broth as needed.
  3. Serve immediately. 

Yield/Time
8 servings
30 minutes
Nutrition Facts
130

Source (for original): n/a

Monday, December 19, 2016

Breadsticks

So, I have a recipe to share today that I didn't actually make. My husband did! He's pretty awesome. ;) Nerdy, handsome, makes cute babies, and he can cook/bake. (When I let him in my kitchen.) He's quite the catch. 

And... He loves bread. Loves it. And, let's be honest...as much as I love it too, I don't make it enough. Especially this time of year, when I am making sweets about daily. So, I am learning to relinquish control of the kitchen (which is hard) and stay out of the way when he occasionally wants to make it. He loves breadsticks too, and between him and I we put these together awhile ago. (Mostly him, to be honest, but since I'm the baker he did ask for my advice.) Last night I finally remembered to take a picture of them! 

These are awesome. This is, truthfully, a basic recipe. We always put garlic, butter, and parmesan on them, but you can do whatever you want. Onion, etc. 

Remember, comments are loved! Tell me what you try, and what your favorite toppings are! 

Printable Recipe
Breadsticks

Ingredients
  • 2 ¼ - 3 cups flour
  • 2 ¼ teaspoon active  dry yeast
  • ¾ teaspoon salt
  • 1 cup warm water (120°-130°)
  • 2 tablespoons butter, melted *Nate usually adds more
  • 2 tablespoons Garlic Garlic (or any other seasoning)
  • ½ cup parmesan

Directions
  1. In a large mixing bowl, stir together 1 cup flour, yeast, and salt. Add warm water to the flour mixture. Beat with an electric mixer on low to medium speed for 30 seconds. Beat on high speed for 3 minutes. Using a wooden spoon, stir in as much of the remaining flour as you can. Turn dough out onto a lightly floured surface. Knead in enough remaining flour to make a stiff dough that is smooth and elastic (8-10 min). Shape dough into a ball. Place in a lightly greased bowl, turning to grease surface. Cover; let rise in a warm place until double in size (1 hour).
  2. Preheat oven to 375°. Punch dough down. Turn dough out onto a lightly floured surface. Cover; let rest 10 min. Meanwhile, lightly grease a baking sheet.
  3. Roll the dough into a 15”x10” rectangle. Using pizza cutter, slice into 1” strips. Spread butter on top, adding more as needed, and sprinkle with garlic garlic and/or parmesan as desired. 
  4. Bake for 15-20 minutes or until golden brown.

Yield/Time
Yields: 10-14 pieces
Total Time: 2 hours

Nutrition Facts *I calculate nutrition facts for reference only, this is not done scientifically
139 calories/14 pieces

Source (for original): Better Homes & Gardens (french bread recipe, adapted)
Tastefully Simple info: If you are interested in making a purchase, you can purchase through my page, or just search and select "Serena Lee" as your consultant. Obviously, if you are not local and already have a consultant.... purchase through them online, or contact them! Shop local, as always! Disclaimer: I am paid a small amount with each purchase, based on sales, made through myself as a consultant. You are helping to support my baking addiction, thank you! ;)

Wednesday, December 14, 2016

Hard Candy

This is a recipe that's available everywhere, but it's too good not to share anyways. Mainly to encourage others to make it (and use the molds!): hard candy! 

Back when Nate & I got married and I was just starting to REALLY cook, the idea of using a candy thermometer intimidated me. Looking back, I'm not really sure why, but it did. Now I pull out my candy thermometer for everything that calls for it--if the recipe is temperature sensitive, I always use it. 

I actually started making hard candy partly to do something fun & new, and partly to send some to my grandma in Florida. She used to make it, years ago, but doesn't anymore. Now I send about 5 flavors to her every year! I have to make sure she remembers that I'm her favorite, while she's so far away. (Grandpa, too!) ;) 

If you've never made hard candy, it might seem intimidating, but the hardest part is making sure not to breathe in when you are mixing in the flavoring. Trust me. You'll only smell that flavoring for days.  (Cinnamon is effective at clearing your sinuses, though...) The rest, though you have to move quickly at some points, is easy!

Remember, comments are loved! Give it a try, and let me know! What are your favorite flavors?

Printable Recipe
Hard Candy

Ingredients
  • 2 cup sugar
  • ⅔ cup light corn syrup
  • ¾ cup water
  • 1 dram lorann flavoring (Anise, wintergreen, butterscotch/butter rum, and cinnamon are the 4 biggest hits in my family!)
  • food coloring
  • powdered sugar

Directions
  1. In a 2-quart kettle or large saucepan, mix together sugar, corn syrup and water. Stir over medium heat until sugar dissolves. Insert candy thermometer if using (which I always recommend), making certain it does not touch the bottom of the pan. Bring mixture to a boil without stirring.  
  2. Continue to cook the syrup, without stirring, until the temperature reaches 260º; add drops of coloring until desired hue is achieved. (Recommendations vary here, but I usually do about 20 for most colors, that's enough to make it nice & bright.) Do not stir; boiling action will incorporate color.
  3. Remove from heat precisely at 300°, or until drops of syrup form hard, brittle threads in cold water. After boiling action has ceased, add flavor and stir. 
  4. Carefully pour syrup onto the prepared greased and foil lined cookie sheet. (As the sugar mixture begins to set up, you may want to score with a large knife to mark squares.) Do not refrigerate. Alternately, pour into greased molds. (I always recommend using molds. I started last year, and will never go back!)
  5. Cool completely. Break sheet candy into small pieces and dust with powdered sugar, if desired. Store in airtight containers between waxed paper.  Store hard candy in a cool, dry place. Do not refrigerate.

Yield/Time
Approx 400

Nutrition Facts *I calculate nutrition facts for reference only, this is not done scientifically
6

Source (for original): Lorann

Monday, December 12, 2016

Butterbeer Fudge

So, if you don't know me in real life, you may not realize that I am a Harry Potter nerd.

A huge, huge Harry Potter nerd. Quiz me on HP, and you'll realize my nerd level. I'm quite proud of it. I won't, however, admit how many times I've read the series. (Mainly because I can't remember...)

I've been dying to try making my own butterbeer, but I just haven't liked the recipes I've seen for it. They just didn't sounds quite... right. (I found one today though! Have to buy a few ingredients, but I am hoping to try that, maybe for Christmas!) Same for butterbeer fudge. I had a recipe saved on Pinterest for awhile, but it wasn't a real fudge recipe, to me. I LOVE my fudge recipes, and this one just wasn't right. 

Well, I found another butterbeer fudge recipe recently that l could easily adapt to my fudge recipe!! The original I found on Cookie Dough & Oven Mitt -- I actually just discovered this blog, and I'm going to have to dig through it some more! Again though, it isn't fudge the way I make it, and I really like my tried & true recipe. So, I took some of her ideas and altered my traditional recipe!

Couple of tips/thoughts: 

  1. I only added 1 teaspoon of each extract, she calls for 1 1/2. I just wasn't quite brave enough to put that much flavoring in. Contemplating trying it next time, but I thought it was great, and it has my husband's approval, so... we'll see! If you try it, let me know!
  2. Remember to use a candy thermometer if you have one! I've never successfully made fudge without one. If you can go without, good for you--you must be more awesome than I am!
  3. DO NOT let it come to a boil too quickly. It's not good.
  4. Also, I really don't recommend butter. I always use margarine, I have more success with that. (Country Crock or Imperial being my preferred brands).
Remember, comments are loved and make me happy! (And help me to know that someone is actually reading this!) What's your favorite type of fudge?

Oh, and if you're looking for another fudge recipe-- check out my Chocolate Peanut Butter fudge! Christmas fudge recipe to come soon. ;) 

Butterbeer Fudge

Ingredients
  • 3 cups sugar
  • ¾ cup margarine 
  • ⅔ cup evaporated milk
  • 11 ounces butterscotch chips
  • 7 ounces marshmallow creme
  • 1 teaspoon rum extract
  • 1 teaspoon butter extract
Directions
  1. Line a 13”x9” pan with aluminum foil, leaving excess hanging over the edge for handles.
  2. Mix sugar, butter, and milk in a 3 quart saucepan over medium heat. Stir until the sugar dissolves and butter melts; insert candy thermometer (if using). Slowly bring to boil. Boil for 5 minutes or until candy thermometer reaches 234°; remove from heat.
  3. Quickly stir in butterscotch chips until thoroughly combined. Add marshmallow cream and extracts, stir until marshmallow cream is combined. 
  4. Pour fudge into prepared pan; cool. Once completely cooled, remove foil from pan. Place fudge on cutting board to cut.
Yield/Time
3 pounds (approximately 100 pieces)
20 minutes + cooling
Nutrition Facts
58/piece

Source (for original): All Recipes, Cookie Dough And Oven Mitt

Friday, December 9, 2016

Muddy Buddies

I think Muddy Buddies are one of the classic things that everyone has tried, and basically everyone loves. I've slightly adapted the original Chex recipe... because the original does not have enough of the chocolate/peanut butter coating! (Of course, you know I would think something needs more chocolate & peanut butter!)

I will admit, though--for years, growing up, we always called this puppy chow! I didn't start calling it muddy buddies until maybe middle school. I kept referring to it as puppy chow, and a few friends looked at me like I was crazy, they had absolutely no idea what I was talking about. ;)

If you usually do the traditional recipe, I really recommend trying this. The extra coating is great!

Remember, I love comments! That makes me feel loved. :) What's your favorite Chex Mix or Muddy Buddy recipe?

Muddy Buddies
Ingredients
  • 9 cups Chex
  • 1 ½ cups Semisweet chocolate chips
  • ¾ cups peanut butter
  • ¼ cups + 2 tablespoons margarine/butter
  • 1 ½ teaspoons Vanilla
  • 3 cups powdered sugar

Directions
  1. Pour cereal into a large bowl, set aside. In a large bowl, combine chocolate chips, peanut butter, and margarine. Microwave until smooth, stir in vanilla. Pour chocolate mixture over cereal, stirring until all pieces are evenly coated.
  2. Pour cereal mixture into a large container with powdered sugar. Shake until all pieces are well-coated, spread on waxed paper to cool.
  3. Sprinkle with extra powdered sugar, if needed.

Yield/Time
Approximately 13 cups
<30 minutes
Nutrition Facts *I calculate nutrition facts for reference only, this is not done scientifically

218 calories per ½ cup


Source (for original): Chex

Wednesday, December 7, 2016

Gingerbread Cheesecake Dip

I've been doing a lot of gingerbread items this fall... It's not something I normally do, and I'm not always a big fan, but it's just SO Christmas! And, let's be honest-- I love baking for other people, and it makes other people happy for me to make gingerbread things!

I saw this, and thought it would be something easy and tasty. Not time consuming, so it wouldn't be too complicated to do in the morning. (Mornings have actually been easier for me lately... sometimes.) 

This dip is VERY gingerbread-y. If you aren't a fan of gingerbread, you probably won't like this--but, you should make it anyways. The gingerbread people in your life will love you for it!

Oh, and FYI- while some dips don't really need the time to 'set' in the fridge, this one does. I actually add more cool whip than the original recommends, because it seems too thin without it. (The taste is still very strong though, so don't worry about that!)

Printable Recipe
Gingerbread Cheesecake Dip

Ingredients

  • 8 ounces cream cheese, softened
  • ¼ cup brown sugar
  • ¼ cup powdered sugar
  • 3 tablespoons molasses
  • 1 teaspoon ground ginger
  • 1 teaspoon ground cinnamon
  • ¼ teaspoon nutmeg
  • 8 ounces Cool Whip
  • Graham crackers, animal crackers, etc. for serving
Directions

  1. In a large mixing bowl, beat the cream cheese until smooth, about 1 minute. Add the sugars and molasses; beat on medium speed until smooth and combined. Add the spices and mix until combined.
  2. Beat in the Cool Whip until combined.
  3. Transfer dip to a serving bowl and chill until ready to serve. Serve with graham crackers, animal crackers, etc. 
Yield/Time
Approx 4 cups (estimate)
15 minutes + cooling
Nutrition Facts *I calculate nutrition facts for reference only, this is not done scientifically
116/ ¼ cup (estimate)

Source (for original): Food, Folks & Fun

Friday, December 2, 2016

Sugared Cranberries

I hope everyone had a great Thanksgiving! We did! We went to my mom's this year (we alternate years with Nate's family and my family.) Great food, time with family, and a happy announcement.... we are expecting baby #3 in June!! We are very excited. The boys are, too! Gabriel said he wanted another brother, but now he has decided he wants a sister. Adrian.... I don't think he grasps yet how much his little world is going to change in June. ;)

This pregnancy is the reason for the current lack of posts... between the nausea, and the exhaustion, I have not been able to stay up past the boys' bedtime to do much of anything. Basic cleaning has been a challenge so far, haha! The exhaustion is getting better now, so I promise to work harder at getting posts up 2-3 times per week. :)

I made, in addition to french silk pie (recipe coming soon!) and pumpkin pie, some sugared cranberries for Thanksgiving this year. I had never had them before, but the recipe looked good so I thought I'd give it a shot!

These were definitely a hit-- with some people! Nate wasn't a fan, but mama and I (and some of my coworkers) loved them. The sugar coating gets fairly firm, so they kinda pop when you bite into them. Perfect! And the tart & sweet combo is great. My only complaint is that they don't last long--one day, and then they don't taste the same. So, either make a small batch or make sure they get eaten!

Remember, comments are loved! What's your favorite cranberry recipe?

Printable Recipe
Sugared Cranberries

Ingredients

  • 2 cups water
  • 4 cups sugar
  • 4 cups fresh cranberries
Directions

  1. In a medium saucepan, bring the water to a boil. Stir in two cups of sugar until sugar dissolves, then remove from heat. Let cool for a few minutes. 
  2. Meanwhile, rinse cranberries and set aside in a medium bowl.
  3. Once the syrup is slightly cooler, pour over the cranberries. Let them sit for a few hours or overnight. 
  4. Meanwhile, pour remaining sugar in a large bowl. Remove the cranberries from the syrup, then add to the sugar. Toss until the cranberries until coated. Place on a parchment paper or cookie sheet, and let dry for a few hours.
  5. Best if served that day. 
Yield/Time
4 cups
Overnight
Nutrition Facts *I calculate nutrition facts for reference only, this is not done scientifically

295 calories/ ½ cup (assuming a waste of 1 cup sugar)


Source (for original): Tabler Party of Two

Wednesday, November 23, 2016

Quick Rolls

With Thanksgiving coming up tomorrow, I thought it would be good to post a fun roll recipe! These rolls are great- fluffy, tasty, and bake up fast!

For Thanksgiving with our family, I'm making my Perfect Pumpkin Pie, and something else sweet. I haven't decided yet, but knowing me--it will probably be something with chocolate. ;) Mama already has everything else taken care of. (Thanksgiving with my mom is always awesome!)

Remember, comments are loved! What's your usual food duty for Thanksgiving?

Printable Recipe
(This picture shows them more dense than they are--I initially tried them with a shorter rise time, but they are much better with the longer time! I just keep forgetting to take another picture...)
Quick Rolls

Ingredients
  • 1 ¼ cup warm water
  • ¼ cup vegetable oil
  • 2 tablespoons active dry yeast
  • 3 tablespoons sugar
  • 1 ½ teaspoon salt
  • 1 egg
  • 3 ½ cups bread flour 

Directions
  1. Preheat oven to 400°. Grease a 9”x13” pan; set aside.
  2. In large mixing bowl, combine the water, oil, yeast, and sugar. Allow it to rest for 15 minutes. Using dough hook, mix in the salt, egg, and flour.
  3. Knead with hook for a few minutes until well incorporated and dough is soft and smooth.
  4. Form dough into 12 balls, place in prepared pan, and allow to rest for 20 minutes. 
  5. Bake for 10-20 minutes or until golden brown.

Yield/Time
12 rolls
30-45 minutes
Nutrition Facts
192/roll

Source (for original): Your Home Based Mom

Monday, November 21, 2016

Gingerbread Cookies

I am, in general, not a fan of gingerbread cookies. I can have one or two, but they are not my thing. Nate is usually a fan though, and I like to try to do the "typical" seasonal things. I have a recipe that I've made before, but these are slightly different. Also, those are the ones I made for my mom to use on her advent calendar.... and there's something about the fact that they can last for years that throws me off. Time for a new, different recipe! :)

These, as advertised on the blog I got them from, don't spread. I like that about them. I was iffy to use butter, in my experience it tends to cause more issues than using Crisco, especially with spreading. (I know I've talked about my love for Crisco before.)  However, I am pretty fond of these. I think the lack of baking powder/baking soda helps, too. 


They are fairly crunchy, but soften a lot if you add frosting. Frosting is totally optional, though!

Remember, comments are loved! Tell me about your favorite gingerbread recipes & ideas!


Printable Recipe

Gingerbread Cookies

Ingredients
  • 6 tablespoons unsalted butter, room temperature
  • ¾ cup brown sugar
  • 1 large egg
  • ½ cup molasses
  • 2 teaspoon vanilla
  • 3 cups all-purpose flour
  • ½ teaspoon salt
  • 1 tablespoon ground ginger
  • 2 teaspoon ground cinnamon
  • ¼ teaspoon ground cloves

Directions
  1. Preheat the oven to 375°. Line a baking sheet with parchment paper. 
  2. In a large mixing bowl, cream the butter and sugar together. Do not overmix. Add the egg, and mix until incorporated.
  3. Add the molasses, and vanilla; mix just until incorporated.
  4. Whisk the flour, salt, and spices together in a separate bowl. Slowly mix in the flour mixture.
  5. Roll the dough out on a lightly floured surface, to ¼" thickness. Place on prepared baking sheet, and bake for 8-9 minutes.

Yield/Time
Approximately 27 cookies
45 minutes
Nutrition Facts
110

Source (for original): The Kitchen Paper


Cream Cheese Icing

Ingredients
  • 4 ounces cream cheese, softened
  • ¾ cup powdered sugar
  • 2-3 tablespoons milk

Directions
  1. In a large mixing bowl, mix together the cream cheese, powdered sugar, and milk to desired consistency. 
  2. Spread over cookies. 

Yield/Time
5 minutes
Nutrition Facts
20/cookie


Source (for original): Love Grows Wild