Back when Nate & I got married and I was just starting to REALLY cook, the idea of using a candy thermometer intimidated me. Looking back, I'm not really sure why, but it did. Now I pull out my candy thermometer for everything that calls for it--if the recipe is temperature sensitive, I always use it.
I actually started making hard candy partly to do something fun & new, and partly to send some to my grandma in Florida. She used to make it, years ago, but doesn't anymore. Now I send about 5 flavors to her every year! I have to make sure she remembers that I'm her favorite, while she's so far away. (Grandpa, too!) ;)
If you've never made hard candy, it might seem intimidating, but the hardest part is making sure not to breathe in when you are mixing in the flavoring. Trust me. You'll only smell that flavoring for days. (Cinnamon is effective at clearing your sinuses, though...) The rest, though you have to move quickly at some points, is easy!
Remember, comments are loved! Give it a try, and let me know! What are your favorite flavors?
Printable Recipe
Hard Candy
Ingredients
- 2 cup sugar
- ⅔ cup light corn syrup
- ¾ cup water
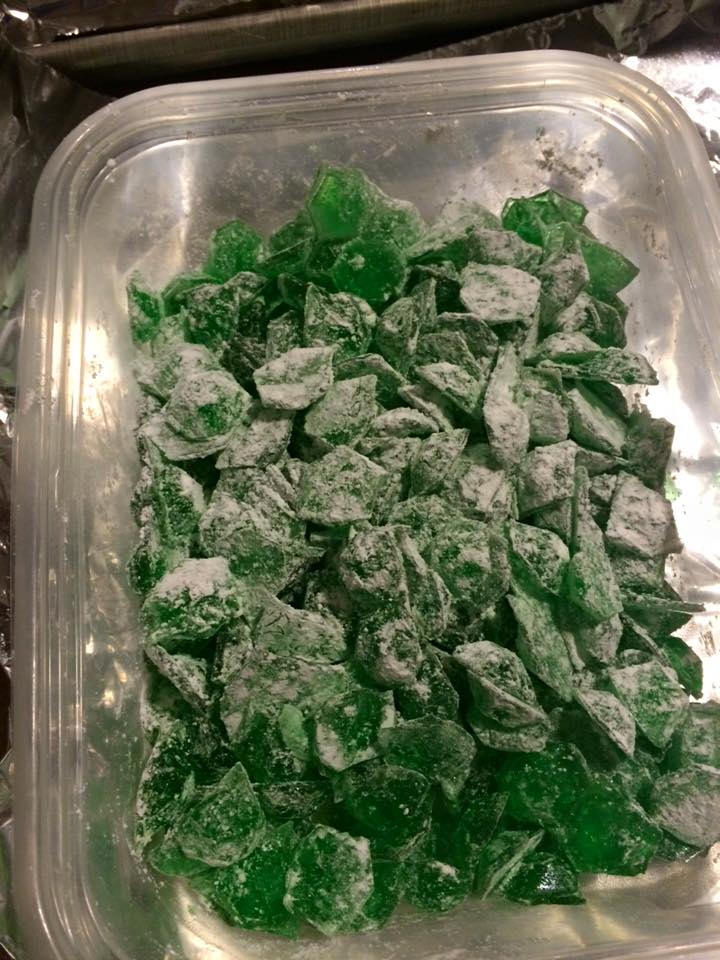
- 1 dram lorann flavoring (Anise, wintergreen, butterscotch/butter rum, and cinnamon are the 4 biggest hits in my family!)
- food coloring
- powdered sugar
Directions
- In a 2-quart kettle or large saucepan, mix together sugar, corn syrup and water. Stir over medium heat until sugar dissolves. Insert candy thermometer if using (which I always recommend), making certain it does not touch the bottom of the pan. Bring mixture to a boil without stirring.
- Continue to cook the syrup, without stirring, until the temperature reaches 260º; add drops of coloring until desired hue is achieved. (Recommendations vary here, but I usually do about 20 for most colors, that's enough to make it nice & bright.) Do not stir; boiling action will incorporate color.
- Remove from heat precisely at 300°, or until drops of syrup form hard, brittle threads in cold water. After boiling action has ceased, add flavor and stir.
- Carefully pour syrup onto the prepared greased and foil lined cookie sheet. (As the sugar mixture begins to set up, you may want to score with a large knife to mark squares.) Do not refrigerate. Alternately, pour into greased molds. (I always recommend using molds. I started last year, and will never go back!)
- Cool completely. Break sheet candy into small pieces and dust with powdered sugar, if desired. Store in airtight containers between waxed paper. Store hard candy in a cool, dry place. Do not refrigerate.
Yield/Time
Approx 400
Nutrition Facts *I calculate nutrition facts for reference only, this is not done scientifically
6
Source (for original): Lorann
No comments:
Post a Comment