PinIt!

Showing posts with label cheddar. Show all posts

Monday, April 3, 2017

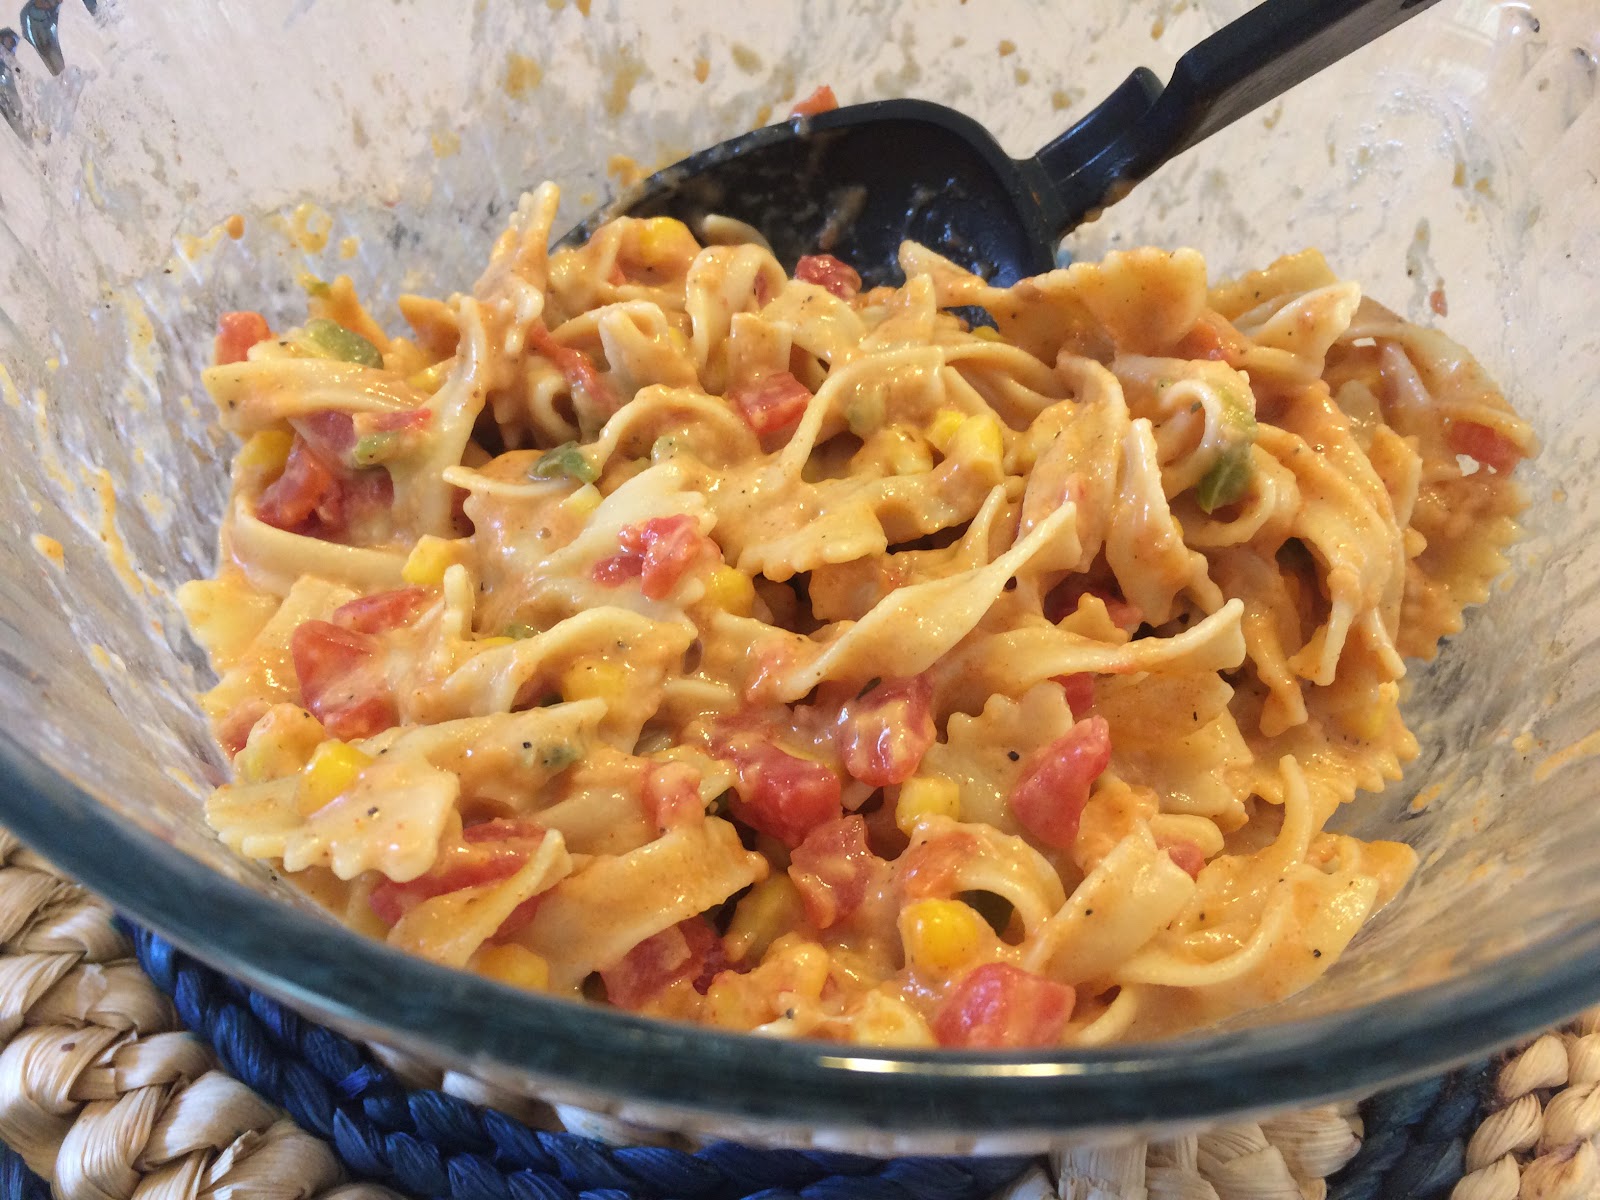
Chili Cheddar Penne

Sorry for no post last week, we were on vacation! My plans of having a post or two prepared before we left went out the window with prep for vacation, so I'll try to make it up this week. :) (On the plus side, we thoroughly enjoyed spending a week in the sunshine state!)

This entree/side dish is something that has been one of my favorites for a LONG time. The boys love it too! When I made it last, Gabriel had 4ish helpings... Nate, however, just isn't very fond of it; I've never figured out why. I try not to make it too often, knowing that he's not a fan, but I can't resist sometimes! I tone the spice down a little while making it for my family, but you could definitely add as much seasoning as you wanted!

To make this into more of a one-dish meal, add some grilled chicken!

Remember, comments are loved! What's your favorite one-dish meal?
Chili Cheddar Penne

Ingredients
  • 2 ⅔ cups uncooked penne pasta
  • ⅔ cup frozen corn, thawed
  • 1 ½ tablespoons butter
  • ½ green pepper, diced very small
  • 1 tablespoon all-purpose flour
  • 1 cup milk
  • 2 cups shredded cheddar cheese
  • 2 roma or 1 regular tomatoes, diced (or 1 can, drained)
  • ½-¾ tablespoon taco seasoning
  • Sliced avocado, optional

Directions
  1. Cook pasta according to package directions, adding corn approximately 4 minutes before done. 
  2. Meanwhile, in a large saucepan, saute green pepper until crisp-tender in butter. Set aside. 
  3. Stir in flour until smooth; gradually add milk. Bring to a boil; cook and stir for 2 minutes or until thickened.
  4. Reduce heat to medium. Stir in cheese, tomatoes, and taco seasoning. Cook and stir for 2-3 minutes or until cheese is melted. 
  5. Drain pasta; stir into cheese sauce. Garnish with avocado if desired.

Yield/Time
6 Servings
Prep/Total Time: 25 min.

Nutrition Facts *I calculate nutrition facts for reference only, this is not done scientifically
179 per ½ cup.

Source (for original): Taste of Home

Friday, March 17, 2017

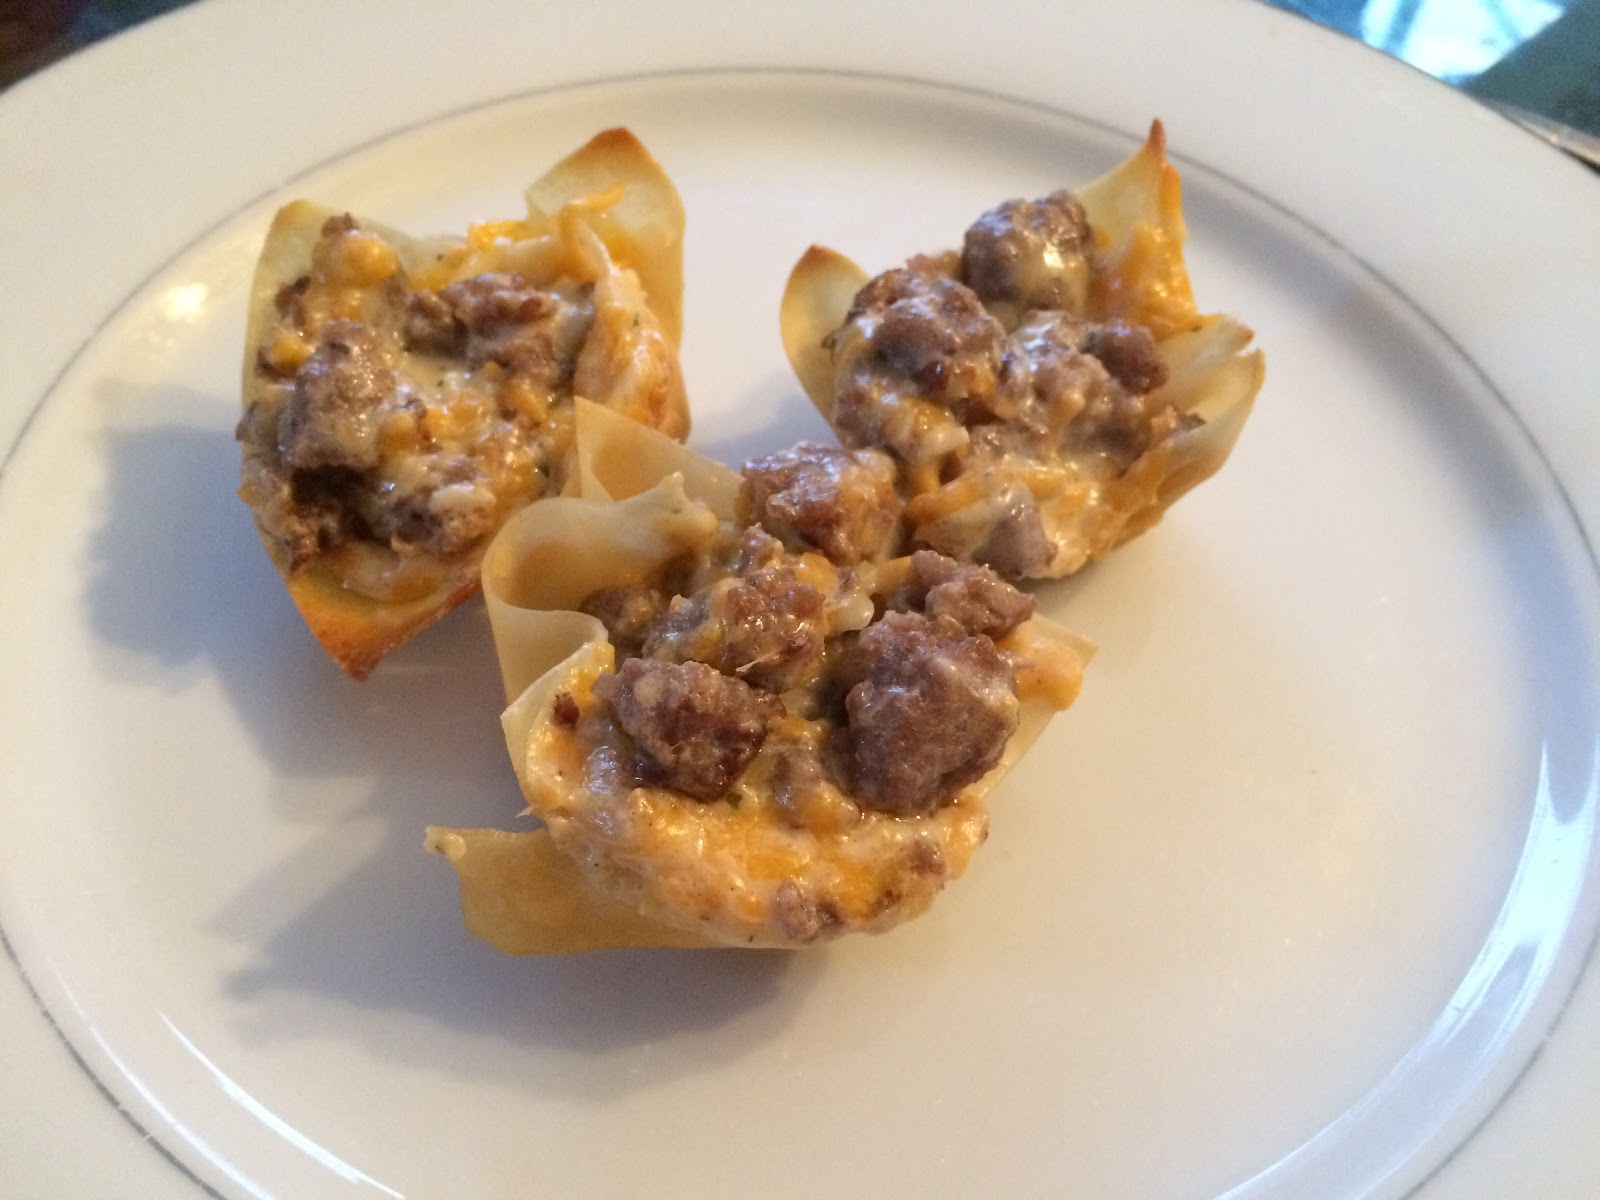
Sausage Wontons

This recipe is amazing! It's great as a party appetizer, or to make a small batch as a snack/addition to dinner. Nate & I love these! While pregnant, I could probably eat the whole plate... ;) 

These are definitely a only-once-in-awhile thing, though... the calories may not be that high, but between the cheese, sausage, and ranch: these little wontons are NOT good for you! Delicious, but a little less than healthy!

Also, note: they do not reheat well, so try not to make more than you think you'll need! This recipe is easy to cut in half or quarters. 

Remember, comments are loved! What's your favorite appetizer recipe?

Printable Recipe
Sausage Wontons


Ingredients
  • 16 ounces wonton wrappers
  • 1 pound sausage
  • 1 cup shredded Monterey Jack cheese
  • 1 cup shredded Cheddar cheese
  • 1 cup Ranch dressing

Directions
  1. Preheat oven to 350°. 
  2. Spray a miniature muffin pan with cooking spray. Insert wonton wrappers into the muffin pan so as to form small cups. Bake 5 minutes in the preheated oven. Allow the baked wrappers to cool. Remove from the pan.
  3. In a medium bowl, mix the sausage, Monterey Jack, Cheddar, and Ranch dressing. Fill the baked wonton wrapper cups with the mixture. 
  4. Bake the filled wonton wrappers 7 to 12 minutes, until the sausage mixture is bubbly and slightly brown. Watch closely so the wonton wrappers do not burn.

Yield/Time
Servings: 48
Prep Time: 15 Minutes Cook Time: 20 Minutes
Nutrition Facts *I calculate nutrition facts for reference only, this is not done scientifically

73/wrap


Source (for original): All Recipes

Monday, September 5, 2016

Cheesy Garlic Zucchini Bread

It's Monday morning, of a holiday weekend, and I'm sharing something fairly healthy. I know, I know. Don't get mad yet though, just trust me.

Imagine a cheddar bay biscuit.... in bread form. With barely noticeable shredded zucchini in it. That's what I am sharing with you today. I know, everyone is probably getting tired of the zucchini recipes. I know we're nearing the end of the season, but I wanted to share one more! (No promises that it's the last one, though.) I am a firm believer that you can't have too many zucchini recipes. Especially this time of year-- we've had it all summer, now some people are getting sick of it and need something different to do with it. Well, this is perfect! 

Because, really, who doesn't love cheddar bay biscuits?? I know we do. From Red Lobster or homemade, doesn't matter, I could eat them all day long. Same thing with this bread! (And I think Adrian could too; he devours every piece I give him!) Since it's made in bread form vs. biscuit form, it's slightly easier to make, too. The applesauce & zucchini in it make it slightly healthier, too. It's not GREAT for you, but you can eat least feel good about eating it.
Cheesy Garlic Zucchini Bread

Ingredients
  • 3 cups all purpose flour
  • 1 tablespoon baking powder
  • 1 teaspoon salt
  • ½ teaspoon baking soda
  • 1 teaspoon Garlic Garlic (or garlic powder)
  • 3 cups shredded zucchini, drained
  • 1 cup shredded cheddar cheese
  • 2 large eggs
  • 1 cup milk
  • ¼ cup applesauce
  • 1 ½ tablespoons vegetable oil *if you don't want to use applesauce, just use 1/4 cup oil. However, I have not tried it this way.
Directions
  1. Preheat oven to 350°. Grease a 9”x5” loaf pan.
  2. In a large bowl combine the flour, baking powder, salt, baking soda, and Garlic Garlic. Add the zucchini, and cheddar; stir to combine.
  3. In separate small bowl, combine the eggs, milk, applesauce, and oil. Pour the wet ingredients into the dry ingredients. Gently stir together just until moistened.
  4. Pour into loaf pan and bake for 40-50 minutes, or until a toothpick inserted comes out clean. Let cool for 10 minutes. Remove from pan to cool. Serve warm.
Yield/Time
10 slices
1 hour 15 minutes
Nutrition Facts *I calculate nutrition facts for reference only, this is not done scientifically
182/slice


Source (for original): Gather for Bread
Remember, comments are loved! Share your zucchini recipes!
Tastefully Simple info: If you are interested in making a purchase, you can purchase through my page, or just search and select "Serena Lee" as your consultant. Obviously, if you are not local and already have a consultant.... purchase through them online, or contact them! Shop local, as always! Disclaimer: I am paid a small amount with each purchase, based on sales, made through myself as a consultant. You are helping to support my baking addiction, thank you! ;)

Wednesday, August 31, 2016

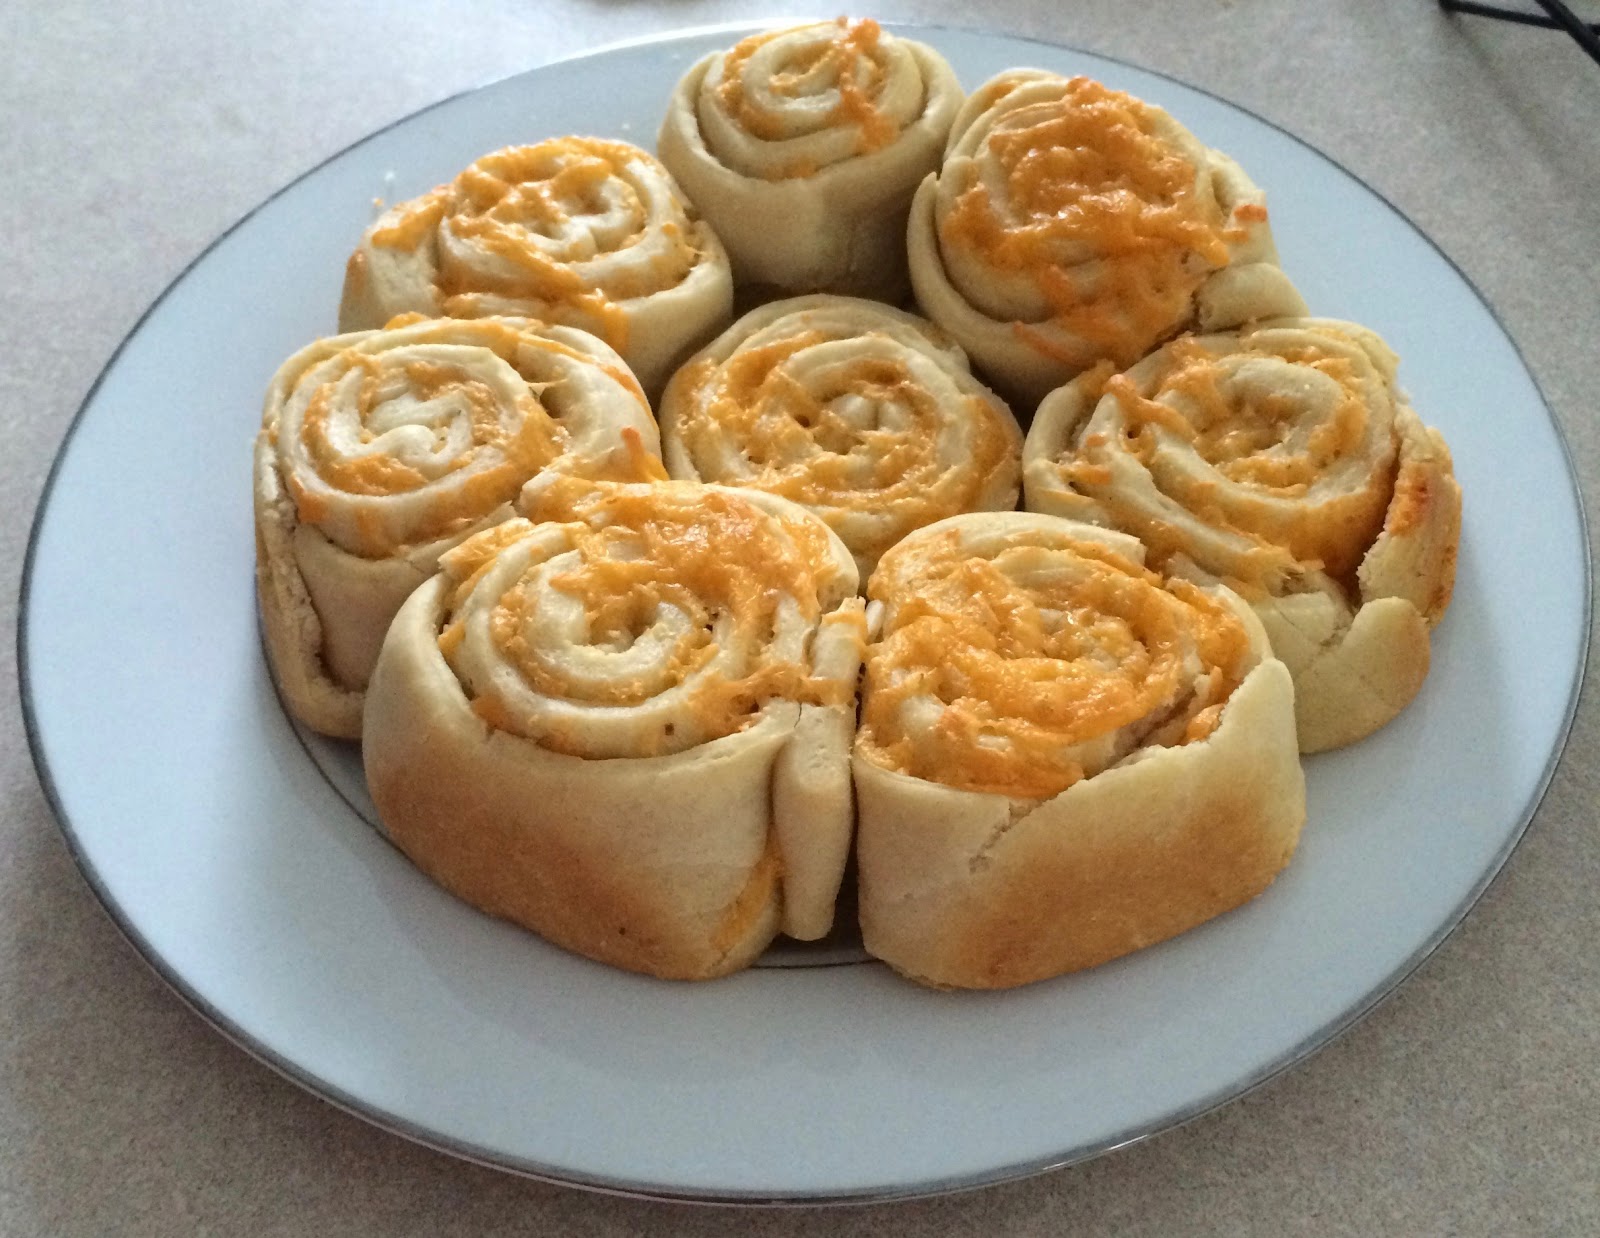
Garlic Cheese Rolls (updated)

Confession time: I am one of those people who cannot leave a recipe alone. If you know me in person, and I've ever made something for you, you probably know that about me. "Let me know what you think I should do differently!" is one of the first things I say when I give food to people. I love to tweak things until I decide they are absolutely, truly perfect.

It's not my fault though, my husband encourages me.

This is one of those recipes. I originally posted this awhile ago, when I first made it. I was so excited that it turned out so well, I had to share right away! Now it's been a couple years, and I think at this point I actually have it to my level of perfect. With minimal changes, too. We'll see though. You know me. ;)

These rolls are a perfect addition to a dinner, or great to just snack on. (Warning: they are addicting.) They are wonderfully cheesy, with just the right amount of garlic and butter. (Another warning: I really like garlic. Really, really like garlic. You may want to cut down if you are not a huge fan. Or just throw caution to the wind and try it anyways, because these rolls are amazing.) I think my favorite part is that they are actually rolls vs. a biscuit-- they are great to peel apart and eat. That just might be me though...

Garlic Cheese Rolls


Ingredients
  • 2 3/4 - 3 1/4 cups all-purpose flour
  • 2 1/4 teaspoon active dry yeast
  • 1/4 teaspoon salt
  • 1 cup warm water (120°-130°)
  • 2 tablespoons vegetable oil
  • 1/2 cup butter, softened
  • 2 teaspoons Garlic Garlic (or garlic powder)
  • Additional herbs/seasonings, optional
  • 2 1/2 cups cheese (mozzarella, cheddar, or colby jack)
Directions
  1. In a large mixing bowl, combine 1 1/4 cups flour, yeast, and salt; add water and oil. Beat on low speed for 30 seconds; then scrape bowl. Beat on high speed for 3 minutes. Knead in another 1 1/2 cups flour; adding up to 2 cups if needed. Knead for 6-8 minutes, to make a moderately stiff dough that is smooth and elastic.
  2. Cover, let rest for 10 minutes. Grease 3 8" cake pans, or 1 9"x13" pan; set aside. Note: DO NOT use metal cake pans. I've tried it multiple times, and it may just be my pans, but they stuck very badly.
  3. Meanwhile, beat together butter and garlic, adding additional seasonings as desired.
  4. Roll dough out into large rectangle (approximately 24”x12”). Spread garlic butter to within 1” of edge. Sprinkle with 2 cups desired cheese. Roll up jelly-roll style.
  5. Slice into 18-20 rolls, then place prepared pans. Sprinkle with remaining cheese. Let rise in a warm place for 30 minutes.
  6. Preheat oven to 350°.
  7. Place pan(s) on center rack, bake for 20-25 minutes or until golden brown. Remove to wire rack to cool.

Yield/Time
18-20 rolls
1 1/2 hours
Nutrition Facts *I calculate nutrition facts for reference only, this is not done scientifically
173 each/20 rolls


Source (for original): Better Homes & Gardens (dough), and the loose idea for the rolls came from a blog that no longer exists.
Remember, comments are loved! What's your favorite go-to roll?

Tastefully Simple info: If you are interested in making a purchase, you can purchase through my page, or just search and select "Serena Lee" as your consultant. Obviously, if you are not local and already have a consultant.... purchase through them online, or contact them! Shop local, as always! Disclaimer: I am paid a small amount with each purchase, based on sales, made through myself as a consultant. You are helping to support my baking addiction, thank you! ;)

Tuesday, January 7, 2014

Cheddar Bay Biscuits!

So, as promised, here is the recipe for my Cheddar Bay Biscuits! We also took these to the New Year's Eve party... these are my go-to recipe when we are going somewhere & need to take something snacky. They are easy to make, delicious, and aren't temp sensitive so I can make them ahead!


I found this recipe ages ago, when I wanted Red Lobster but couldn't go. (Which is just depressing, really.) These are a lot less salty then their version, which is nice. Nate insists that mine are better than theirs in general. :)


Printable Recipe
Cheddar Bay Biscuits


Ingredients
  • 2 cups all-Purpose flour
  • 3 teaspoons baking powder
  • 1 teaspoon Salt
  • ¼ teaspoon garlic powder
  • ⅓ cup butter, cold, cut into chunks
  • 2 tablespoons canola/vegetable oil
  • 1 heaping cup grated cheddar cheese
  • ½- ⅔ cup Milk
Garlic Butter Topping:
  • 2 ½ tablespoons butter
  • ½ teaspoon garlic powder
  • ½ teaspoon dried parsley flakes
Directions

  1. Preheat oven to 400° F. Lightly grease a cookie sheet.
  2. In a large bowl, combine flour, baking powder, salt and garlic powder. Whisk together to combine thoroughly. Add chunks of butter. Using a pastry cutter, cut butter into flour until it is coarse, pea-sized. Add oil, cheddar cheese and ½ cup milk. Stir together. Keep adding milk a bit at a time, just until the dough is moistened and no longer dry and powdery.  (For dough sticky enough to form into balls, ⅔ cup is usually required.)
  3. Form dough into small balls & place on prepared cookie sheet. (Or, drop approximately ¼ cup portions of the dough onto the cookie sheet.)
  4. Bake for 14-17 minutes. While biscuits are baking, melt butter for topping in a small bowl. Stir in garlic powder and parsley.
  5. When biscuits come out of the oven, use a brush to spread garlic butter over the tops of all the biscuits. Use up all of the butter. Serve warm.
Yield/Time
Yields: 12-16
Prep: 20 minutes Bake: 17 minutes

Nutrition Facts *I calculate nutrition facts for reference only, this is not done scientifically
Calories: 147 (16 ct) or 196 (12 ct)

Source (for original): Food & Whine

Tuesday, October 15, 2013

Cheesy Crock Pot Cowboy Casserole


I love potatoes, but I don't actually cook with them very often. That usually results in me letting 1/3 to 1/2 of a bag of potatoes get nasty, which always annoys me. I hate wasting food. So, when I've had the potatoes for awhile, I start looking for something yummy & new to hurry up and use those potatoes before they go bad. I had about 1 pound of the 5 pound back left when I stumbled across this recipe on Pinterest.

Side note: I seriously love Pinterest. I scoffed at everyone using Pinterest before -didn't see the point- until a friend had a Pinterest birthday party and I had to get on it. The food & drink section makes me happy. There are so many recipes! You just keep scanning pictures til you find something that looks yummy. 

Anyways, back to the recipe. If I don't find anything that looks amazing, I will go with potato soup to use up the potatoes, but I was so happy I found this. Cheese, potatoes, meat... Even some veggies so I can convince myself it's good for us!


The one thing that almost deterred me from making this is the kidney beans. I know, I know. "Serena, I thought you were trying to broaden your horizons, try new things," blah blah blah. I have added various beans to things in the last couple of years, and wound up picking them out while I was eating it. (Nothing quite like having to dissect each bite before eating it....) I think that, next time, I will add the kidney beans. However, the last two new recipes I've tried have failed, and I wanted this to be a definite "yes."

Side note on the failed recipes: one was a cookie bar, and I thought the taste & texture were meh. Nate said they were good so I did wind up giving some to my big brother, Jonah, as part of his belated birthday gift, but it wasn't something I would make again. The second were soft honey spice cookies, were the taste turned out great but they did NOT look anything like the picture, and the texture wasn't what it should have been. Jonah got a lot of those for his birthday too; at least they tasted good. 


See below the recipe for more comments on it....

Cheesy Crock Pot Cowboy Casserole


Ingredients
  • ½ medium onion, diced
  • ½ teaspoon pepper
  • 1 teaspoon salt
  • ½ teaspoon Mrs. Dash
  • 1 pound small red potatoes, sliced thin
  • 1 can of cream of mushroom soup
  • 1 pound ground beef, browned and drained
  • 2 medium tomatoes, diced (if subbing canned tomatoes, do not drain)
  • 1 cup canned or frozen corn
  • 1 can dark red kidney beans
  • ¼ cup water (skip if adding canned tomatoes)
  • 1 cup of shredded cheddar cheese

Directions
  • Place  all of the ingredients except the cheese in a 4 - 6 quart crockpot and stir well.
  • Cover and cook on high for 4 hours or on low for 7 - 8  hours. Uncover crock pot and sprinkle shredded cheese over top. Recover and let cook an additional 30 minutes.

Yield/Time
6 servings
8 hours

Nutrition Facts
265 calories per cup, using ½ cup beef (324 if using a full pound of beef)


Source (for original): Family Fresh Meals 


I thought I had about 3/4 pound of cooked venison in the fridge (from when I made taco helper), but apparently I had only saved 1/2 pound. Oh well. Still meaty, but I would try to add the full pound or so next time.

Wednesday, October 9, 2013

Taco Helper....and my lack of love for pre-packaged meals

As a general rule, I don't like to buy pre-packaged meals for us. They 1) are expensive, and 2) have a ridiculously high salt content. Tuna helper is something I buy on occasion for Nate, but I won't eat most of those things. (OK, I will confess to buying pasta roni when it's on sale sometimes. Hush, it's a comfort food when I am hungry, I'm the only one eating, and I don't want to mess with making a real meal.) However, I like the idea of most of them. Creamy pasta/rice & meat, lots of flavors, only one or two dishes.... sounds good. 

I like to do pasta with a cream-of soup (speaking of ridiculously high salt contents....), ground beef, and some cheese & seasonings, but I was intrigued when I saw a recipe for homemade taco helper on one of the blogs I read regularly. At Lynn's Kitchen Adventures, she has a lot of down-to-earth recipes--and, if you are gluten-free, she has a lot of that too! I've never made the boxed kind, but I love tacos, so I thought it was worth a shot!  

(See below recipe for comments on the recipe itself...)


(Yes, my camera was still MIA when I made this. However, this was a few days ago, and YAY! I found my camera! It was hiding....)
 
Taco Helper


Ingredients
  • 1 pound ground beef
  • ¾ - 1 ½ cups water
  • 1 ¾ cup milk
  • 8 ounces tomato sauce
  • 1 ½ tablespoons taco seasoning (or one packet of the storebought kind)
  • 3 cups uncooked penne or macaroni noodles
  • 1 cup sour cream
  • 1 ½ cups shredded cheddar cheese
  • Salt to taste

Instructions
  1. In a large sauce pan, brown the ground beef. Drain any fat from the meat. Add ¾ cup water, milk, tomato sauce, and taco seasoning to the meat and bring to a boil. Add the pasta.
  2. Reduce heat to low. Cover and cook for 17-20 minutes. Test at 17 minutes to see if the pasta is done. If pasta is not done, cook a few minutes longer.
  3. During cooking, if liquid simmers too low add up to another 3/4 cup water.
  4. When the pasta is tender and done, stir in shredded cheese and sour cream.
  5. Let sit 5- 10 minutes before serving and it will thicken more.
Yield/Time
30 minutes


Source (for original): Lynn’s Kitchen Adventures 


I think I would add more sour cream next time, because it wasn't quite a creamy as I was anticipating. It was great, the flavor was awesome, but I was expecting more creaminess.

Also, as I am posting this, I realize that I have yet to post my recipe for taco seasoning. (Does it count as a recipe if you are just mixing a bunch of spices together?) Stay tuned, I think that will have to be next....