PinIt!

Showing posts with label semi-sweet chocolate chips. Show all posts

Monday, March 6, 2017

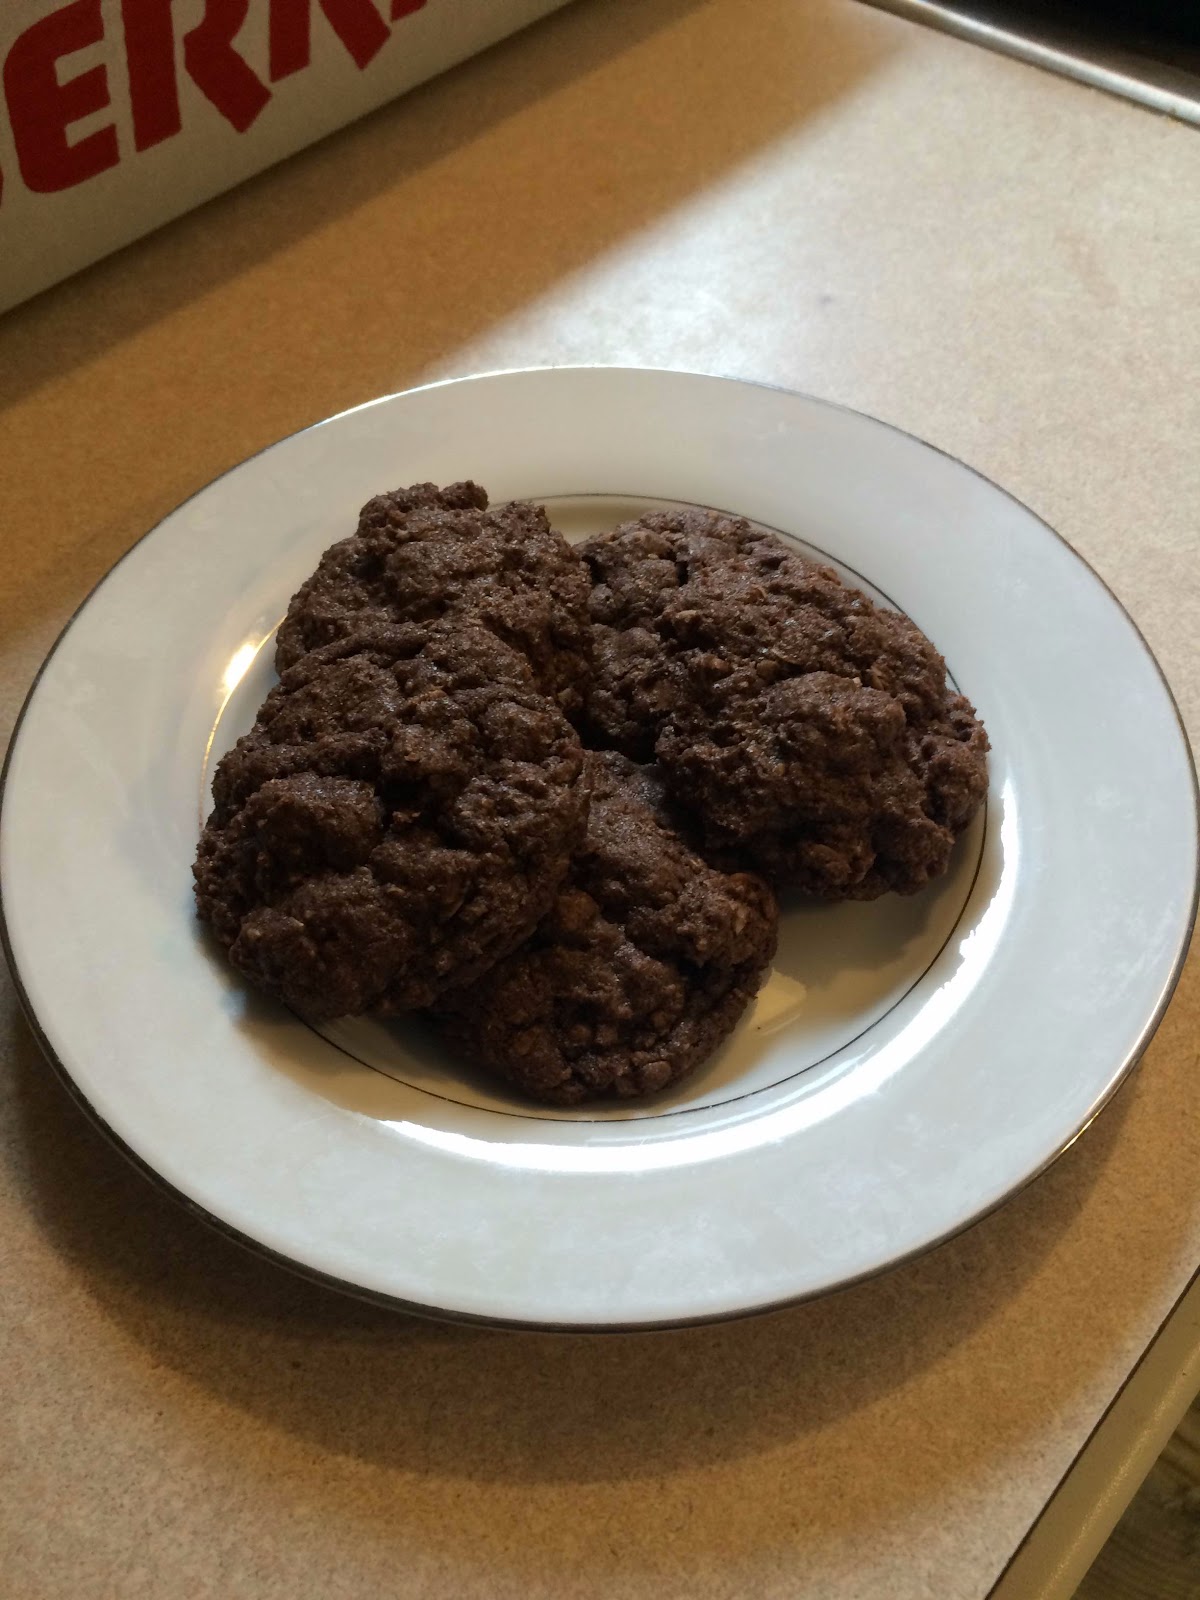
Double Chocolate Chip Cookies

So, first off, I have to apologize for the lack of posts lately... We found out we are having a girl (yay!), so I've been spending a lot of time in the evenings sorting boy clothes, getting it ready to sell, and then sorting the mountain of girl clothes I've bought. Between that, and being utterly exhausted... I haven't really been doing many new recipes. New ideas and taking photos requires energy that I just don't have! :) 

I did get some baking done this weekend, though...  I made this Sunday morning, before Nate & I had a fun date! Partly to 'pay' my mom for watching the boys... partly because I wanted chocolate. ;) 

I have a lot of variations on these cookies, and while these aren't always my go-to recipe, they are always a hit!

Remember, comments are loved! What's your favorite double-chocolate recipe?

Printable Recipe
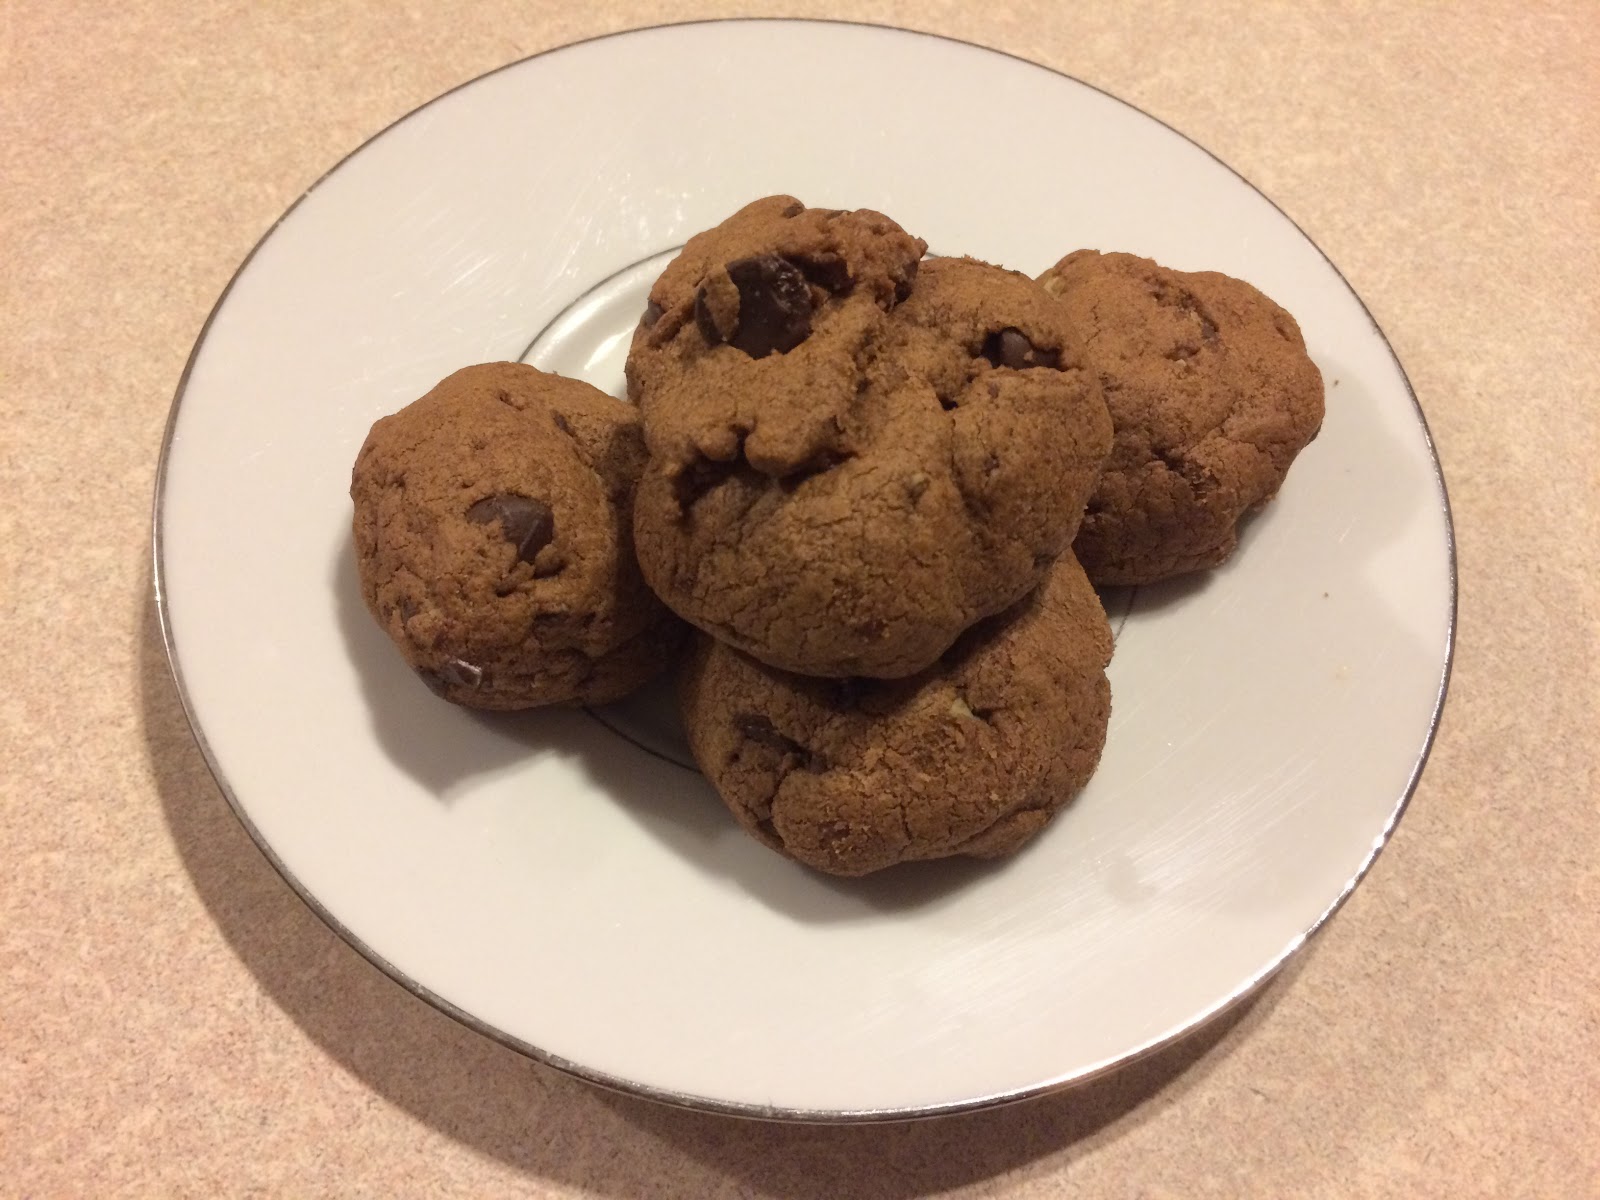
Double Chocolate Chip Cookies

Ingredients
  • 1 cup cold, unsalted butter, cubed *note: these were made with Crisco, but I've made them both ways. While I am a Crisco girl generally... this time, I decided that they are better with butter.
  • 1 ¼ cups sugar
  • 2 large eggs
  • ½ cup cocoa powder
  • 2 ¼ cups all-purpose flour
  • ¼ teaspoon salt
  • 1 teaspoon baking powder
  • 1 teaspoon cornstarch
  • 2 ½ cups semi-sweet chocolate chips *This time, I only used 1 1/2 cups chocolate chips, the other half was Andes chips! They were great!

Directions
  1. Preheat the oven to 350°. Line baking sheets with parchment paper or silicone baking mats.  In the bowl of an electric mixer, combine the butter and sugar.  Beat together on medium-high speed until light and fluffy, 2-3 minutes.  Blend in the eggs one at a time, scraping down the bowl as needed.  Mix in the cocoa powder until well blended.
  2. Add the flour, salt, baking powder, and cornstarch to the bowl and mix on low speed just until incorporated.  Fold in the chocolate chips with a spatula. (The dough is very thick.)
  3. Roll into small balls, and place on baking sheets a few inches apart. Flatten slightly. 
  4. Bake 12-16 minutes.  Let cool on the baking sheets 5-10 minutes, then transfer to a wire rack to cool completely.

Yield/Time
3 ½ dozen cookies
1 hour
Nutrition Facts
153

Source (for original): Love from the Oven

Friday, February 3, 2017

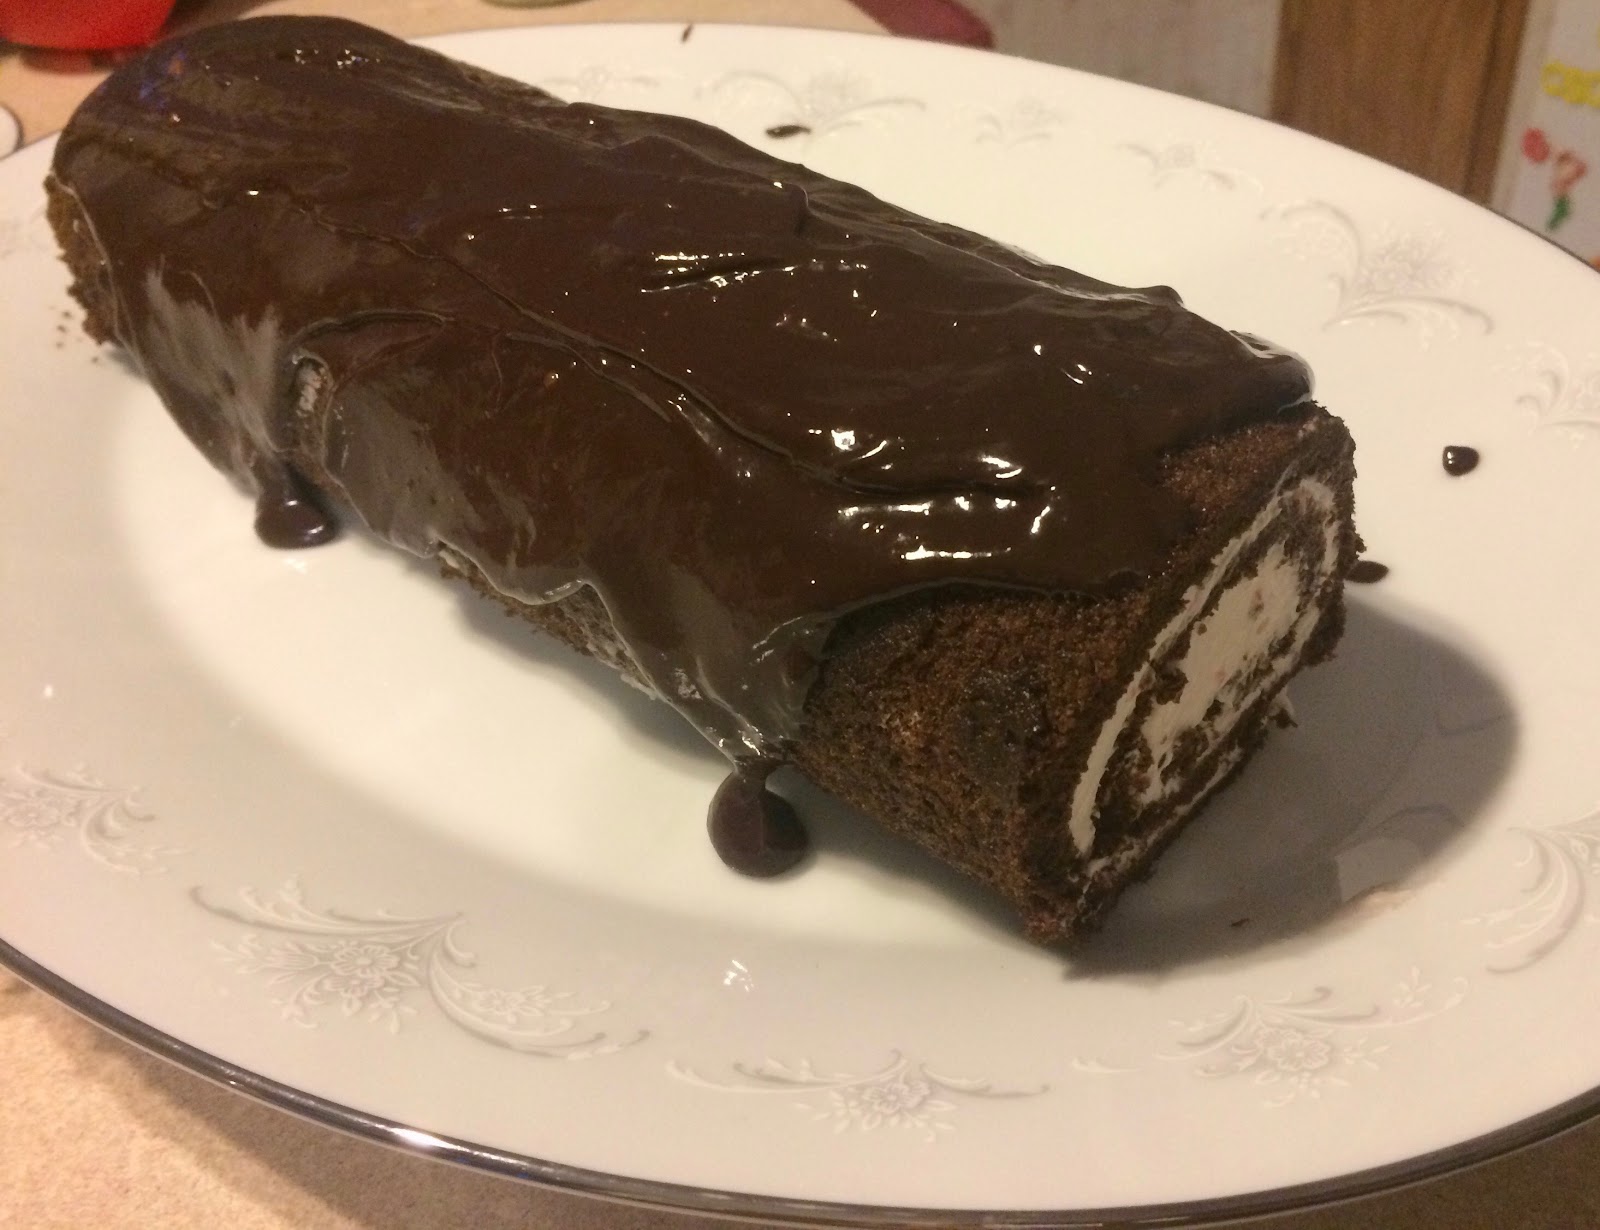
Strawberry Swiss Cake Roll

Let me preface this post by saying I'm not really a fancy kinda girl. (And now I have "Fancy" by Reba going in my head!) I'm a hillbilly, and quite happy about it. Once in a while though, I have the desire to try something that's fairly fancy. 

I've never made any "roll" before. No pumpkin roll, etc. However, I got silicon mats recently (some just before Christmas, and more for Christmas) and I thought that would make it easier, so.... I jumped out of my box. 

And whoa, was it worth it. This swiss cake roll is heavenly. You can use any freeze-dried berries or fruit, so you can change the flavor as desired. (I found strawberries at Aldi's, so that's what I went with.) Personally, I think that it could use more strawberry flavor, but that's a preference thing. 

I do think the use of silicon mats made this process much easier than without. If you don't have any, sub parchment paper in the pan and a clean towel for after the cake is done. 

Comments are loved! What's your favorite "fancy" dessert?

Printable Recipe
Strawberry Swiss Cake Roll


Ingredients
For the batter:
  • 4 eggs, separated
  • ½ cup + ⅓ cup sugar, divided
  • 1 teaspoon vanilla
  • ½ cup flour
  • ⅓ cup cocoa powder
  • ½ teaspoon baking powder
  • ¼ teaspoon baking soda
  • ⅛ teaspoon salt
  • ⅓ cup water
For the Filling:
  • ½ cup freeze dried strawberries, crushed finely
  • 8 ounces cream cheese, room temperature
  • ½ teaspoon vanilla
  • pinch of salt
  • 1 cup powdered sugar, divided
  • 1 cup heavy whipping cream
For the Ganache:
  • 3 ounces semi-sweet chocolate chips
  • 6 tablespoons heavy whipping cream
For the Topping, optional:
  • Redi-whip or cool whip
  • fresh strawberries, chopped

Directions
For the cake:
  1. Preheat oven to 350°. Line a 10”x15” jelly roll pan with a silicon baking mat and grease heavily.
  2. In a mixing bowl, beat egg whites until soft peaks form. Slowly add in ½ cup sugar and beat until stiff peaks. Beat for 3 minutes, then add remaining ⅓ cup sugar and vanilla. Beat for 2 more minutes.
  3. In a separate bowl, mix flour, cocoa powder, baking powder, baking soda, and salt together. Alternately add flour mix and the ⅓ cup water to a large bowl with the egg yolks. When thoroughly mixed, fold the batter into the egg whites a little at a time.
  4. Spread batter into the prepared pan and bake for 12-15 minutes until toothpick come back clean and cake springs back when lightly touched.
  5. Meanwhile, coat a silicone baking mat with powdered sugar.
  6. When the cake is done, immediately invert it onto the mat. Remove the first silicone mat, and then roll up the cake starting at the narrow end. Let it cool completely.
For the Filling:

  1. In a large mixing bowl using a whisk, beat heavy whipping cream and ¼ cup powdered sugar until stiff peaks form. Remove to a separate bowl.
  2. In a large mixing bowl, beat the cream cheese until smooth. Add in ¾ cup powdered sugar, strawberry powder, vanilla, and salt.
  3. Fold in whipped cream until combined.
  4. Carefully unroll the cake. Spread the filling evenly over the entire surface and then roll the cake back up.
  5. Place cake roll on a plate, cover with plastic wrap, and place in the fridge for at least 3 hours.
For the Ganache/Finishing:
  1. Heat the whipping cream in microwave for 45 seconds or until hot, then add the chocolate chips. Cover and let it sit for two minutes; stir until smooth. Let the ganache cool slightly before pouring and spreading over the cake.
  2. If desired, top with more redi-whip or cool whip and strawberries.
  3. Slice and serve. Store leftover cake in the fridge.

Yield/Time
12 servings
5 ½ hours (start to finish)
Nutrition Facts
324


Source (for original): Spend With Pennies

Friday, December 9, 2016

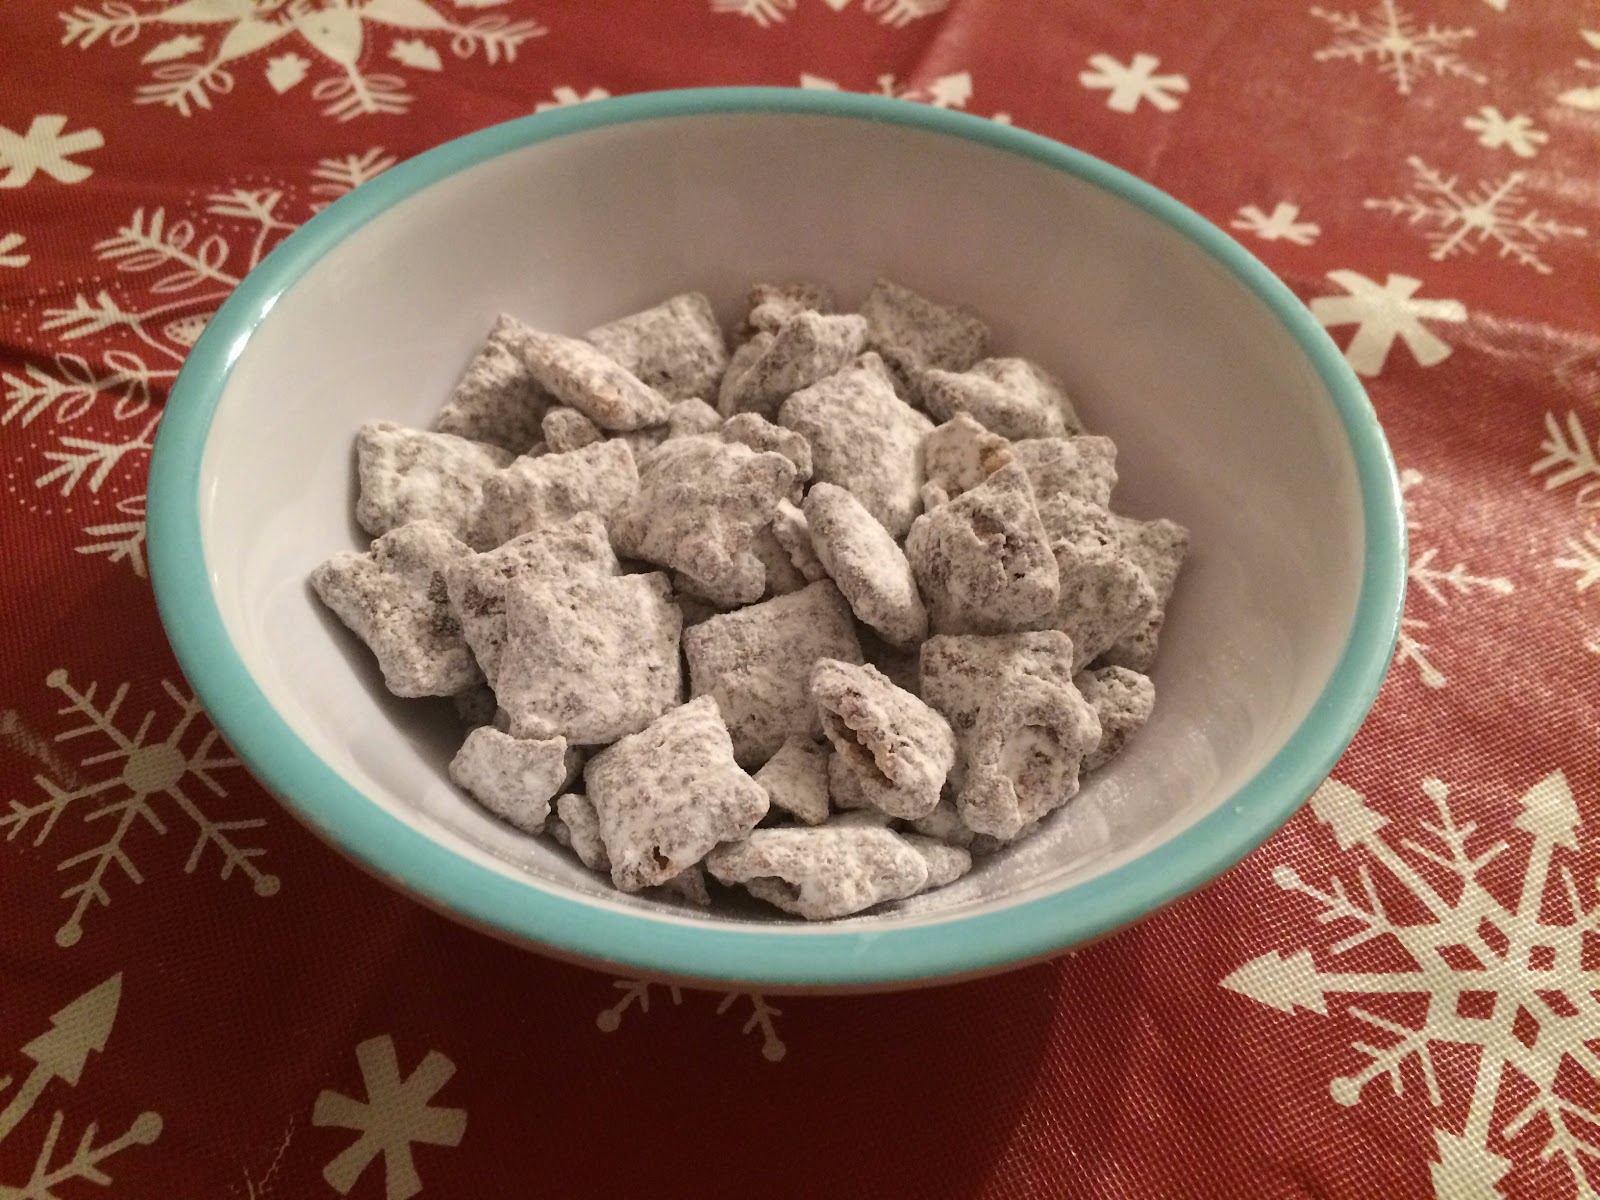
Muddy Buddies

I think Muddy Buddies are one of the classic things that everyone has tried, and basically everyone loves. I've slightly adapted the original Chex recipe... because the original does not have enough of the chocolate/peanut butter coating! (Of course, you know I would think something needs more chocolate & peanut butter!)

I will admit, though--for years, growing up, we always called this puppy chow! I didn't start calling it muddy buddies until maybe middle school. I kept referring to it as puppy chow, and a few friends looked at me like I was crazy, they had absolutely no idea what I was talking about. ;)

If you usually do the traditional recipe, I really recommend trying this. The extra coating is great!

Remember, I love comments! That makes me feel loved. :) What's your favorite Chex Mix or Muddy Buddy recipe?

Muddy Buddies
Ingredients
  • 9 cups Chex
  • 1 ½ cups Semisweet chocolate chips
  • ¾ cups peanut butter
  • ¼ cups + 2 tablespoons margarine/butter
  • 1 ½ teaspoons Vanilla
  • 3 cups powdered sugar

Directions
  1. Pour cereal into a large bowl, set aside. In a large bowl, combine chocolate chips, peanut butter, and margarine. Microwave until smooth, stir in vanilla. Pour chocolate mixture over cereal, stirring until all pieces are evenly coated.
  2. Pour cereal mixture into a large container with powdered sugar. Shake until all pieces are well-coated, spread on waxed paper to cool.
  3. Sprinkle with extra powdered sugar, if needed.

Yield/Time
Approximately 13 cups
<30 minutes
Nutrition Facts *I calculate nutrition facts for reference only, this is not done scientifically

218 calories per ½ cup


Source (for original): Chex

Wednesday, November 9, 2016

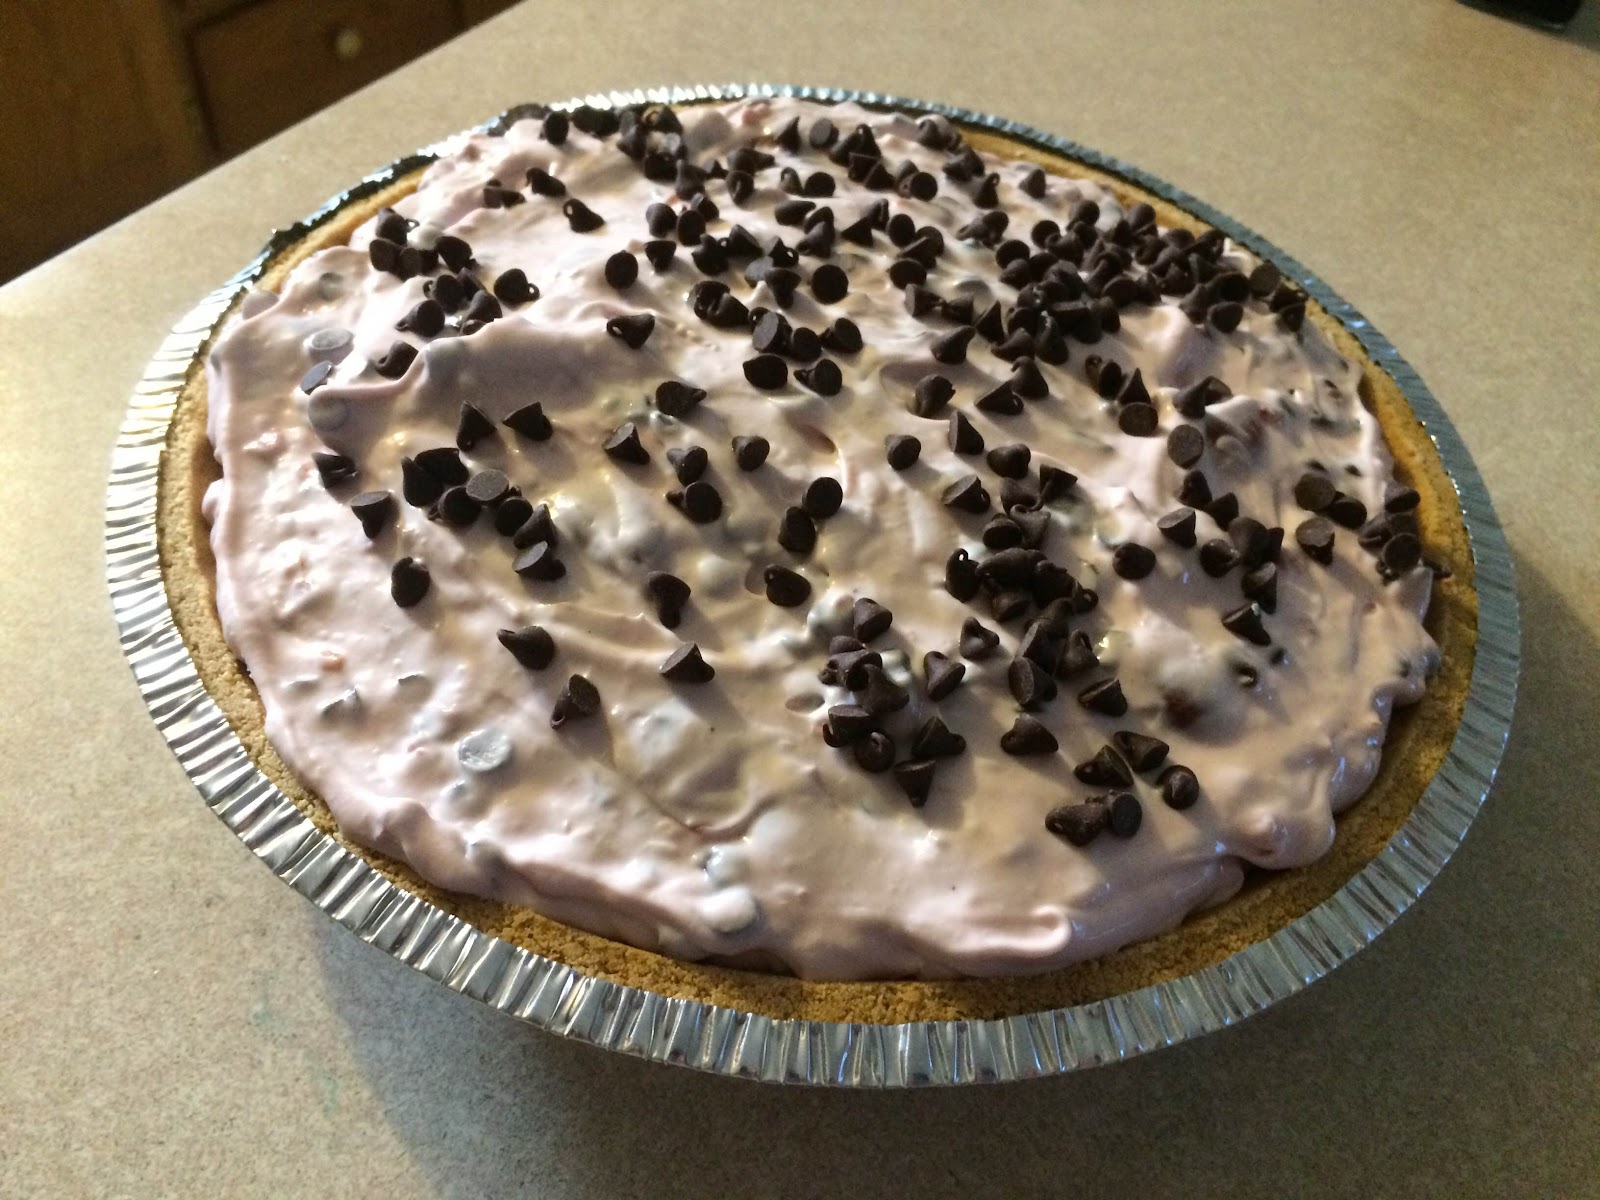
Cherry Chocolate Chip Pie

This is the last of the pies that I made for my family Christmas in October. I was mainly thinking of my mama when I made it--she LOVES cherries, so I knew she'd like it!

Depending on if you are a bigger cherry fan or a bigger chocolate fan, it either didn't have enough cherries in it or it didn't have enough chocolate chips. ;) Add accordingly! 

Like most no-bake pies like this, it needs to be kept refrigerated or frozen. Personally, I've tried freezing them, and I really prefer that! Let a slice sit on the counter for a few minutes, and it's the PERFECT consistency! 

Comments are loved! Tell me about your favorite no-bake pie!

Cherry Chocolate Chip Pie


Ingredients

  • 1 8” graham cracker pie crust
  • 8 ounces cream cheese, softened
  • 21 ounces cherry pie filling
  • 1 cup powdered sugar
  • 4 ounces Cool Whip
  • 1¼ cup mini semisweet chocolate chips

Directions

  1. In a large mixing bowl, beat the cream cheese and powdered sugar until smooth. Fold in Cool Whip. Carefully fold in pie filling and 1 cup chocolate chips, only until combined.
  2. Spread into pie crust, then sprinkle with remaining chocolate chips.
  3. Refrigerate 4 hours before serving. Keep refrigerated. 
Yield/Time
15 minutes + cooling
12 (small) pieces or 8 (regular) pieces
Nutrition Facts
369 (12 ct) or 553 (8 ct)


Source (for original): Passion for Savings

Monday, November 7, 2016

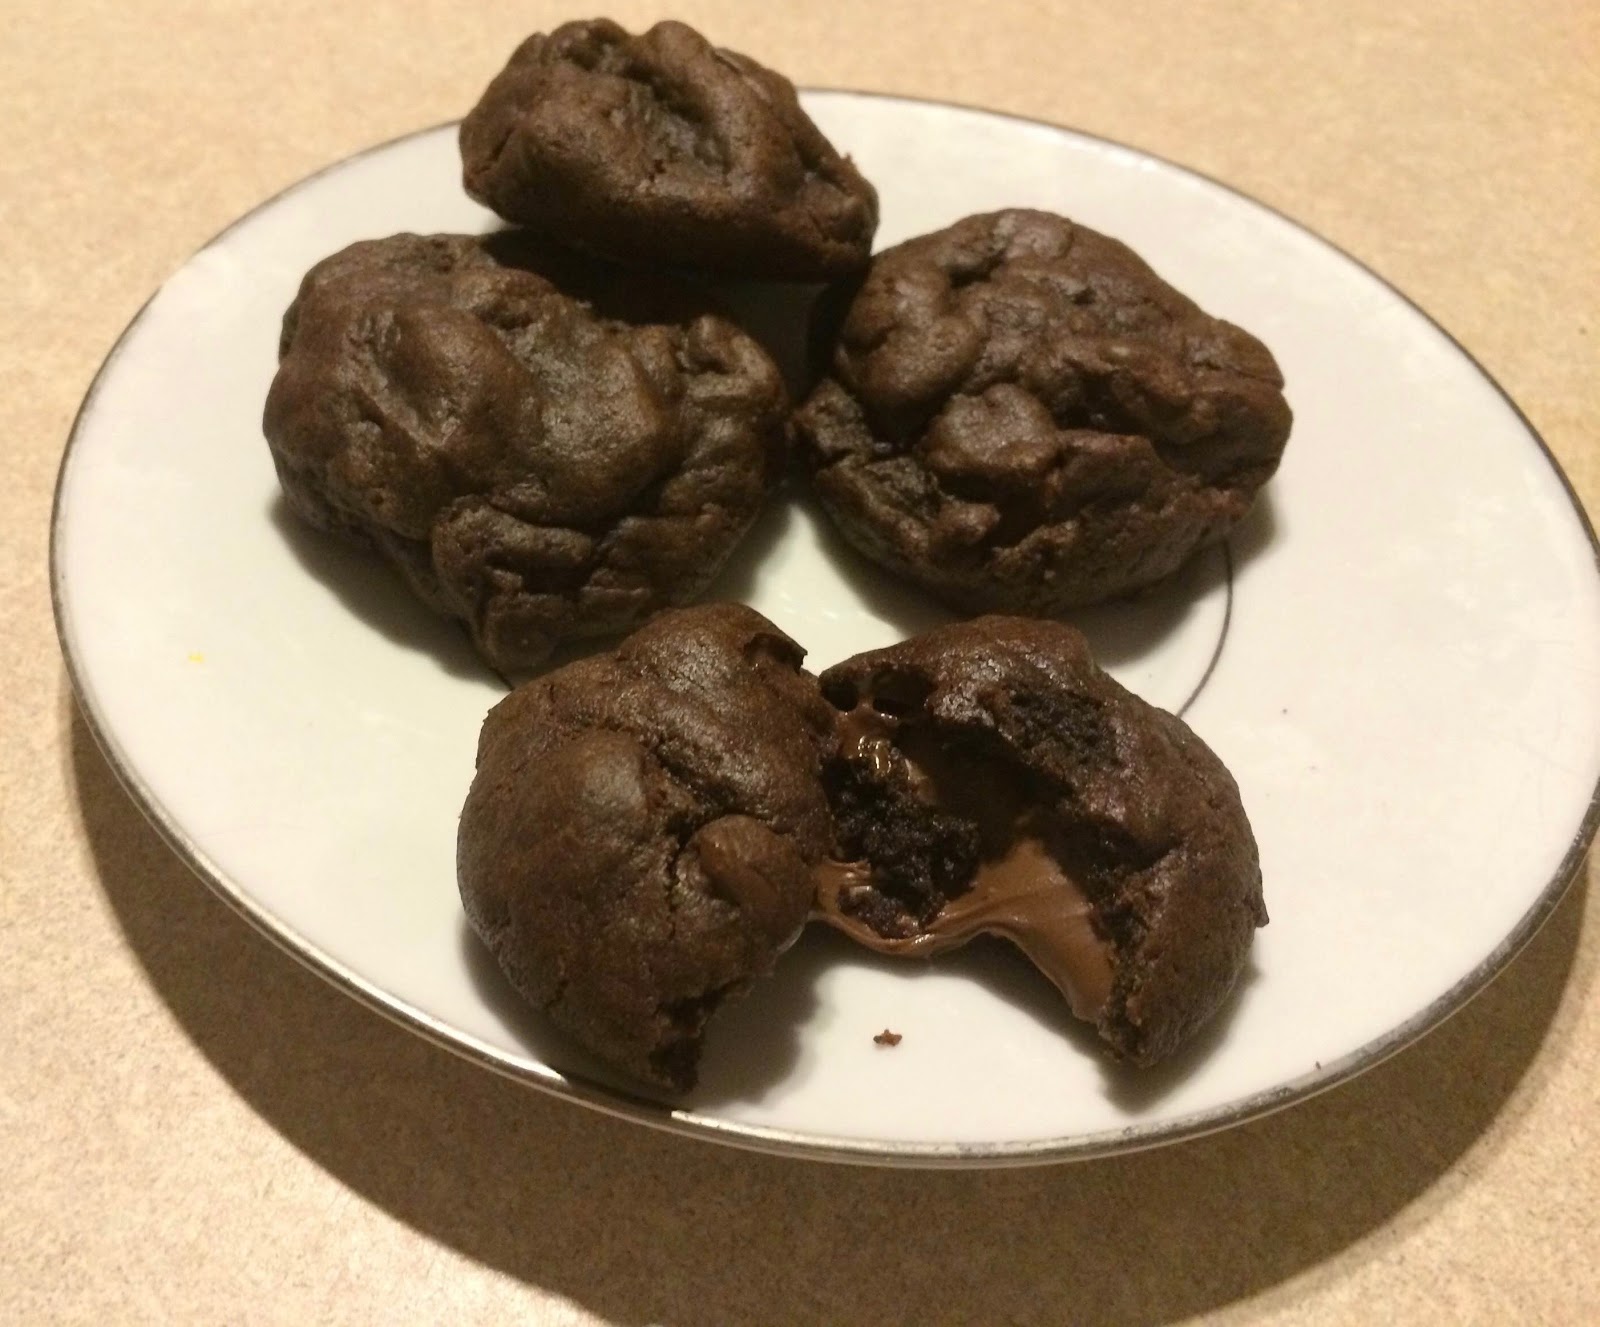
Nutella Lava Cookies

I've been trying to do posts 3x/week, but Friday fell through the cracks. Mainly because of this nasty cold that's hanging around my house-- the boys are finally feeling better (I hope), but I still am suffering. There's been very little cleaning or baking around my house this past week... and a lot of sitting on the couch wishing I could take naps. Oh well, life as a mama goes on no matter what. ;)

I did manage to get some baking done yesterday, mainly because Nate was kind enough to let me nap for awhile. In the evening, the boys helped me make these Nutella Lava Cookies (with lots and lots of handwashing). I've made them before, and they are always a hit, but never remembered to take pictures. This time I did!

These things are amazing. I'm going to try a variation with peanut butter soon, but I haven't decided exactly what I want to do. Gabriel & I were discussing it yesterday, so I think he's going to help! I love how willing he is to help in the kitchen, and how fascinated he is with the whole process1

These are, like most cookies, best fresh out of the oven. A great alternative is about 10 seconds in the microwave. (However, don't put them in, hit the 30 seconds button, then get distracted.... oops.) They are called lava cookies for a reason-- warm, the Nutella in the center just OOZES out. It's amazing. I could eat half a dozen in one sitting, if it weren't for the massive amount of calories.

The one deterrent with these cookies is that they are time consuming. Give yourself time to make these! The Nutella scoops have to freeze for an hour, then the formed cookies have to freeze also. You can cut the time down to half an hour each if needed, but they are a lot harder to work with--I really recommend going the full hour.

Nutella Lava Cookies

Ingredients
  • 12 tablespoons (24 ½-tablespoons) Nutella
  • ¼ cup granulated sugar
  • 1 cup all-purpose flour
  • 2 tablespoons brown sugar
  • 1 ½ teaspoonful cornstarch
  • 1 egg, room temperature
  • ½ teaspoonful baking soda
  • 1 teaspoonful vanilla
  • ½ teaspoonful salt
  • ⅓ cup unsweetened cocoa powder
  • ½ cup butter, at room temperature *if you know me, I always substitute Crisco vs butter. Here, I am not sure how well it would work. If you try it, let me know!
  • ½ cup semisweet chocolate chips, plus more for topping

Directions
  1. Scoop out 24 ½-tablespoons of Nutella onto a sheet of parchment paper or silicon mat, then freeze them for 1 hour or until solid.
  2. Whisk together flour, cornstarch, baking soda and salt in a medium bowl and set aside.
  3. In a large bowl, whip the butter until soft and fluffy, about 2 minutes. Add both sugars and mix together until well incorporated. Mix in the egg and vanilla, then gradually add cocoa powder.
  4. Add the flour mixture and chocolate chips to the bowl slowly. Mix until everything is combined.
  5. Divide dough into 24 equal portions. Flatten into circles, then place on baking sheet covered with parchment paper. Place frozen Nutella scoops in the center of the dough, and wrap dough around Nutella. Cover completely by rolling and forming balls. (This step must be done quickly. Remove only one or two Nutella scoops at a time from the freezer.) 
  6. Sprinkle the tops with few additional chocolate chips and sea salt, if desired.
  7. Freeze the balls for at least 1 hour.
  8. Preheat the oven to 350° and space the balls 2” apart on baking sheet.
  9. Bake for 8-12 minutes. Cookies will flatten out and get crispy on the edges but the center will still feel soft. Let the cookies rest for 15 minutes before removing to cooling rack or serving.

Yield/Time
24 (large) cookies
3 hours
Nutrition Facts
141/cookie

Source (for original): Gastro Senses
Remember, comments are loved! Have you ever tried a lava-style cookie before?

Wednesday, October 19, 2016

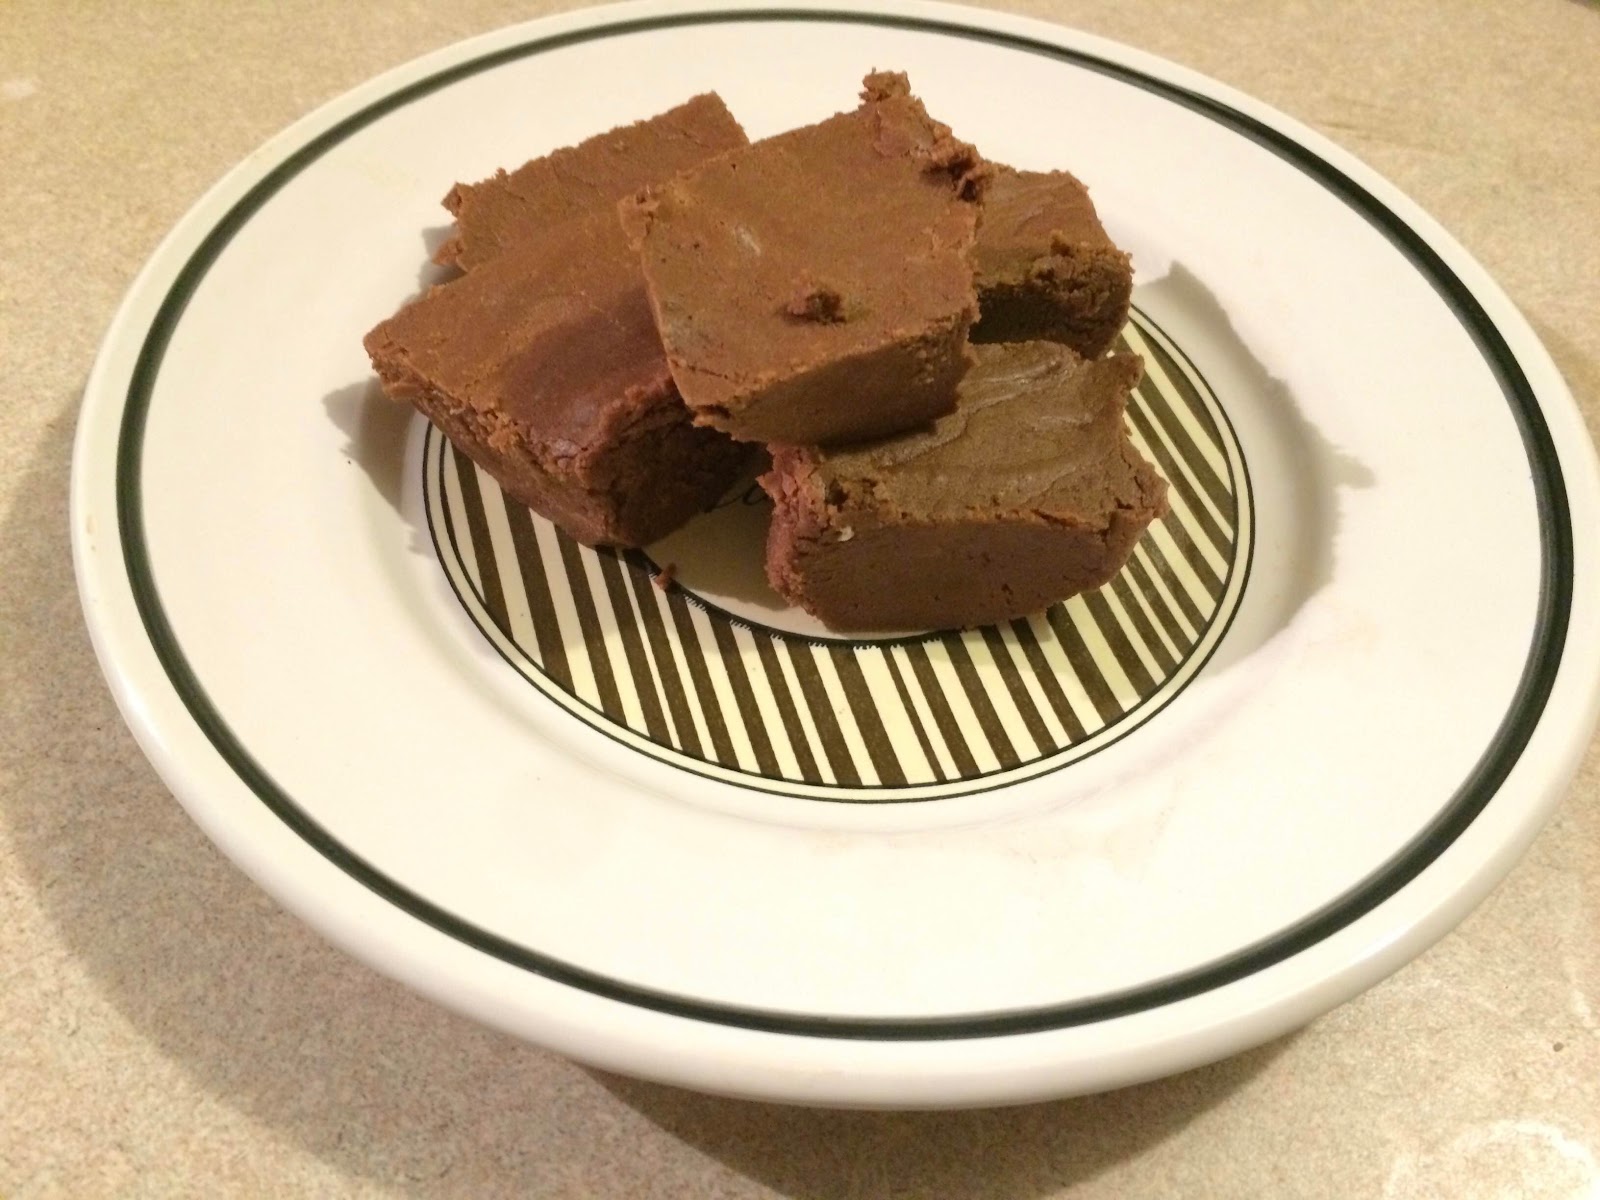
Chocolate Peanut Butter Fudge

Before you get all judgey, remember that you're not supposed to judge me for my sweet tooth.

Yes, I'm making fudge.

Yes, it's only October.

But, I noticed the marshmallow creme in Aldi's last week getting groceries.... and I couldn't resist. ;) Don't worry, there's more fall recipes coming soon! I need to make Pumpkin Bread, and share my recipe for Apple Betty, and quite a few others. (We went to an orchard Saturday, and got half a bushel of apples. I haven't even decided what I'm doing with half of them!) 

So even though I'm getting a jump start on the Christmas sweets, I have a good reason. (The good reason being that I noticed it at Aldi's.) 

If you've ever made fudge, you've probable seen this recipe before. It's the classic Fantasy Fudge recipe on the brand Marshmallow Creme jars. They apparently changed it a few years ago, but thankfully you can find the original recipe online. (I wouldn't know though, I'm too cheap to buy brand unless it's on sale.) This is, truthfully, the best fudge I've ever had. I like the stuff we get in Traverse or at Mackinaw, but this is better.

You can make it with or without peanut butter, and there are SO many ways to vary this. As I make more throughout the holidays (and actually get pictures of the variations) I'll post more. The white chocolate with candy cane chunks and peppermint are always a hit! ;) 

Chocolate Peanut Butter Fudge

Ingredients
  • 3 cups sugar
  • ¾ cup margarine *some people say you can use butter... I have never had success.
  • ⅔ cup evaporated milk
  • 12 ounces semi-sweet chocolate chips
  • 7 ounces marshmallow creme
  • 1 teaspoon vanilla
  • ½ cup creamy peanut butter *exclude if plain chocolate is desired

Directions
  1. Line a 13”x9” pan with aluminum foil, leaving excess hanging over the edge for handles.
  2. Mix sugar, butter, and milk in a 3 quart saucepan over medium heat. Stir until the sugar dissolves and butter melts; insert candy thermometer (if using--I always recommend using one!!). Slowly bring to boil. Boil for 5 minutes or until candy thermometer reaches 234°; remove from heat.
  3. Quickly stir in chocolate chips until thoroughly combined. 
  4. Add marshmallow cream and vanilla, stir until marshmallow cream is combined.
  5.  Add peanut butter; stir to combine.
  6. Pour fudge into prepared pan; cool. Once completely cooled, remove foil from pan. 
  7. Place fudge on cutting board to cut.

Yield/Time
3 pounds (approximately 100 pieces)
20 minutes + cooling
Nutrition Facts *I calculate nutrition facts for reference only, this is not done scientifically
Peanut butter chocolate: 68
Chocolate: 61

Source (for original): All Recipes
Remember, comments are loved! What's your favorite fudge? 

Monday, October 3, 2016

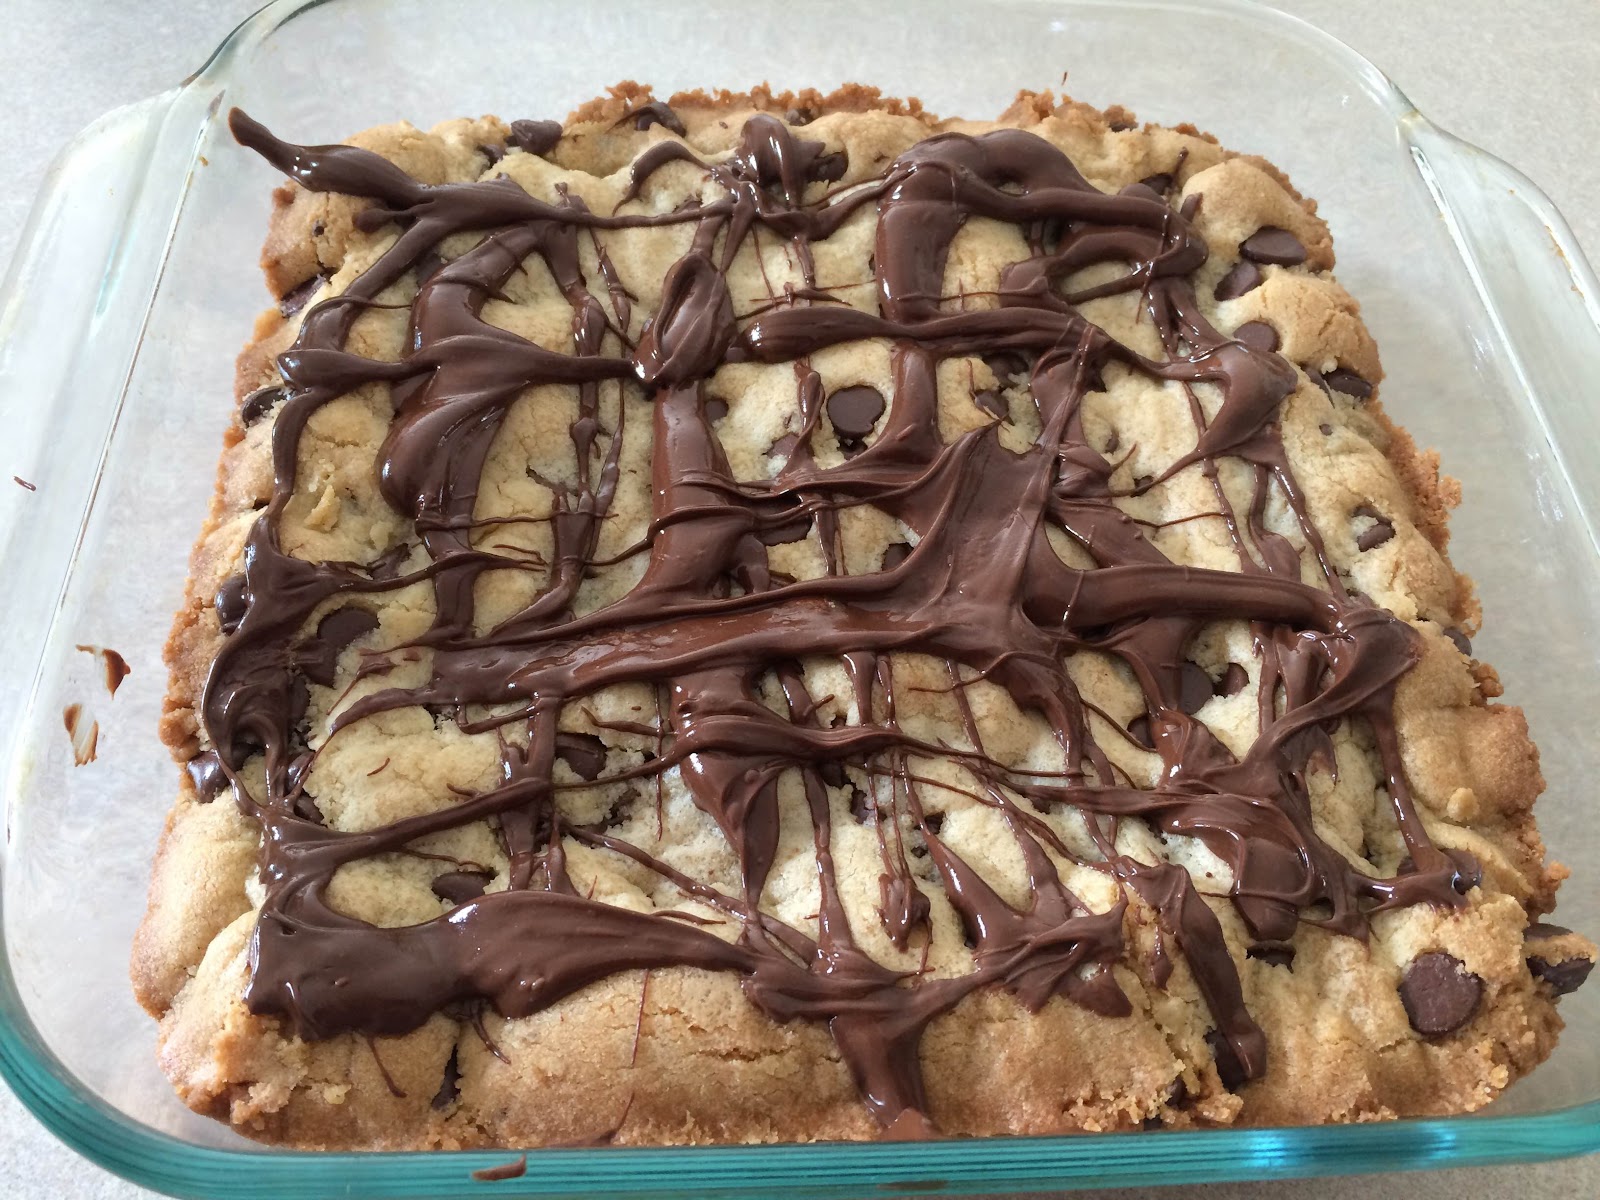
Chocolate Chip Cookie Bars

In general, I prefer cookies over most other desserts. That can, of course, vary with my mood, but I'd say that's a good general rule. Next would be some type of bar... like Davy Crockett Bars, glazed peanut butter bars, or cheesecake brownies. (Yes, that counts as a bar. Accept it.) I don't try new bar recipes very often, simply because I would rather try a new cookie recipe.

However, I made an exception for this one awhile ago, and wow I am glad I did! These are slightly similar to my Davy Crockett Bars, but without the oats and a bit more gooey. Also, shockingly, I have apparently never posted the recipe for that on here. If you know me in real life, you know that's one of my classic recipes. Mama's been making it as long as I can remember, and I've been making it since I moved into my own place. I think that just made it onto my meal plan for the week, so I can get a pic and share the recipe!

In the meantime, these are amazing. Gooey, sweet, and chocolatey.... perfect! A great way to warm up your kitchen on a chilly fall morning! If you feel like your chocolate need is great, you could double or triple the "drizzle" and turn it into a glaze, if needed. ;)

Chocolate Chip Cookie Bars

Ingredients
  • ½ cup butter flavored Crisco
  • ¾ cup firmly packed brown sugar
  • ¼ cup granulated sugar
  • 1 large egg
  • 2 teaspoons vanilla extract
  • 1 ¾ cup all-purpose flour
  • ½ teaspoon baking soda
  • ½ teaspoon salt
  • 1 ¼ cups semisweet chocolate chips, divided
  • 1 tablespoon peanut butter

Directions
  1. Preheat oven to 350°. Line an 8”x8” baking pan with parchment paper.
  2. Beat the Crisco and both sugars together for several minutes until light and fluffy. Beat in the egg and vanilla until well combined. 
  3. In a medium bowl, whisk together the flour, baking soda, and salt. Add the dry ingredients to the wet ingredients and mix until well combined. Fold in 1 cup chocolate chips.
  4. Press the dough into the prepared pan, spreading it to the edges and corners. 
  5. Bake 25 minutes, until the bars are fully set and lightly browned on top.
  6. While bars are baking, melt the remaining chocolate chips and peanut butter in a small microwave-safe bowl. Drizzle over the bars while warm. Let cool before cutting and serving.

Yield/Time
25 bars
45 minutes
Nutrition Facts
158/bar

Source (for original): Picky Palate
Remember, comments are loved! Do you have a favorite bar recipe?

Friday, September 16, 2016

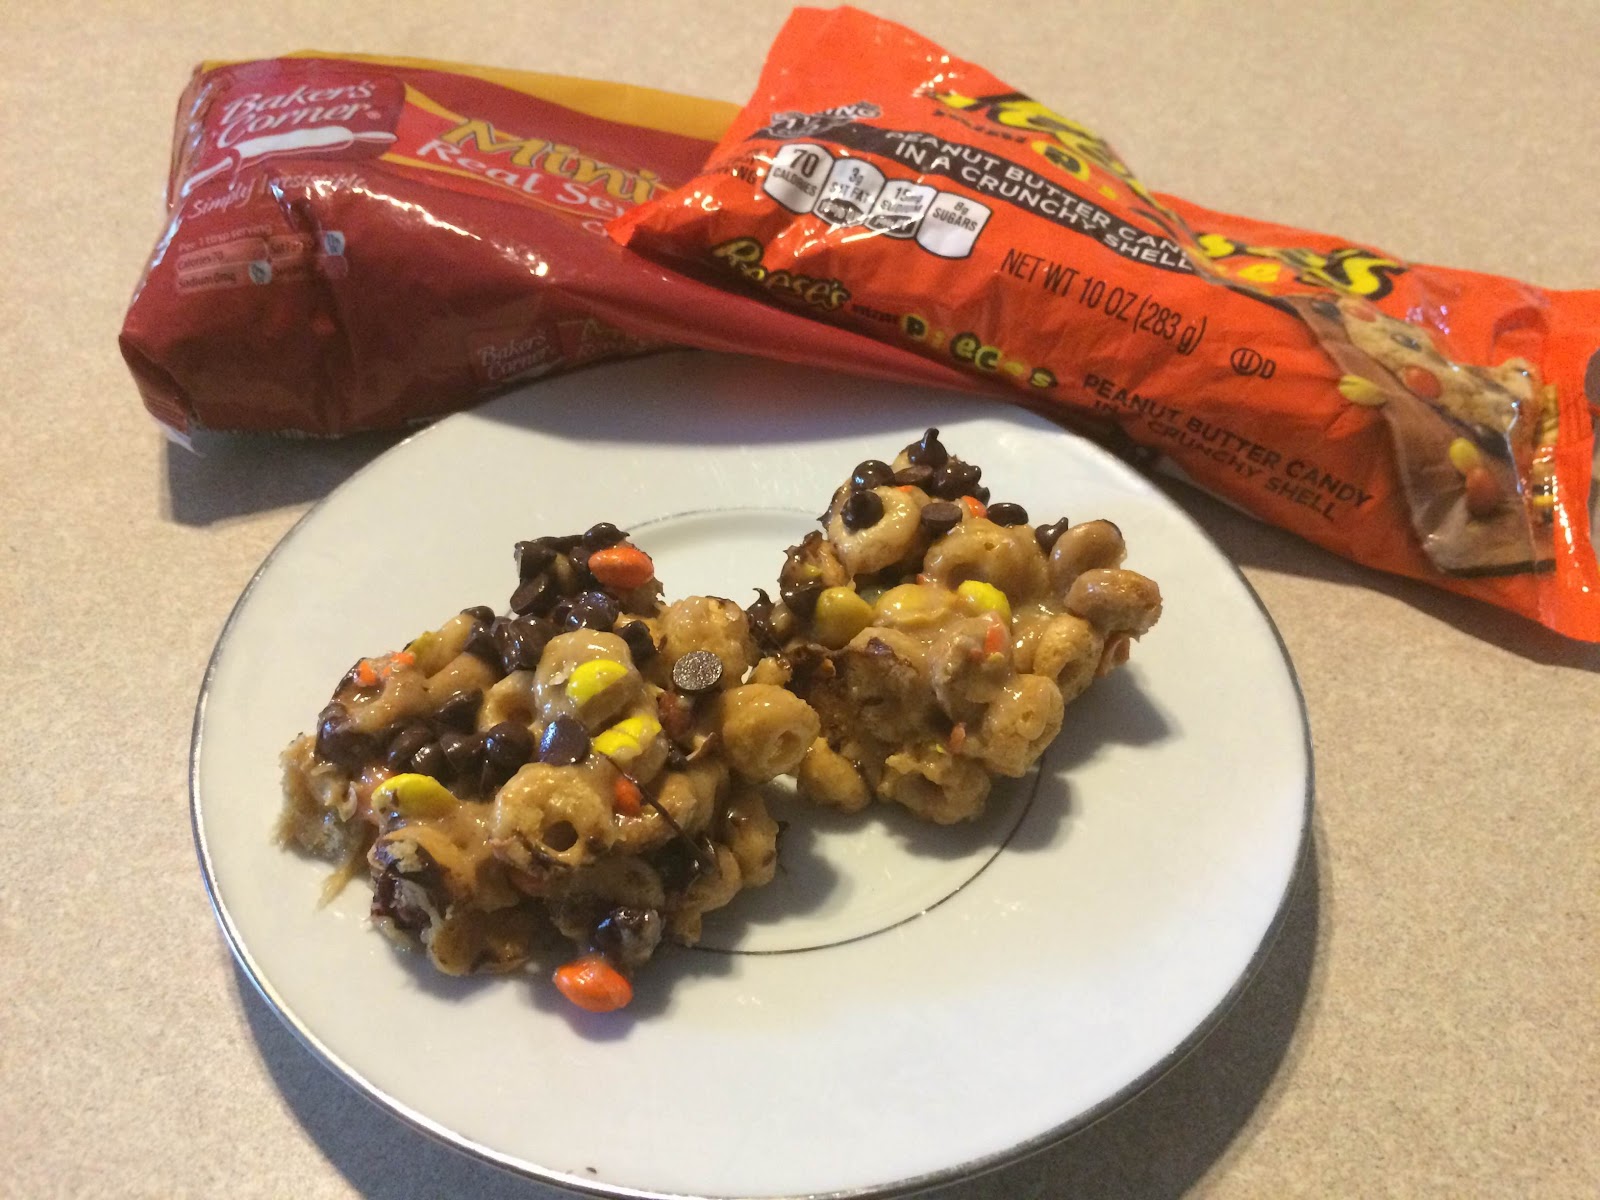
Peanut Butter, Chocolate, & Cranberry Cereal Bars

I always love easy recipes, especially when I have a thousand other things going on. (Most of the time that's by choice, but that's OK.) I also love recipes that are guaranteed to please those sweet small children in my house.... and their parents.

This is definitely one of those. Easy (hello, no bake!), tasty, sweet, and a crowd pleaser! It actually is encouraging me to try my cereal cookies a slightly different way, too! Most no-bake cereal recipes I've seen call for karo syrup. While I truthfully don't have any objections to karo syrup, especially since it's required for the bucketful of hard candy I make at Christmas time, I like the idea of using honey instead. And, while I am not a huge fan of honey (please don't judge me), it's honestly not noticeable here. It might be SLIGHTLY overpowered by the Reese's Pieces and chocolate chips... but who know, it might just be a light taste here. ;) 

Oh, and for the picky eaters: don't skip the cranberry. Really. It adds just a bit of fun to some bites, but definitely isn't overpowering. 
(Side note, I discovered that my boys really like dried cranberries. I don't usually buy it, I honestly just bought it for this... but I will buy it more often. They both devoured the handfuls I gave them when I was making these!)

Printable Recipe
Peanut Butter, Chocolate, & Cranberry Cereal Bars


Ingredients
  • ½ cup granulated sugar
  • ½ cup honey
  • ½ cup peanut butter
  • 3 cups Cheerios cereal
  • ¾ cup mini Reese’s Pieces
  • ¼ cup mini semi-sweet chocolate chips
  • ½ cup dried cranberries

Directions
  1. Spray a 9"x9” baking dish with cooking spray; set aside.
  2. In a large saucepan, heat sugar and honey over medium heat almost to boiling, stirring frequently. Remove from heat.
  3. Stir in peanut butter until smooth. Stir in cereal, mini Reese’s Pieces, and cranberries until evenly coated. Press evenly into prepared pan using a spatula. Sprinkle with chocolate chips. Let cool for at least 30 minutes before serving.
  4. Cut into squares and serve.

Yield/Time
16 servings
10 minutes + cooling
Nutrition Facts *I calculate nutrition facts for reference only, this is not done scientifically
213/bar


Source (for original): Simply Being Mommy
Remember, comments are loved! What's your favorite no bake recipe--bar, or cookie?

Wednesday, September 14, 2016

Double Chocolate Oatmeal Chocolate Chip Cookies

OK, you guys should realize by now that I have a serious love for cookies. I could've named this blog "Don't Judge Me for My Massive Cookie Recipe Collection" and it would be pretty accurate. (I refuse to show the size of the "desserts" collection of my recipe book here; you have to see it in person. I don't need photographic evidence for people to laugh at.)

If it's a cookie recipe, I'm probably willing to try it. OK, scratch that, unless it calls for ingredients I know I don't like, I'm definitely willing to try it. And even if it calls for things I don't like... I'll probably just make it to give to someone else. (Hello, anything with coffee.)

So, it's no surprise that I have tried quite a few variations of oatmeal chocolate chip cookies.

Of all the ones I've tried, this is my favorite. Try it, and it will be yours too. These cookies (that I have a bad picture of, sorry) are A.M.A.Z.I.N.G. They were the perfect consistency for oatmeal cookies. I'm guessing it's the combo of regular oats and quick oats, which I will be trying with any other oatmeal cookie recipes, assuming I ever remember.

Oh, and before I get questions on a regular oatmeal chocolate chip recipe... I actually don't have one that I think it satisfactory. I have a patient that sometimes brings in oatmeal chocolate chip cookies for us, and I haven't found any that compare. I've mentioned that I need the recipe, but no luck so far. (And FYI, patients that bake and bring goodies in are kinda my favorites. I work in a small town, and I really truly love all my patients, but if you've ever brought my cookies... I love you a little more. That goes for any of my friends/family, though. Food is love. I love you more if you feed me. I won't treat you any different, but I will love you more. For what that's worth.)

Double Chocolate Oatmeal Chocolate Chip Cookies

Ingredients


  • 1 cup butter, softened to room temperature *I almost exclusively use Crisco vs. butter, but for some reason I actually used butter here... and it turned out great. So, sticking with butter.
  • 1 cup packed light brown sugar
  • ½ cup granulated sugar
  • 1 teaspoon vanilla extract
  • 2 large eggs
  • 1 ¼ cups all-purpose flour
  • ½ cup unsweetened cocoa powder
  • 1 teaspoon baking powder
  • 1 teaspoon baking soda
  • ½ teaspoon salt
  • 1 cup old-fashioned oats
  • 1 cup quick oats
  • ¾ cup semisweet chocolate chips
  • 1 ¼ cup milk chocolate chips

Directions
  1. Preheat oven to 350°. Line four large, rimmed baking sheets with parchment paper.
  2. In the large bowl of a stand mixer fitted with the paddle attachment, whip together the butter, brown sugar, and granulated sugar until light and fluffy, 1-2 minutes. Add the vanilla and eggs and beat until creamy and light in color, 2-3 minutes.
  3. In a separate medium bowl, whisk together the flour, cocoa powder, baking powder, baking soda, salt, and both kinds of oats.
  4. Add the dry ingredients to the batter and mix until a few dry streaks remain. Add the chocolate chips and mix until everything is just combined.
  5. Drop the batter by heaping tablespoon-sized scoops, or roll into balls, about 2” apart.
  6. Bake for 10-11 minutes until the edges are just set but the middles are still soft. Transfer to a cooling rack to cool completely. Repeat scooping and baking with remaining cookie dough.

Yield/Time
Approx 44 cookies
1 hour
Nutrition Facts *I calculate nutrition facts for reference only, this is not done scientifically
145/cookie


Source (for original): Mel’s Kitchen Cafe

Remember, comments are loved! What's your favorite oatmeal cookie recipe?